A Monorepo Example with PNPM Workspace, Vite and TypeScript
Posted December 11, 2024

A monorepo is a single repository. The CATCH is that it hosts multiple projects and often shares related code and dependencies. A monorepo will create a unified codebase for more applications.
There is more than one way to achieve a monorepo. I love using PNPM Workspaces. In this article, we will go through the process of setting up a PNPM monorepo application and in the process create a calculator app with shared dependencies and code elements:
Our application will have two packages:
- UI with vite powered React.js UI with a calculator form (Component).
- Shared typescript application that will process the arithmetic operation needed by the form and return the result.
Now dive in and learn to manage monorepos with PNPM Workspaces. But first,
Why PNPM Workspaces?
PNPM has a content-addressable storage system to ensure that dependencies are installed only once, even if different versions are required. As a monorepo, its PNPM Workspaces is a space-efficient dependencies manager across multiple projects in a monorepo and:
- Shared dependencies are stored centrally.
- Large-scale monorepos works easily.
- Support for shared libraries.
- Faster package manager compared to NPM and Yarn.
Related: Build Pnpm Workspace Monorepos with Docker Example Guide
Let’s not dive into some practicals. To continue with this article, it is helpful to have the following:
- Node.js installed on your computer.
- Basic knowledge working with Typescript and React.js.
You jump start this guide and get the whole code on this GitHub repo.
Setting up PNPM
To check if you have installed PNPM locally, execute the below script on your terminal:
pnpm --version
If a version is returned, then you have it installed. Else, if you get pnpm not found error, install it using the below command:
npm i -g pnpm
Adding PNPM up to the Application with the PNPM workspace
On your terminal proceed to the directory where you would like the application to reside. Create the application directory:
mkdir calculator-monorepo
Proceed to the application directory and initialize the application by creating a package.json file for the root Workspace:
cd calculator-monorepo && pnpm init
Since we will use Typescript for both packages, we will install typescript and ts-node as root-level dependency packages. Both packages will share the dependencies and you need them at the root level:
From the root of your monorepo, install dependencies for all projects:
pnpm add -D typescript ts-node
To initialize the typescript, We will create a base config base.tsconfig.json and add the following configurations:
 {
            "compilerOptions": {
            "strict": true,
            "strictNullChecks": true,
            "esModuleInterop": true,
            "emitDecoratorMetadata": true,
            "experimentalDecorators": true,
            "noUnusedLocals": true,
            "skipLibCheck": true,
            "sourceMap": true,
            "jsx": "react-jsx",
            "moduleResolution": "node",
            "allowImportingTsExtensions": true,
            "noEmit": true
 }
 }
Create a tsconfig.json file that will extend the base configurations:
 {
            "extends": "./base.tsconfig.json"
 }
- Next, we will create a workspace yaml file that will direct pnpm on the projects we have in our monorepo:
touch pnpm-workspace.yaml
- In the pnpm-workspace.yaml, we will point to our apps and packages directory inside the monorepo:
   packages:
    - "./apps/*"
    - "./packages/*"
From above, the ui will be inside the apps directory, and the shared package will be inside the packages directory.
- Create the above mentioned apps and packages folder:
mkdir apps packages
Verify workspace set up and run a workspace command to ensure your setup is working:
pnpm exec --workspace ls
Creating PNPM Shared Monorepo Library
Shared libraries are at the heart of monorepos. Here’s how to create and use a shared library with PNPM Workspace:
- Proceed to the packages directory:
cd packages
- Inside the packages directory, create a package named: shared.
mkdir shared
-
Inside shared directory:
- Initialize the application by creating a package.json file:
cd shared && pnpm init
- For pnpm to properly identify this package within the workspace, we need to edit the name by specifying the root project name and the package name as below:
       {
           "name": "@calculator-monorepo/shared"
           ...
       }
- We will create an index.ts file that will handle the logic for processing arithmetic operations:
       // the supported operations

       export enum Operation {
           add,
           subtract,
           divide,
           multiply
       }

       // the function to handle the arithmetic operation

       export const handleOperation = (num1:number,num2:number,operation:Operation): number => {
           if(operation == Operation.add){
               return num1 + num2;
        } else if(operation == Operation.subtract){
               return num1 - num2;
        }else if(operation == Operation.divide){
               return num1 / num2;
        }else{
               return num1 * num2;
        }
       }
- To point typescript to the files in this directory and to also define the output directory, we will create a tsconfig.json with the below configurations:
touch tsconfig.json
       {
           "files": ["index.ts"],
           "compilerOptions": {
               "outDir": "./dist",
        }
       }
Sharing Code Between Projects using PNPM Workspace
PNPM makes sharing code seamless with:
- Workspace Protocol: Projects can reference each other using the workspace protocol.
- Symlinking: Dependencies are symlinked automatically for consistency.
Inside the parent packages directory, proceed to the apps directory:
cd apps
- In the apps directory, we will create a Vite application from there:
pnpm create vite
-
When prompted for the Name enter ui. Select React as the framework and TypeScript as a variant.
-
Inside the newly created ui directory:
cd ui
- In the package.json file, change the name of the package to reflect the application root name and the package name as below:
       {
           "name": "@calculator-monorepo/ui",
           ...
       }
Since we will be utilizing the shared package we will need to add it to this package as below. Use the Shared Library and add the shared library as a dependency:
pnpm add @calculator-monorepo/shared
Now, you will Import the Library and use the shared library in your code.
From the above command, pnpm will first check locally within the workspace if there is such a package before going to the npm registry if it does not exist locally. If it does exist, it will install it from the workspace.
Once the installation is complete, in your package.json under the dependencies section you should have the following:
        "dependencies": {
            "@calculator-monorepo/shared": "workspace:^",
            "react": "^18.3.1",
            "react-dom": "^18.3.1"
 }
- Edit the src/App.tsx, Import the shared package:
import {handleOperation,Operation} from '@calculator-monorepo/shared';
- Define state for at least two numbers, and the result of their arithmetic operation:
            const [num1,setNum1] = useState(0);
            const [num2,setNum2] = useState(0);
            const [result,setResult] = useState(0);
- Define a button onclick handler:
            const submitOperation = (operation:Operation) => {
                setResult(handleOperation(num1,num2,operation));
 }
- Render the ui with two inputs and four buttons:
            <>
                <div>

                    <div>
                        <p>The result is: {result}</p>
                    </div>

                    <form>
                    <input type="number" name="num1" value={num1} onChange={e => setNum1(parseFloat(e.target.value))} />
                    <input type="number" name="num2" value={num2} onChange={e => setNum2(parseFloat(e.target.value))} />

                    <button type='button' onClick={() => submitOperation(Operation.add)}>Add</button>
                    <button type='button' onClick={() => submitOperation(Operation.subtract)}>Subtract</button>
                    <button type='button' onClick={() => submitOperation(Operation.divide)}>Divide</button>
                    <button type='button' onClick={() => submitOperation(Operation.multiply)}>Multiply</button>
                    </form>
                </div>
            </>
- Ensure all the devDependencies are installed:
pnpm install
- Start thr UI development server:
pnpm dev
Testing the results
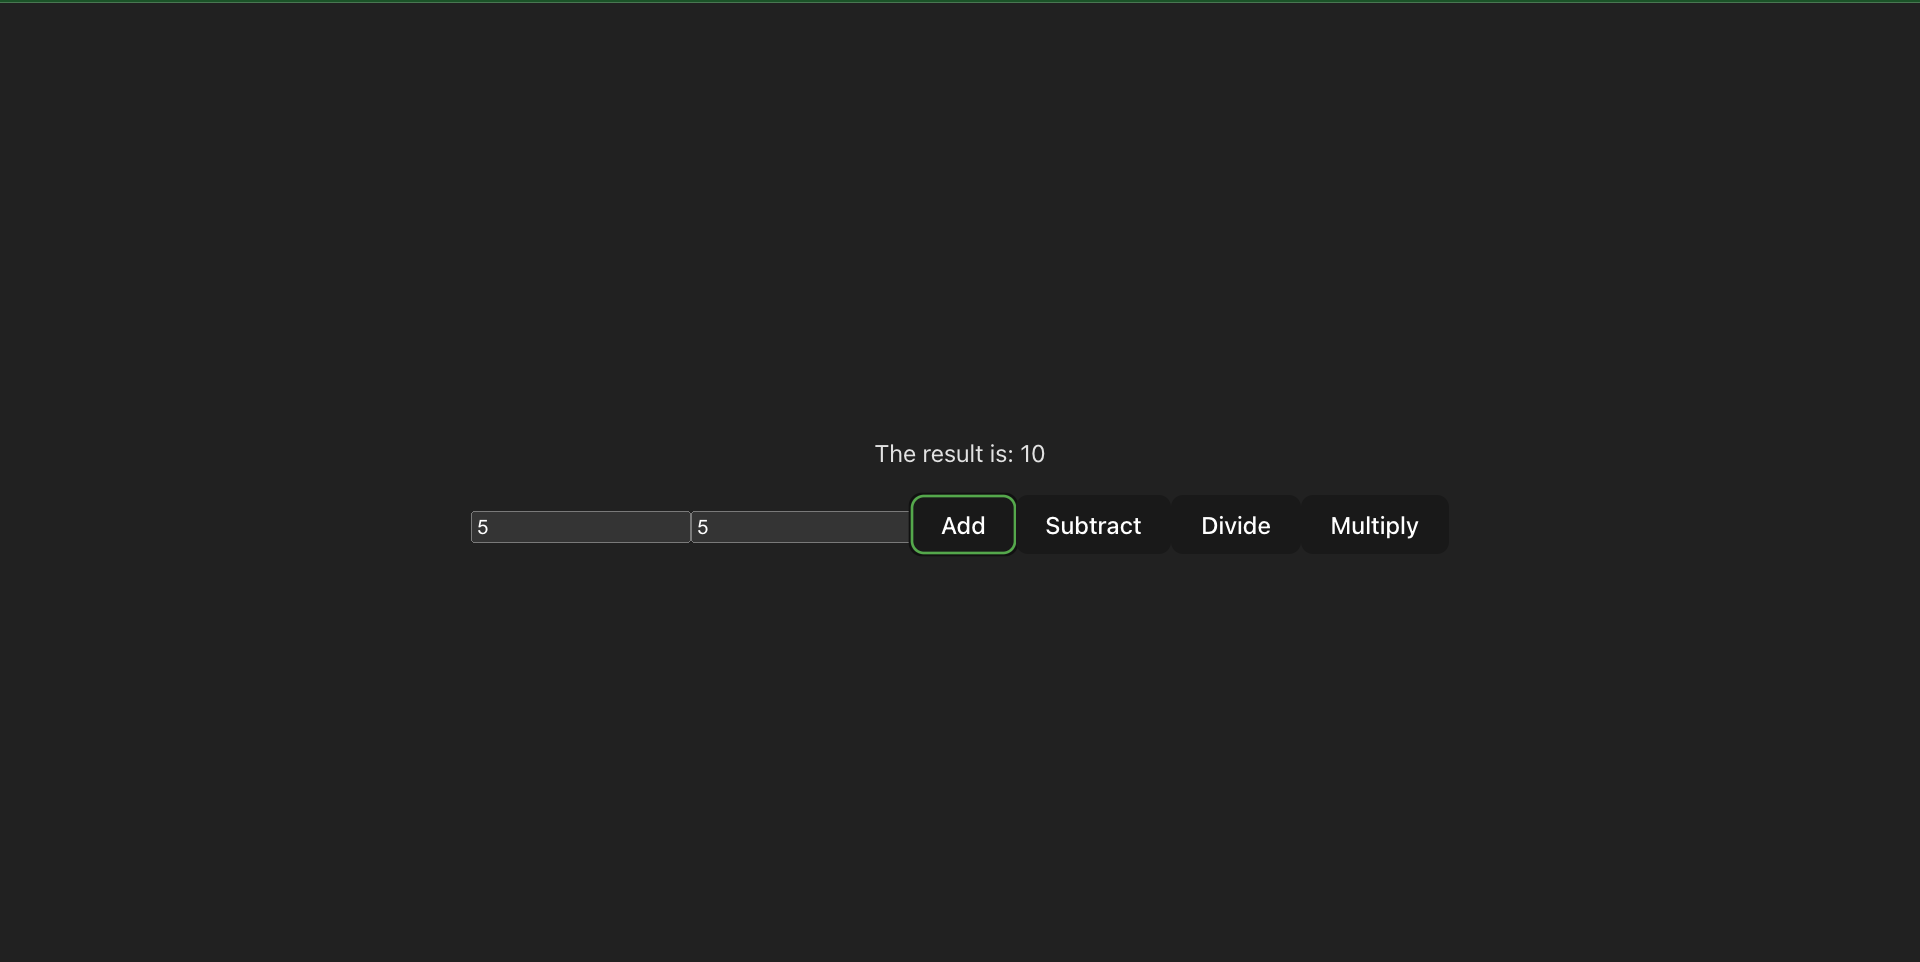
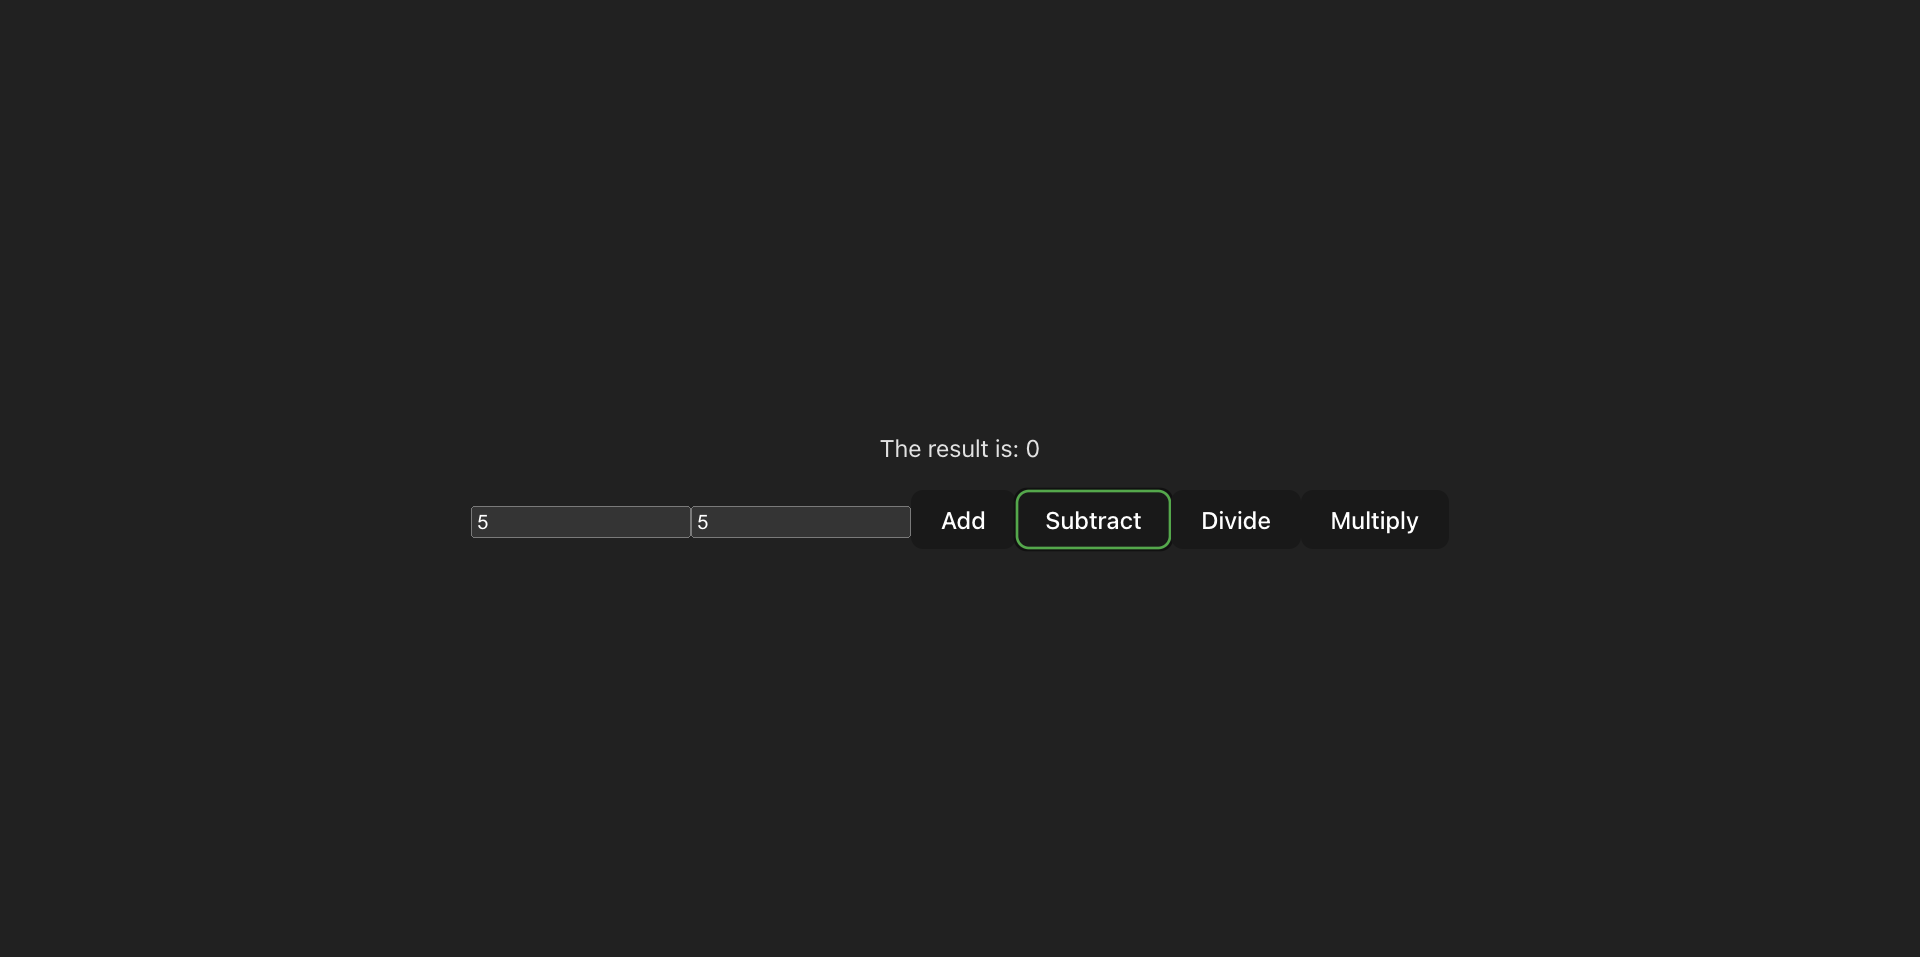
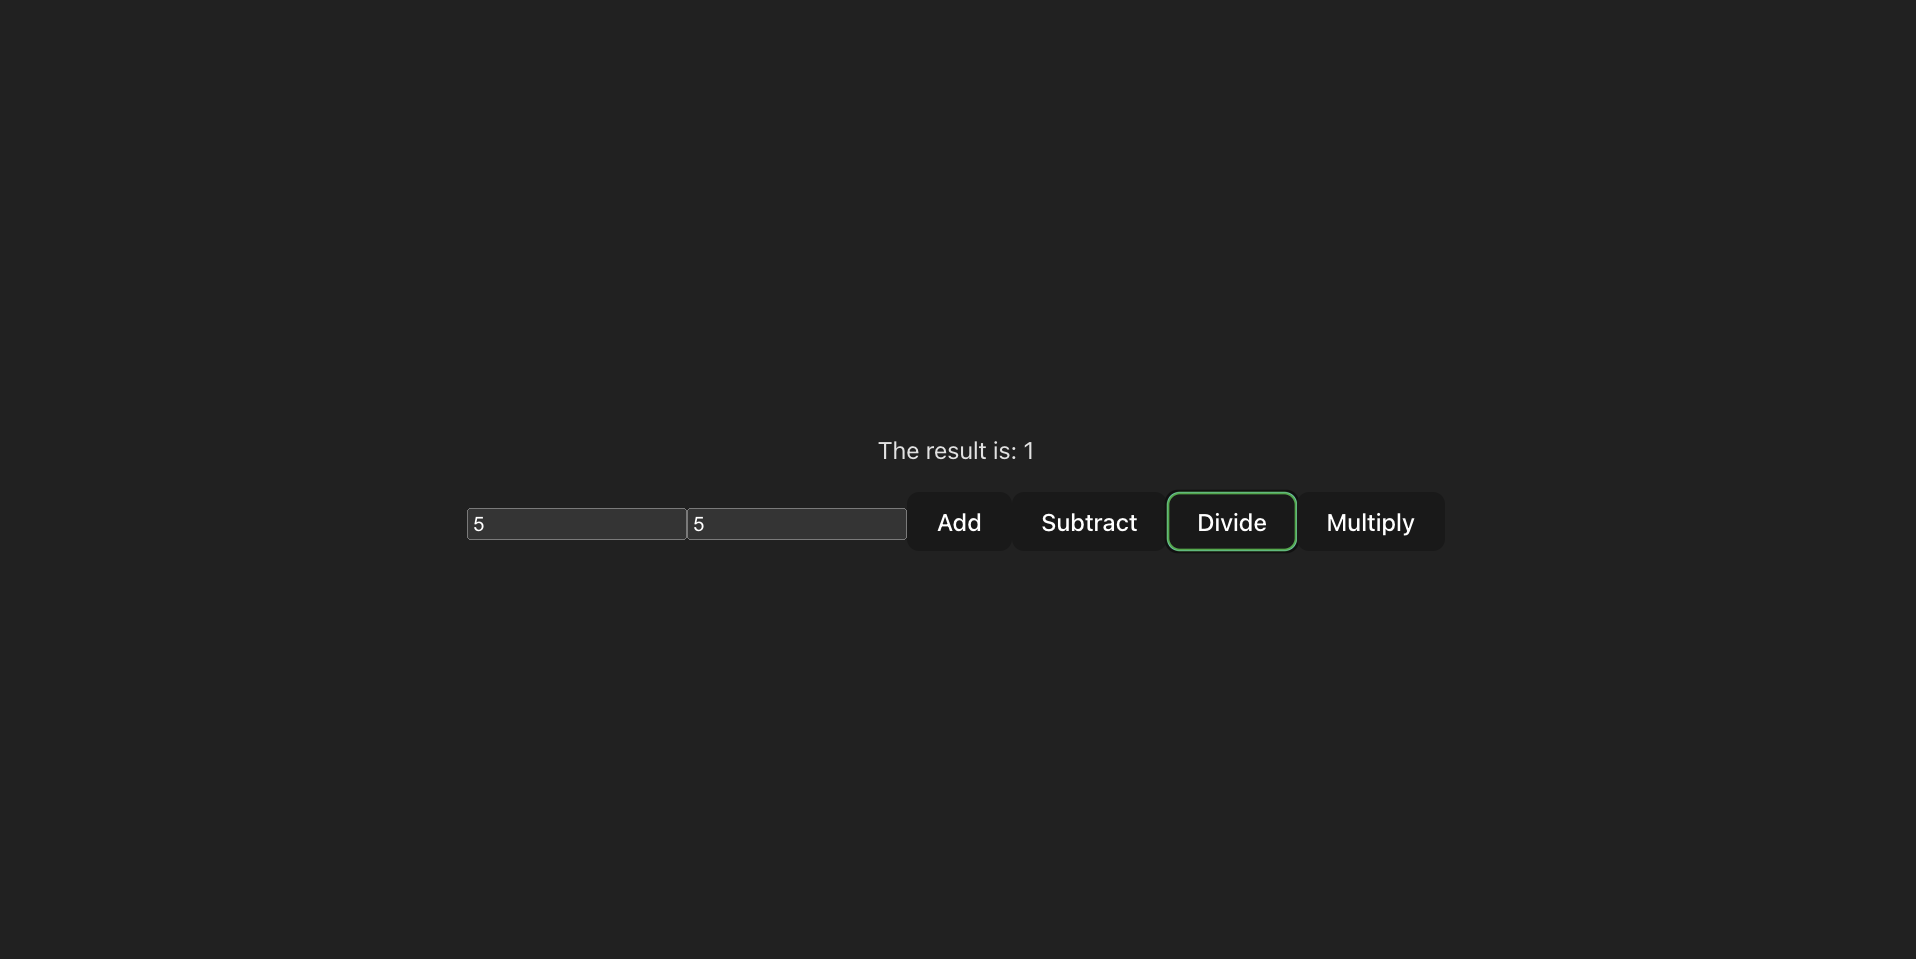
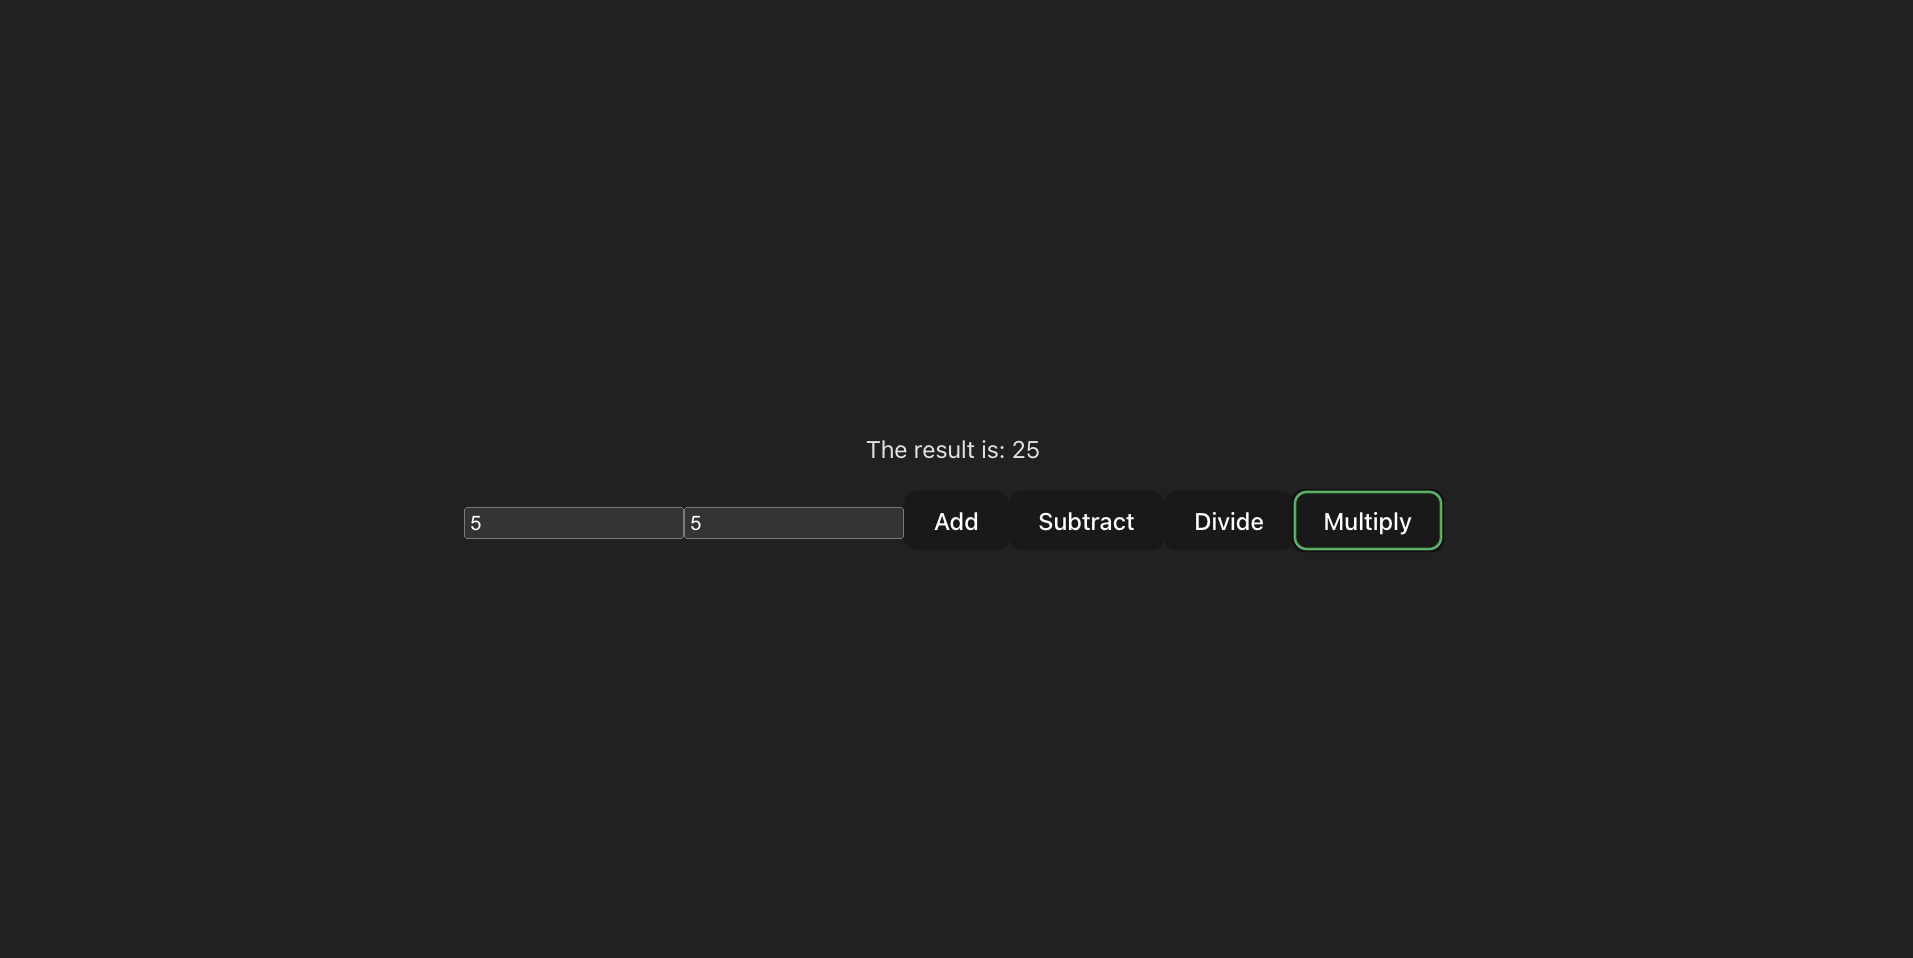
Proceed to the UI development server URL : http://localhost:5173
Initial UI

Addition
Subtraction
Division
Multiplication
Handling PNPM Workspace Dev Mode
Development mode refers to the state where you can be able to edit the shared package and get real-time output on the connected application.
In our calculator application, we can activate dev mode as follows:
- In the package.json of the shared package, add a script for building the package:
   "scripts": {
       ...
       "build": "tsc"
   },
- In the terminal, at your project root directory, run the below command that will build the package and listen to any file change:
pnpm --filter @calculator-monorepo/shared build --watch
To test the functionality:
- Edit the handleOperation in the index.ts file of the shared package as below:
   export const handleOperation = (num1:number,num2:number,operation:Operation): number => {
       if(operation == Operation.add){
           return num1 + num2;
    } else if(operation == Operation.subtract){
           return num1 - num2;
    }else if(operation == Operation.divide){
           return num1 / num2;
    }else{
           return (num1 * num2) * 5;
    }
   }
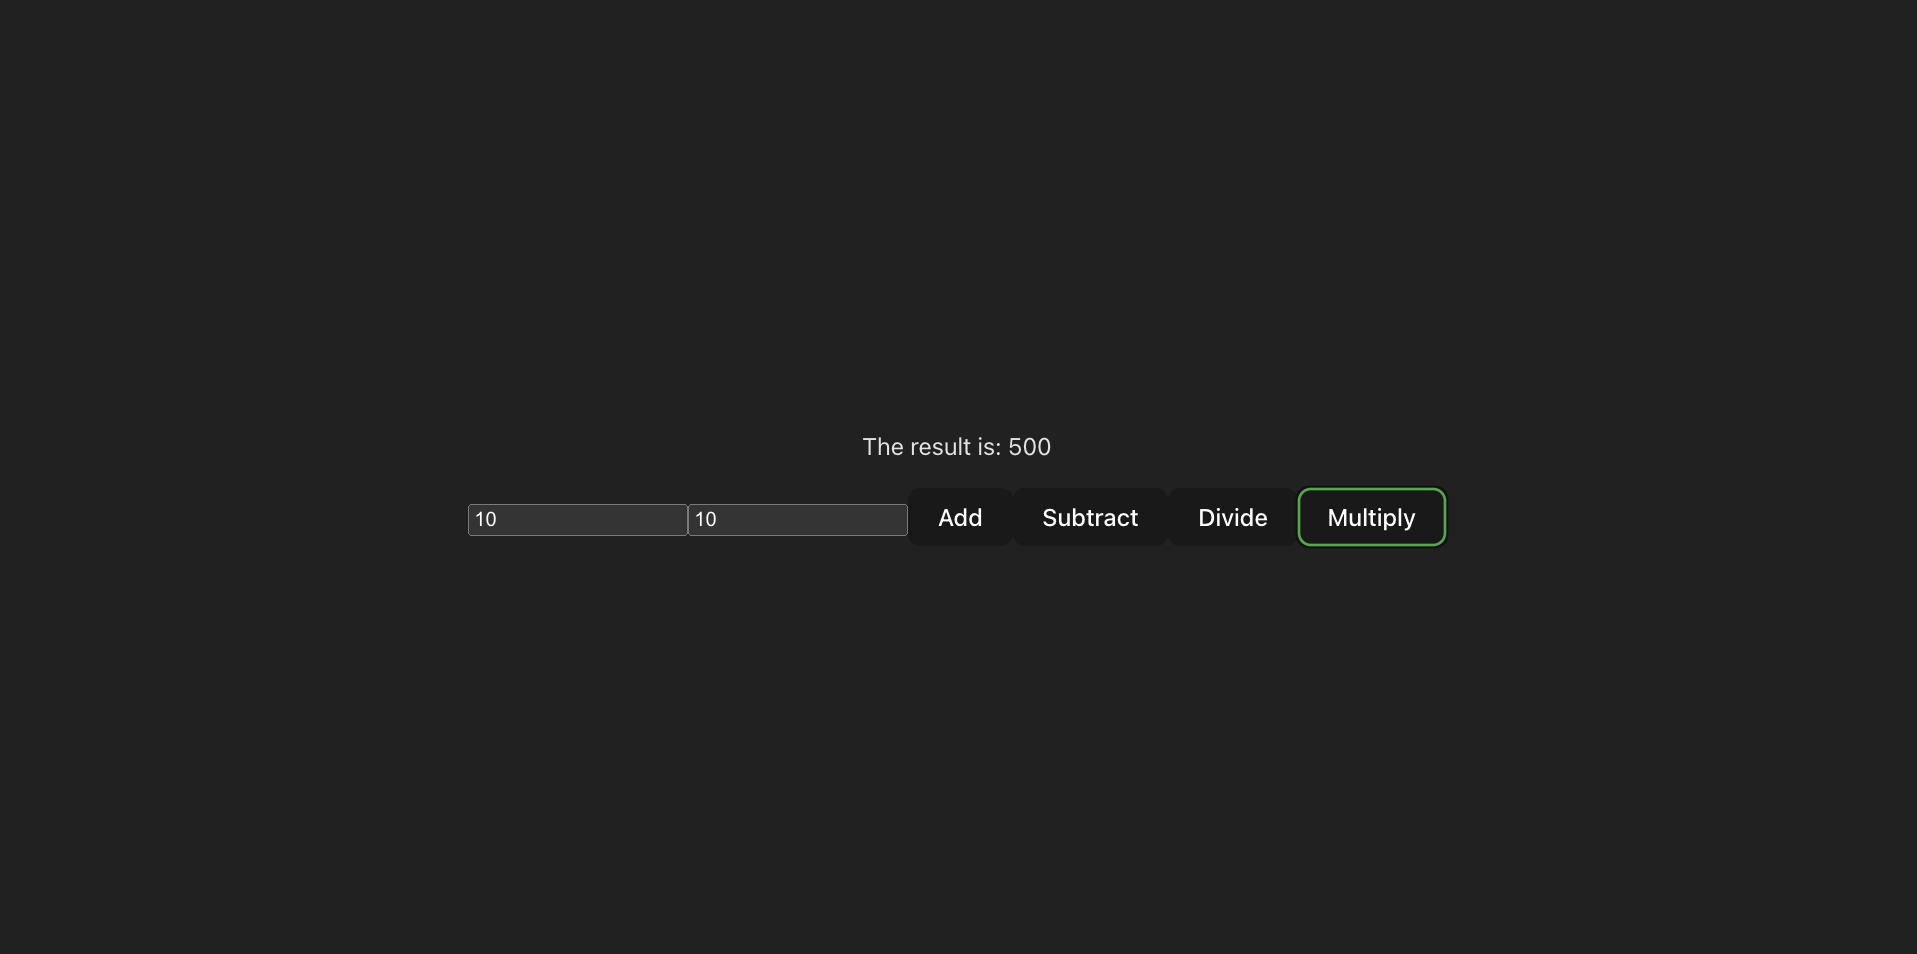
From above, we are altering the multiplication result by multiplying it by five.
- From the ui, enter any two numbers and click on multiply button. The result should be altered:
Conclusion
Using PNPM Workspaces is great. PNPM Workspaces provides the tools you need to succeed. I hope this guide provides you with what you need to embrace monorepos with PNPM.