Dockerize PHP CodeIgniter 4|3 App with Docker Compose
Posted April 19, 2024

PHP requires a perfect environment to run your code. It comes with a small framework such as CodeIgniter. A Docker engine is a perfect example to create your PHP environment. This way Docker will run your PHP CodeIgniter code and serve your application as a Container.
CodeIgniter 4 and 3 and the PHP CodeIgniter version you will use to create a Dockerized PHP CodeIgniter App with Docker Compose. In this guide, you will use Docker and get PHP CodeIgniter 4|3 App Container ready. You will let CodeIgniter use Apache and MySQL to perfectly create a perfect Docker PHP CodeIgniter 4|3 development environment.
Here is what you will learn:
- The perfect Dockerfile to run PHP CodeIgniter 4 and 3 with Docker.
- How to use Docker Compose to create a CodeIgniter Container with a MySQL database
- Using Apache with PHP to run Dockerized Codeigniter apps.
- How to add MySQL to CodeIgniter while using Docker.
Ready? Now, dive in and Dockerize PHP Codeigniter 4|3 App with Docker Compose like a pro.
Prerequisites to PHP CodeIgniter with Docker
Before you Dockerize your CodeIgniter app ensure:
- You have Docker installed and ready.
- Basics of working with PHP CodeIgniter framework and Docker.
Setting up CodeIgniter 4|3 App with Docker
You need a working CodeIgniter 4|3 App. If you don’t have an existing one, head over to CodeIgniter docs and download one. You can also set one using your command line. Once ready, run your app and make sure the basic CodeIgniter app is working:
php spark serve
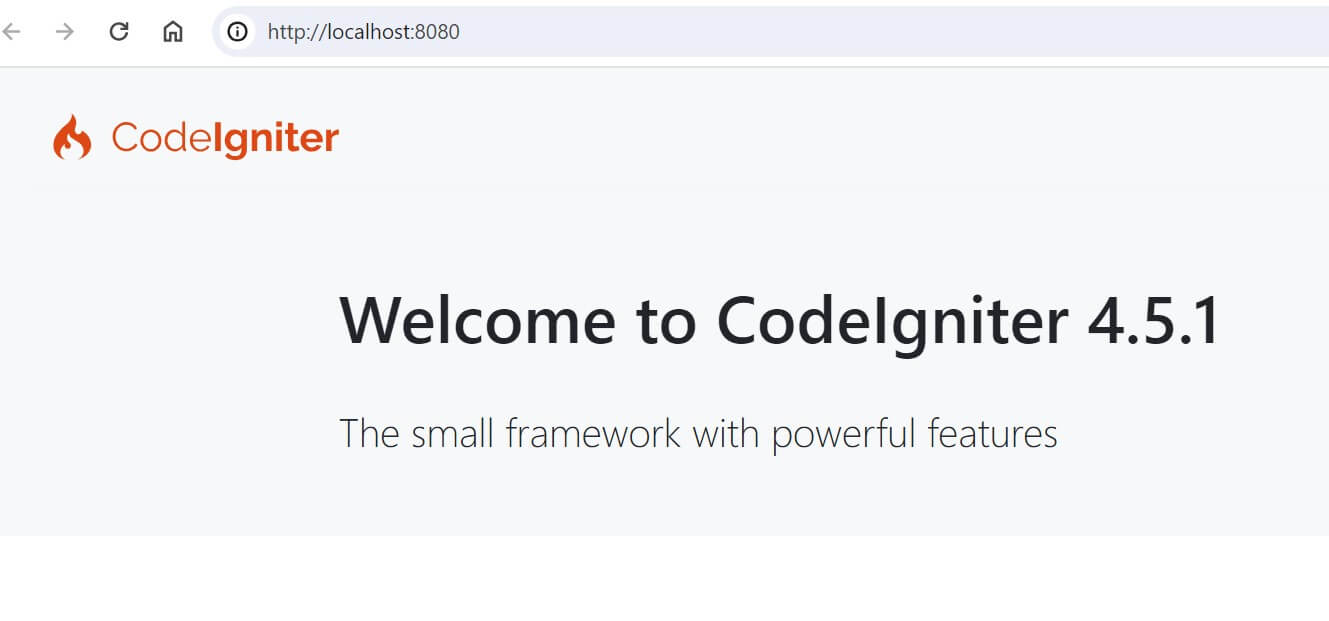
Open http://localhost:8080/ and your CodeIgniter app should be ready:
Dockerizing CodeIgniter with Docker
PHP apps require a server. In this case, to get a CodeIgniter ready on Docker you will need to use Apache or NGINX as your server. That being said, let’s use Docker to do so. However, note that I will use CodeIgniter 4 on this demo and you need to use:
- PHP version 7.4 or newer.
- Have intl, mbstring and json PHP extensions enabled.
- Have a server ready (Apache or NGINX)
Creating CodeIgniter Dockerfile
Up to this point, we now know what we need Docker to do. To have these Server Requirements, you will use a Dockerfile to write all the instructions you need Docker to get ready for CodeIgniter.
In your Project working directory, create a Dockerfile file. Your Dockerfile will look as follows:
FROM php:8.2-apache
# Update and upgrade packages
RUN apt-get update && apt-get upgrade -y
# Install CodeIgniter 4 dependencies (ext-intl, ext-gd, ext-zip)
# Enable required PHP extensions
RUN apt-get install -y libicu-dev libpng-dev libzip-dev
RUN docker-php-ext-install intl gd zip
# Modify php.ini to increase upload file size to 100MB
RUN echo "upload_max_filesize = 100M" > /usr/local/etc/php/conf.d/uploads.ini
RUN echo "post_max_size = 100M" >> /usr/local/etc/php/conf.d/uploads.ini
# Install git
RUN apt-get install -y git
# Enable mod_rewrite for Apache
RUN a2enmod rewrite
# Copy the Apache configuration file
COPY 000-default.conf /etc/apache2/sites-available/000-default.conf
# Restart Apache
RUN service apache2 restart
Let’s break down the Dockerfile step by step:
FROM php:8.2-apacheis the base image for your Dockerfile. It uses the official PHP 8.2. Here is where you add the PHP version you want CodeIgniter to use on Docker. The same base image has an Apache server to run PHP CodeIgniter code.- You have the
RUN apt-get update && apt-get upgrade -ycommand to upgrade the installed packages to their latest versions. - Now, the
RUN apt-get install -y libicu-dev libpng-dev libzip-devget Docker ready to install CodeIgniter required PHP libraries - This
RUN docker-php-ext-install intl gd zipcommand will get the CodeIgniter Prerequisites libraries ready. - You have the
RUN echocommand that will Modify thephp.inn/uploads.inifile to increase the upload file size to 100MB
Setting up CodeIgniter with Apache on Docker
Once all the CodeIgniter PHP Docker instructions are ready, The Docker file will configure Apache as follows:
In your Dockerfile the following Apache command will be important:
RUN a2enmod rewritethe enable the Apache modulemod_rewriteused for URL rewriting.- The
RUN service apache2 restartcommand restarts the Apache web server to apply the changes made in the configuration files and extensions. - That is why you have
COPY 000-default.conf /etc/apache2/sites-available/000-default.confto copy the Apache configuration file000-default.conffrom the local directory to the Apache CodeIgniter Docker image.
Now the 000-default.conf file must be created within your working directory. It will contain custom configuration settings for Apache and how to run CodeIgniter. Go ahead and create 000-default.conf and add your configurations as follows:
<VirtualHost *:80>
    # Set the document root to the public directory of the website
    DocumentRoot /var/www/html/public

    <Directory /var/www/html/public>
        # Allow directory indexing and symbolic links
        Options Indexes FollowSymLinks

        # Allow .htaccess files to override Apache configuration
        AllowOverride All

        # Allow access to the directory
        Require all granted
    </Directory>

    # Define the location of the error log file
    ErrorLog ${APACHE_LOG_DIR}/error.log

    # Define the location and format of the access log file
    CustomLog ${APACHE_LOG_DIR}/access.log combined
</VirtualHost>
These configurations will let Apache run your CodeIgniter app on port 80. But keenly note the Root Directory /var/www/html/public. In your CodeIgniter app, the public is key:
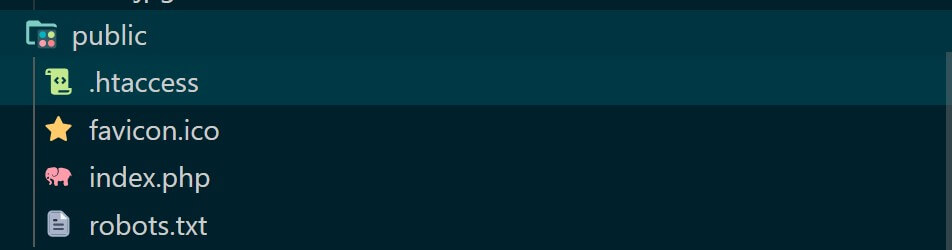
The /var/www/html/public directory allows directory indexing, symbolic links, and .htaccess files to override Apache configuration. This Is where Apache will check to run your CodeIgniter app using the index.php and .htaccess files.
Creating CodeIgniter 4|3 Docker Compose File
Docker Compose will package the whole application together. In this you will create a Docker Compose file to Apache serve CodeIgniter with Docker. In your working Directory, create docker-compose.yaml and run your Container as follows:
version: '3.8'
services:
  app:
    container_name: ci-API
    build:
      context: .
      dockerfile: Dockerfile
    volumes:
      - .:/var/www/html/
    ports:
      - 8080:80
This means Apache will run port 80 and expose CodeIgniter on port 8080. Rerun your container using the following command:
docker-compose up --build -d
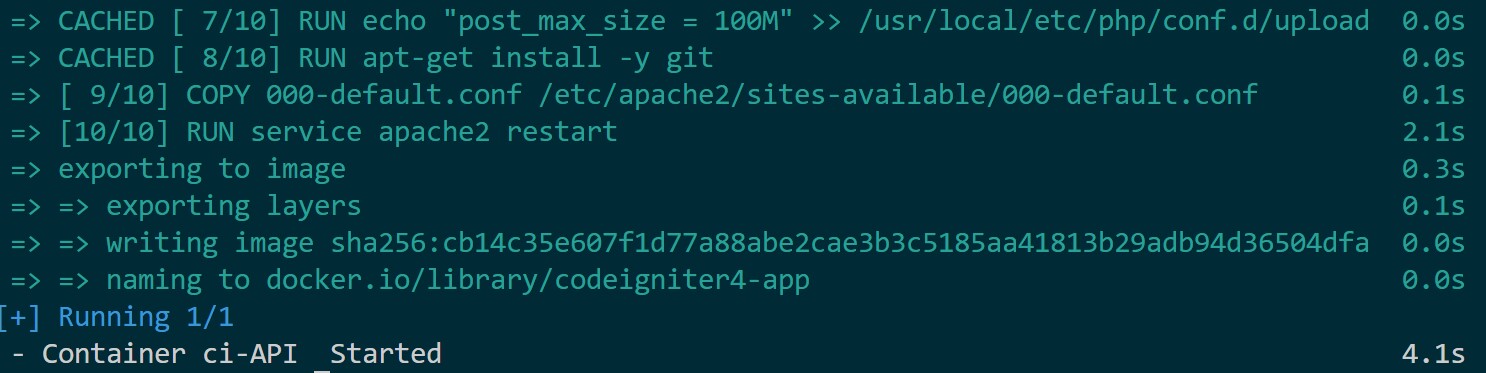
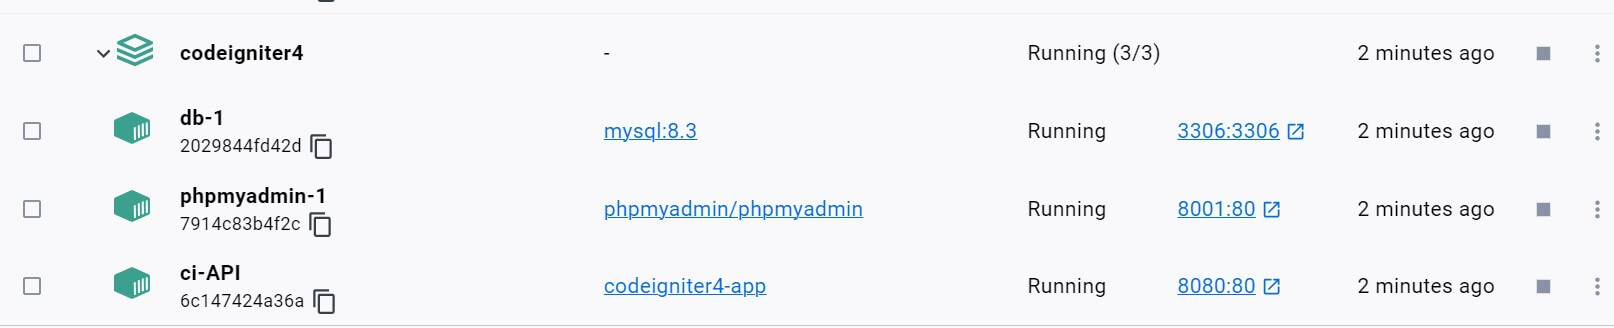
Once done, the container should be running:

Open http://localhost:8080/ and your Dockerized CodeIgniter app should be ready:
Running CodeIgniter with MySQL on Docker
On top of running CodeIgniter on Docker, you will likely need to use a database and create CRUD APIs. We are on Docker. This means you need a MySQL container that CodeIgniter will use. To get one ready, update docker-compose.yaml file as such:
version: '3.8'
services:
  app:
    container_name: ci-API
    build:
      context: .
      dockerfile: Dockerfile
    volumes:
      - .:/var/www/html/
    ports:
      - 8080:80
    depends_on:
      - db

  db:
    image: mysql:8.3
    restart: always
    environment:
      MYSQL_ROOT_PASSWORD: your_root_password
      MYSQL_DATABASE: your_database_name
      MYSQL_USER: your_username
      MYSQL_PASSWORD: your_password
    ports:
      - 3306:3306

  phpmyadmin:
    image: phpmyadmin/phpmyadmin
    ports:
      - 8001:80
    environment:
      - PMA_HOST=db
      - PMA_PORT=3306
Note that we have added phpMyAdmin so we can access the Database using phpMyAdmin GUI.
Connecting CodeIgniter and MySQL on Docker
CodeIgniter will connect to MySQL on Docker. This means you must have mysqli ready. In this case, go to Dockerfile and install mysqli as follows:
FROM php:8.2-apache
# Update and upgrade packages
RUN apt-get update && apt-get upgrade -y
# Install CodeIgniter 4 dependencies (ext-intl, ext-gd, ext-zip)
RUN apt-get install -y libicu-dev libpng-dev libzip-dev
RUN docker-php-ext-install intl gd zip
# Add required mysqli PHP extensions
RUN docker-php-ext-install mysqli && docker-php-ext-enable mysqli
RUN docker-php-ext-install mysqli pdo pdo_mysql
# Enable mod_rewrite for Apache
RUN a2enmod rewrite
# Modify php.ini to increase the upload file size to 100MB
RUN echo "upload_max_filesize = 100M" > /usr/local/etc/php/conf.d/uploads.ini
RUN echo "post_max_size = 100M" >> /usr/local/etc/php/conf.d/uploads.ini
# Install git
RUN apt-get install -y git
# Copy the Apache configuration file
COPY 000-default.conf /etc/apache2/sites-available/000-default.conf
# Restart Apache
RUN service apache2 restart
For CodeIgniter to access MySQL, you will need to update the app\Config\Database.php file with the following variables:
 public array $default = [
  'DSN'  => '',
  'hostname' => 'db',
  'username' => 'your_username',
  'password' => 'your_password',
  'database' => 'your_database_name',
  'DBDriver' => 'MySQLi',
BUT NOTE: hostname MUST be
db. The name of the Docker Compose service running MySQL server.
You will then update the app\Controllers\Home.php file with MySQL Database connection as follows:
<?php

namespace App\Controllers;

class Home extends BaseController
{

    public function index()
    {
        // Get the database connection
        $db = \Config\Database::connect();

        // Test database connection
        if ($db->connect()) {
            echo "Database connection successful!";
        } else {
            echo "Unable to connect to the database.";
        }
    }
}
Now, rerun your Docker Compose:
docker-compose up --build -d
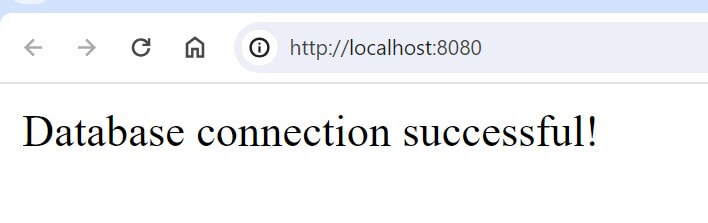
At this point, you can access your CodeIgniter app (http://localhost:8080/) and confirm if it can connect to MySQL:
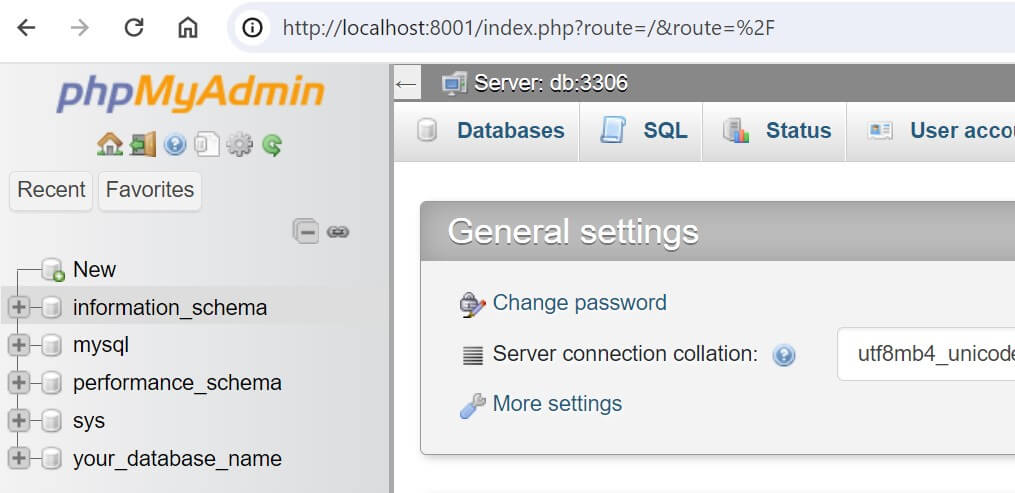
You should now create your CRUD CodeIgniter app with MySQL while leveraging the Docker containers. The last part is to access MySQL with phpMyAdmin. Open http://localhost:8001/:

Use root as the username and password based on MYSQL_ROOT_PASSWORD: your_root_password. So, you add your_root_password as password and log in:
Conclusion
You have successfully Dockerized PHP CodeIgniter 3|4 with Docker and Docker Compose while still using Apache and MySQL. I hope you can now:
- Use Docker Compose to create PHP CodeIgniter 4 and 3 Container with a MySQL database.
- Use Apache with PHP to run Dockerized CodeIgniter apps.
- Add MySQL to CodeIgniter while using Docker.
Written By: