Master k3s and Multipass | Ideal k3s Setup on Mac M1/macOS
Posted March 22, 2024

This guide delves into mastering k3s and Multipass on Mac M1/MacOS. You will learn the ultimate step-by-step process of the ideal K3s cluster setup on Mac M1 (M2, or Intel-based) Apple Silicon, and any macOS using Multipass.
Understanding Why Multipass for k3s Mac M1/MacOS Setup
K3s creates lightweight Kubernetes clusters. You only need to install a single binary file and are ready. However, setting one on Mac (M1, M2, or Intel-based) and installing the K3s binary with the normal cURL command doesn’t work on my end.
Related: Mastering K3s on macOS – Install and Provision K3s with K3D on macOS
The k3s Mac M1/macOS Setup Challage
cURL K3s binary won’t work directly on M1/macOS. Here is an error example:
# K3s install command
curl -sfL https://get.k3s.io | sh -

# Mac K3s install Error
[ERROR]Can not find systemd or openrc to use as a process supervisor for k3s
This error suggests you need it’s unable to find System or Openrc. They are not available on macOS; only Linux distributions have these supervisors.
The First Solution to Run k3s on Mac
To solve this error and get k3s running on macOS, you must create a Linux layer (a VM) on top of the Mac. That is not a fair fight, considering your machine only needs a lightweight K3s cluster.
Multipass as the Savior
Multipass is a lightweight VM manager that creates a Linux instance on Mac M1. Not just Apple Silicon; any macOS distribution works fine with Multipass.
Now, you understand why you have difficulty getting the K3s cluster ready. While you can create a Linux layer on top of a Mac, Multipass will install K3s on any macOS without challenges or staling your computer resources.
Multipass spins up Linux VMs on Mac M1/macOS. Using k3s for lightweight Kubernetes clusters is possible with easy Multipass VM management on Mac.
Follow step-by-step instructions to install Multipass on your Mac.
Step 1: Installing Multipass the Right Way
Run the below command to install multipass:
# Install Multipass
brew install --cask multipass
Use multipass to create a Linux VM. This step will Initiate a new Multipass instance compatible with the Mac architecture. Go ahead and Run the following dry command:
multipass launch --name k3s-vm
# Or add memory and disk space you want your VM to run on
multipass launch --name k3s --mem 4G --disk 40G
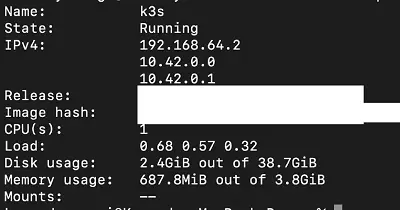
Confirm that Mac has created your Multipass VM and if it is in Running state as follows:
multipass info k3s
Step 2: Installing k3s on Top on Multipass VM
Multipass is running. Why not now install the lightweight Kubernetes distribution and start creating tailored for resource-constrained K3s clusters
Login to the shell of the VM:
multipass shell k3s
# Or use Bash
multipass exec k3s-vm -- bash -c \
Once logged in, install K3s using the normal cURL command:
curl -sfL https://get.k3s.io | sh -
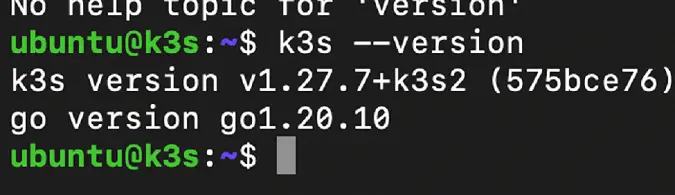
You can verify that K3s has been installed:
k3s --version
The response logged on your terminal should be similar to:
Step 3: Deleting K3s Multipass Instance (If Needed)
If you want to delete the installed K3s Multipass instance on MacOS:
-
List running instances:
multipass list

- To save resources, consider deleting an instance once done:
multipass delete k3s
multipass delete k3s-worker

-
To recover resources from a deleted instance, purge it:
multipass purge k3s
Step 4: Creating a K3s Cluster using MacOS and Multipass
-
Run the below command to create a cluster:
k3s cluster create mycluster -
Confirm if the cluster has been created successfully:
kubectl get nodes

Cluster info:
kubectl cluster-info

Deploying Apps to the K3s Cluster
Create an nginx-deployment.yaml file to deploy an nginx image on two replicas:
- define the name and kind:
apiVersion: apps/v1
kind: Deployment
metadata:
    name: nginx-deployment
- define the specs (docker image, port, and number of replicas):
spec:
replicas: 2
selector:
    matchLabels:
        app: nginx
template:
    metadata:
    labels:
        app: nginx
spec:
containers:
- name: nginx
    image: nginx:latest
    ports:
    - containerPort: 80
-
define the service: (name, port, and type):
-
deploy it:
kubectl apply -f nginx-deployment.yaml -
Check if the deployment has been done:
kubectl get deployment nginx-deployment

-
Get the running pods:
kubectl get pods

-
Check the port, the service is running on:
kubectl get svc nginx-deployment

Accessing the Running Cluster
-
Expose the service via Port Forward.
kubectl port-forward your_pod_name 8888:80
Replace your_pod_name with the name of a running pod e.g. nginx-deployment-66fb7f764c-pnvdw
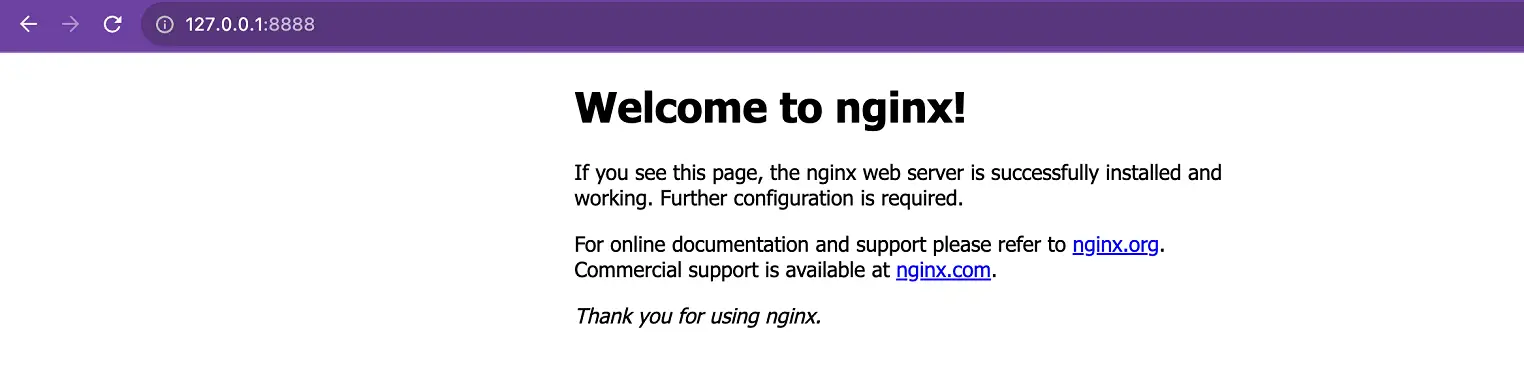
- From the browser access port 8888 locally;
http://127.0.0.1:8888:
Setting up a K3s Multipass kubernetes Dashboard
-
Define the deployment for the Kubernetes dashboard:
kubectl apply -f https://raw.githubusercontent.com/kubernetes/dashboard/v2.7.0/aio/deploy/recommended.yaml -
Confirm the deployment, by getting the pods and services for kubernetes-dashboard:
kubectl get pods,svc -n kubernetes-dashboard

-
For the kubernetes-dashboard service, replace it’s type from ClusterIP to NodePort:
kubectl patch svc kubernetes-dashboard --type='json' -p '[{"op":"replace","path":"/spec/type","value":"NodePort"}]' -n kubernetes-dashboard service/kubernetes-dashboard patchedConfirm if the type has been changed successfully:
kubectl get svc -n kubernetes-dashboard

The type should now change from clusterIp to NodePort.
-
To derive the admin dashboard, we will need to create a k3s-dashboard.yaml with instructions for the admin user and the roles.
-
k3s-dashboard.yaml:
-
define a ServiceAccount with the name admin-user in the kube-system namespace specifying the kubernetes apiVersion for the resource:
apiVersion: v1 kind: ServiceAccount metadata: name: admin-user namespace: kube-system --- -
Bind the admin-user service account to the cluster-admin cluster-role using the RBAC clusterRolebinding to give elevant permissions to the admin-user service Account on the kubernetes cluster.
apiVersion: rbac.authorization.k8s.io/v1 #rbac cluster role binding kind: ClusterRoleBinding metadata: name: admin-user roleRef: apiGroup: rbac.authorization.k8s.io #rbac cluster role binding kind: ClusterRole name: cluster-admin -
Lastly, we need to specify the entities to which the clusterRole is bound, that is the admin-user serviceAccount on the kube-system namespace
subjects:
  - kind: ServiceAccount
    name: admin-user
    namespace: kube-system
-
With that, we have specified what we need for the dashboard.
-
Create it:
kubectl create -f k3s-dashboard.yml -
Once completed, we have the admin-user set up, the next step is to create a token for the user since we will need it in the login process:
kubectl -n kube-system create token admin-userThe above command will output a token on your terminal. Save it as we will use it in the next step.
Logging Into to Kubernetes Dashboard from the Browser
Expose the running kubernetes-dashboard to a local port: 32370. Note that by default it will run on https.
kubectl port-forward service/kubernetes-dashboard 32370:443 -n kubernetes-dashboard
From your browser, access *https://127.0.0.1:32370*
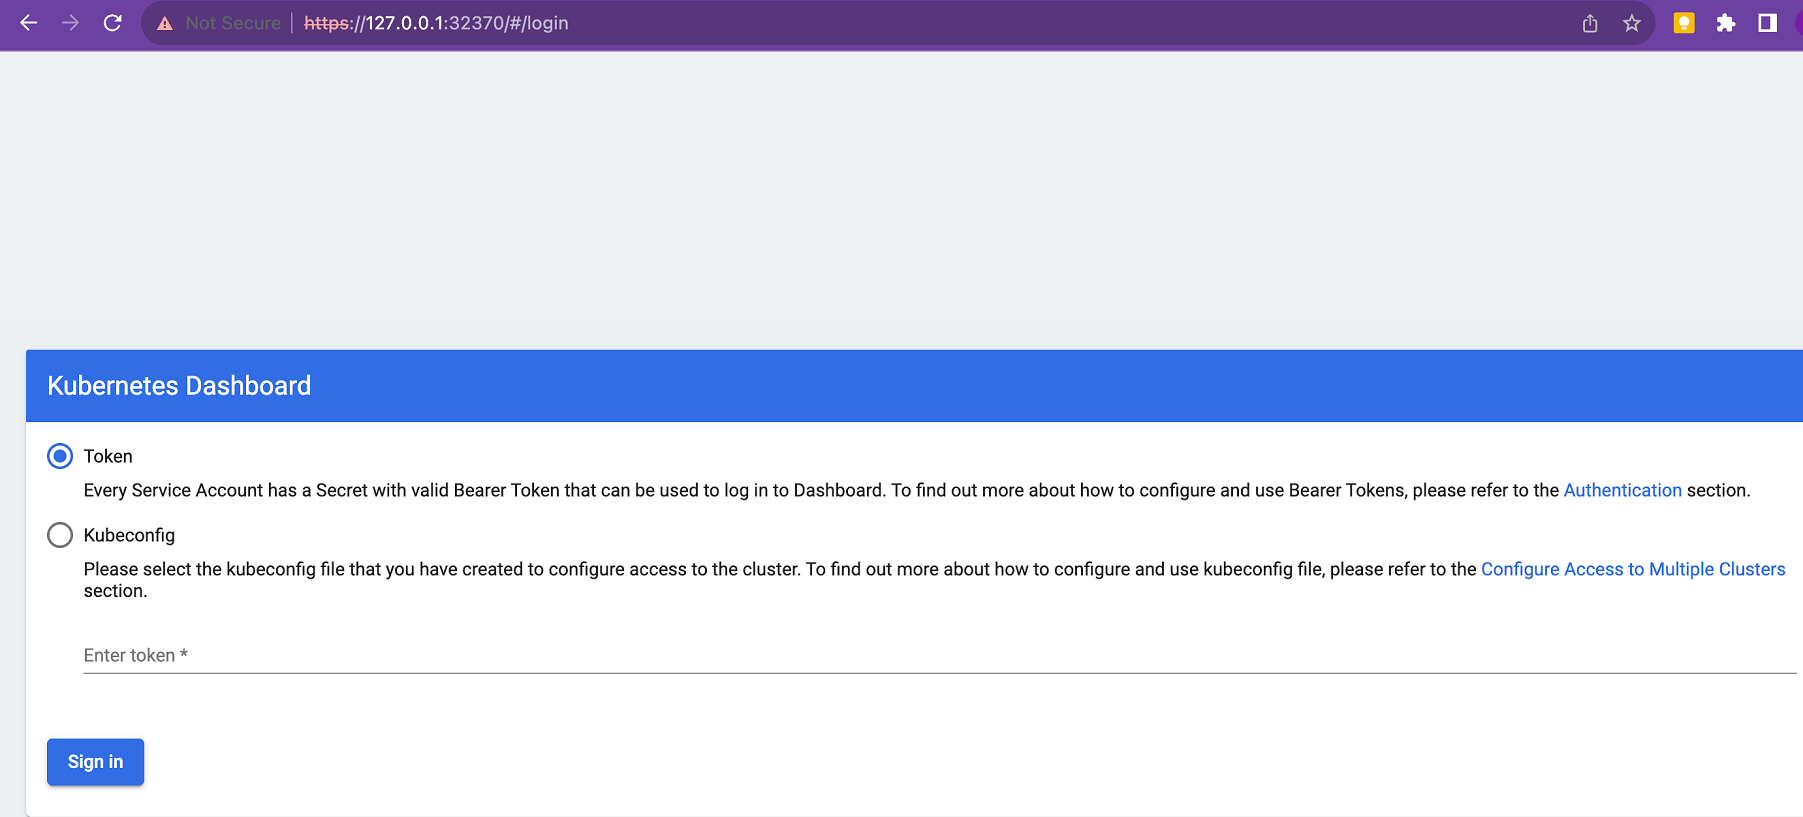
By default the token checkbox will be checked, Enter the token generated form the previous step and click on login.
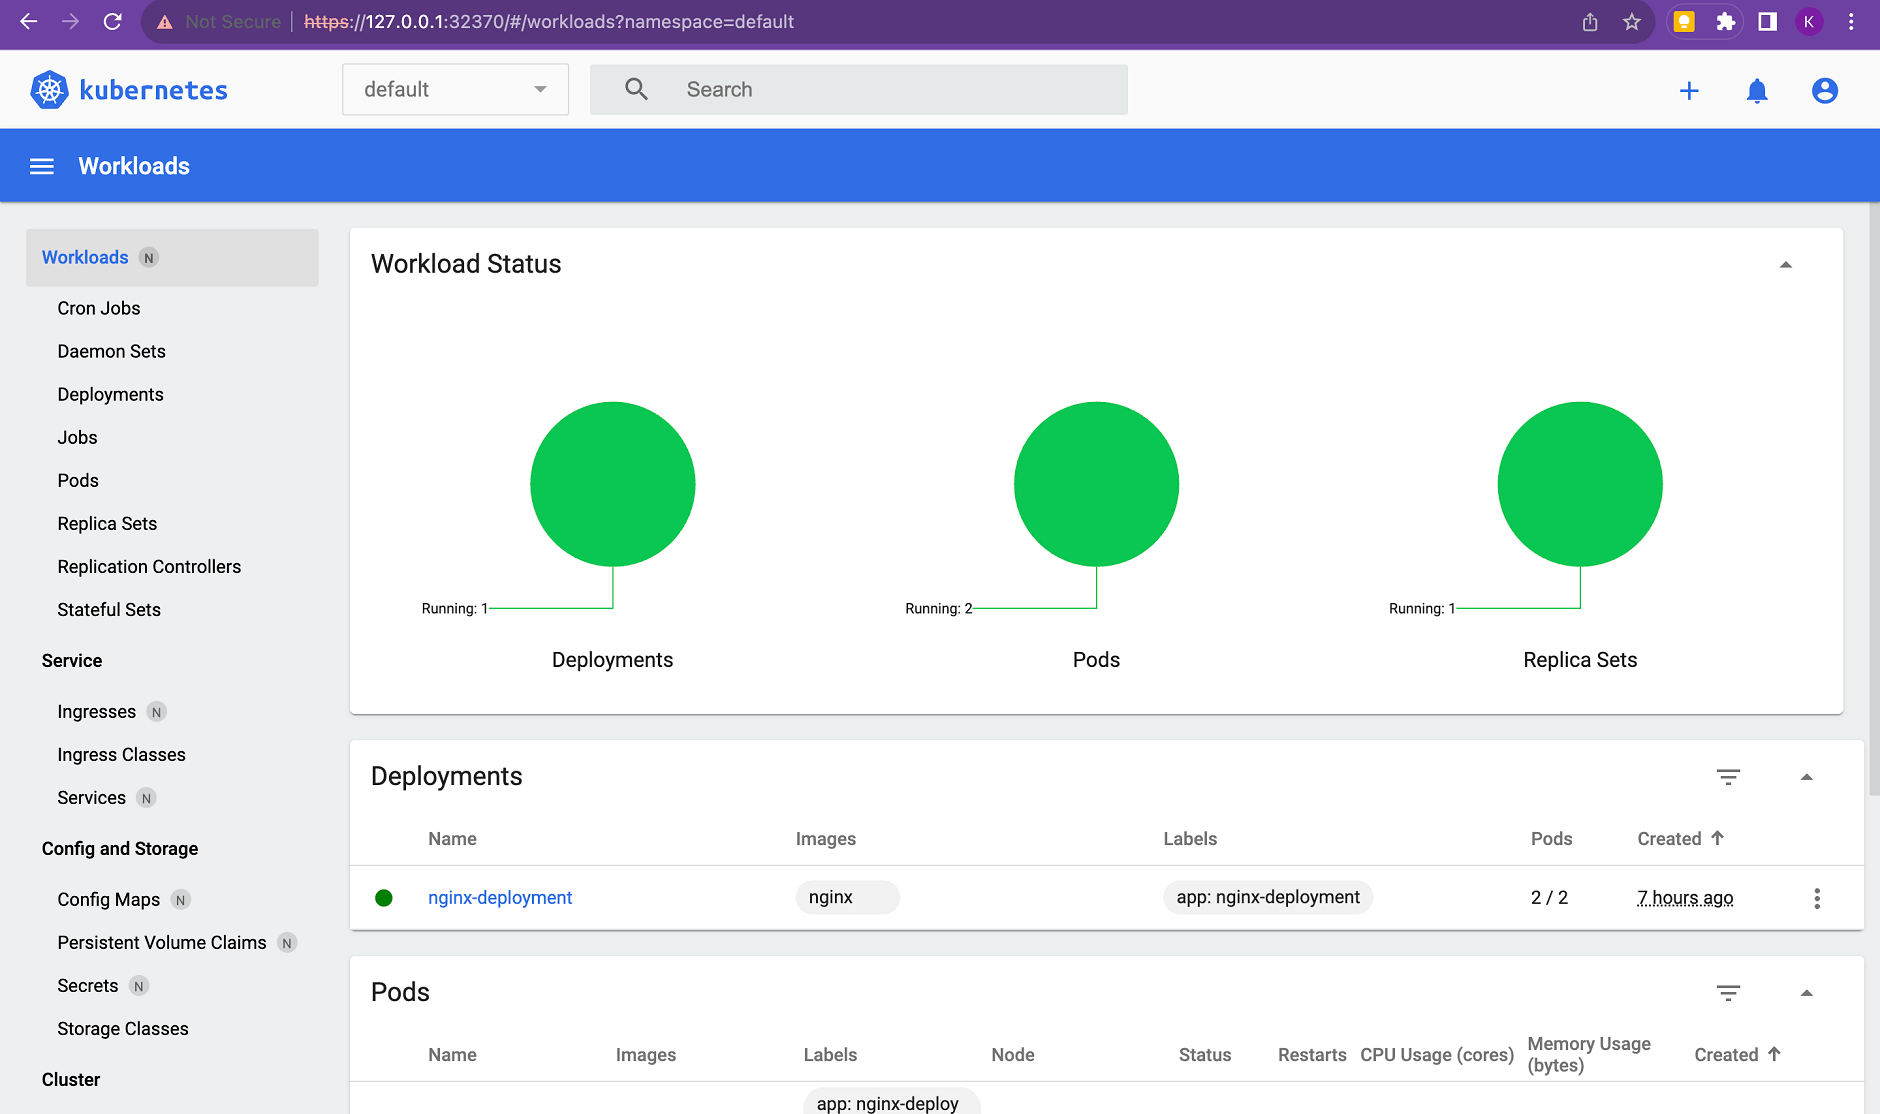
Under the deployments section, you can see the nginx-deployment service running which we set up.
Conclusion
This guide helped you master k3s and Multipass on Mac M1/MacOS. You have learned the ultimate step-by-step process of the ideal K3s cluster setup on Mac M1 (M2, or Intel-based) Apple Silicon, and any macOS using Multipass.
Written By: