How to Install Docker and Portainer on Ubuntu 22.04|20.04 18.04 Server
Posted February 29, 2024

This guide teaches how to easily install and use Docker and Portainer on (Linux) Ubuntu 20.04|22.04|18.04 Server. You will learn all the steps you need to get Docker with Portainer ready on the Ubuntu machine. Portainer is a container management GUI for Docker environments and Kubernetes clusters.
A Portainer server will make it easier to manage containers, images, volumes, and networks within Ubuntu. This way you will get an extensive feature set for Docker and Kubernetes. You will learn:
- Getting Docker ready on Ubuntu to run Portainer.
- Different ways to install and run Portainer within the Ubuntu server.
- How to manage your container and other resources with the installed Ubuntu Portainer GUI.
- How to force an access Portainer with HTTPS and SSL.
Ready? Now, dive in and learn how to install Docker and Portainer on Ubuntu 20.04|22.04|18.04 Server.
Related: Guide to Setting Up Node-Red with Portainer and Docker
Step 1: What you Need to Get Portainer Ready on Ubuntu
Now before running Portainer, ensure:
- You have your Ubuntu machine ready. This setup works for Ubuntu 20.04|22.04 Server.
- Have prior knowledge working with Docker.
- To run Docker Engine (for Linux) on Ubuntu, ensure you have a Minimum of 2GB RAM, a 64-bit version of Linux, and At least 3GB of free disk space.
- Portainer uses Docker. This means you must have Docker installed and running on Ubuntu. You will learn these steps as follows.
Step 2: Update Ubuntu Package Index
You need to ensure Ubuntu is updated and is using the latest packages before installing Docker and Portainer. Use the following commands:
- Check if there is any Package index that needs an update:
sudo apt update
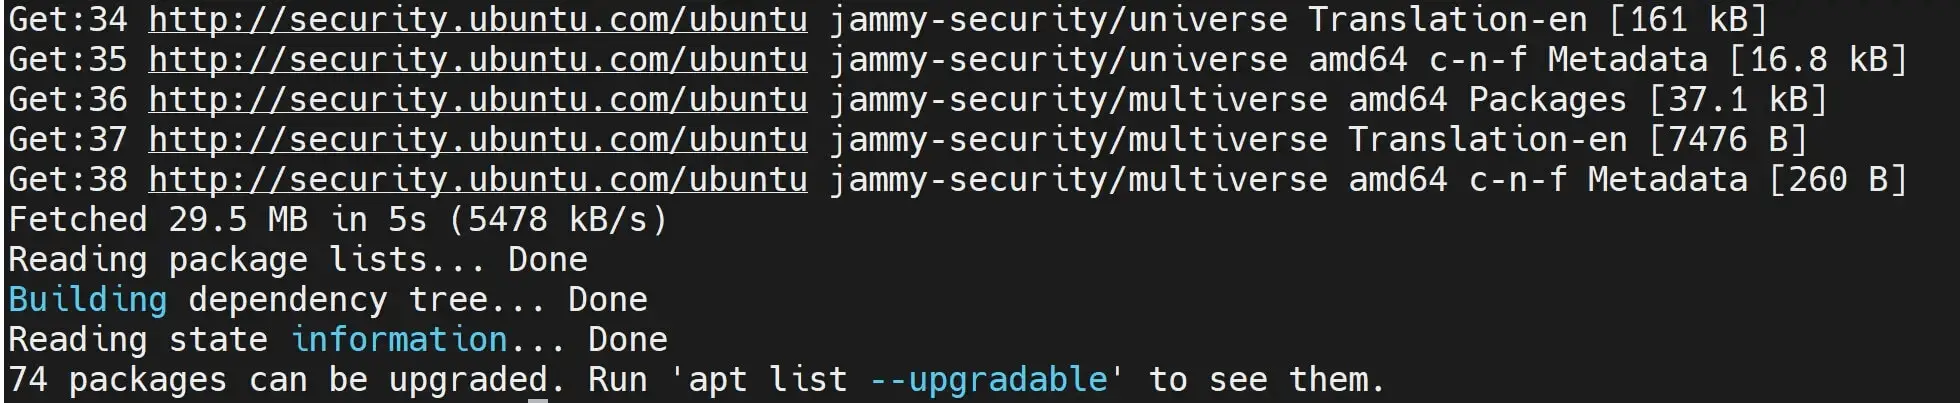
- Run an update command and you should be good to go:
sudo apt upgrade -y
Step 3: Installing Docker For Portainer on Ubuntu
Portainer manages Docker environments. You’ll need to have Docker installed first on your Ubuntu server. Now, before using these commands, you must ensure your Ubuntu doesn’t have older Docker installations. You will install them using the following command:
sudo apt-get remove docker docker-engine docker.io containerd runc
If you have confirmed you don’t have an existing Docker Engine package use the following steps to get Docker ready:
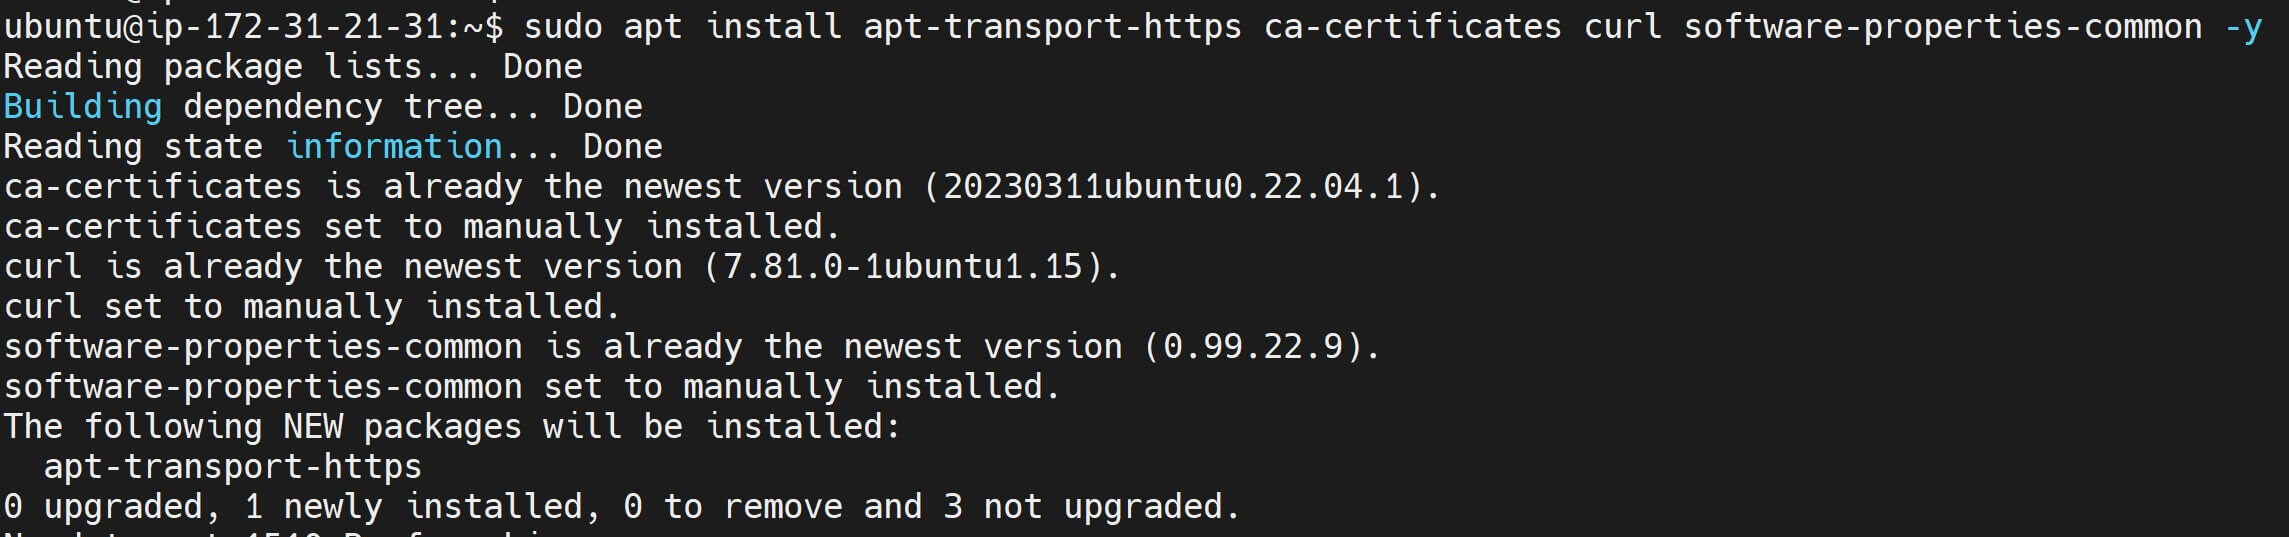
- Install Docker Ubuntu Install Prerequisite Packages
sudo apt install apt-transport-https ca-certificates curl software-properties-common -y
- Add Docker official GPG key. This way, Ubuntu will be able to verify the authenticity of any Docker packages you install:
sudo install -m 0755 -d /etc/apt/keyrings
sudo curl -fsSL https://download.docker.com/linux/ubuntu/gpg -o /etc/apt/keyrings/docker.asc
sudo chmod a+r /etc/apt/keyrings/docker.asc
OR
curl -fsSL https://download.docker.com/linux/ubuntu/gpg | sudo apt-key add -
This command downloads the Docker GPG key and saves it as a file docker-archive-keyring.gpg in the /etc/apt/trusted.gpg.d/ directory.

- Goa head and add Docker Repository on Ubuntu to the apt sources:
sudo add-apt-repository "deb [arch=amd64] https://download.docker.com/linux/ubuntu $(lsb_release -cs) stable"
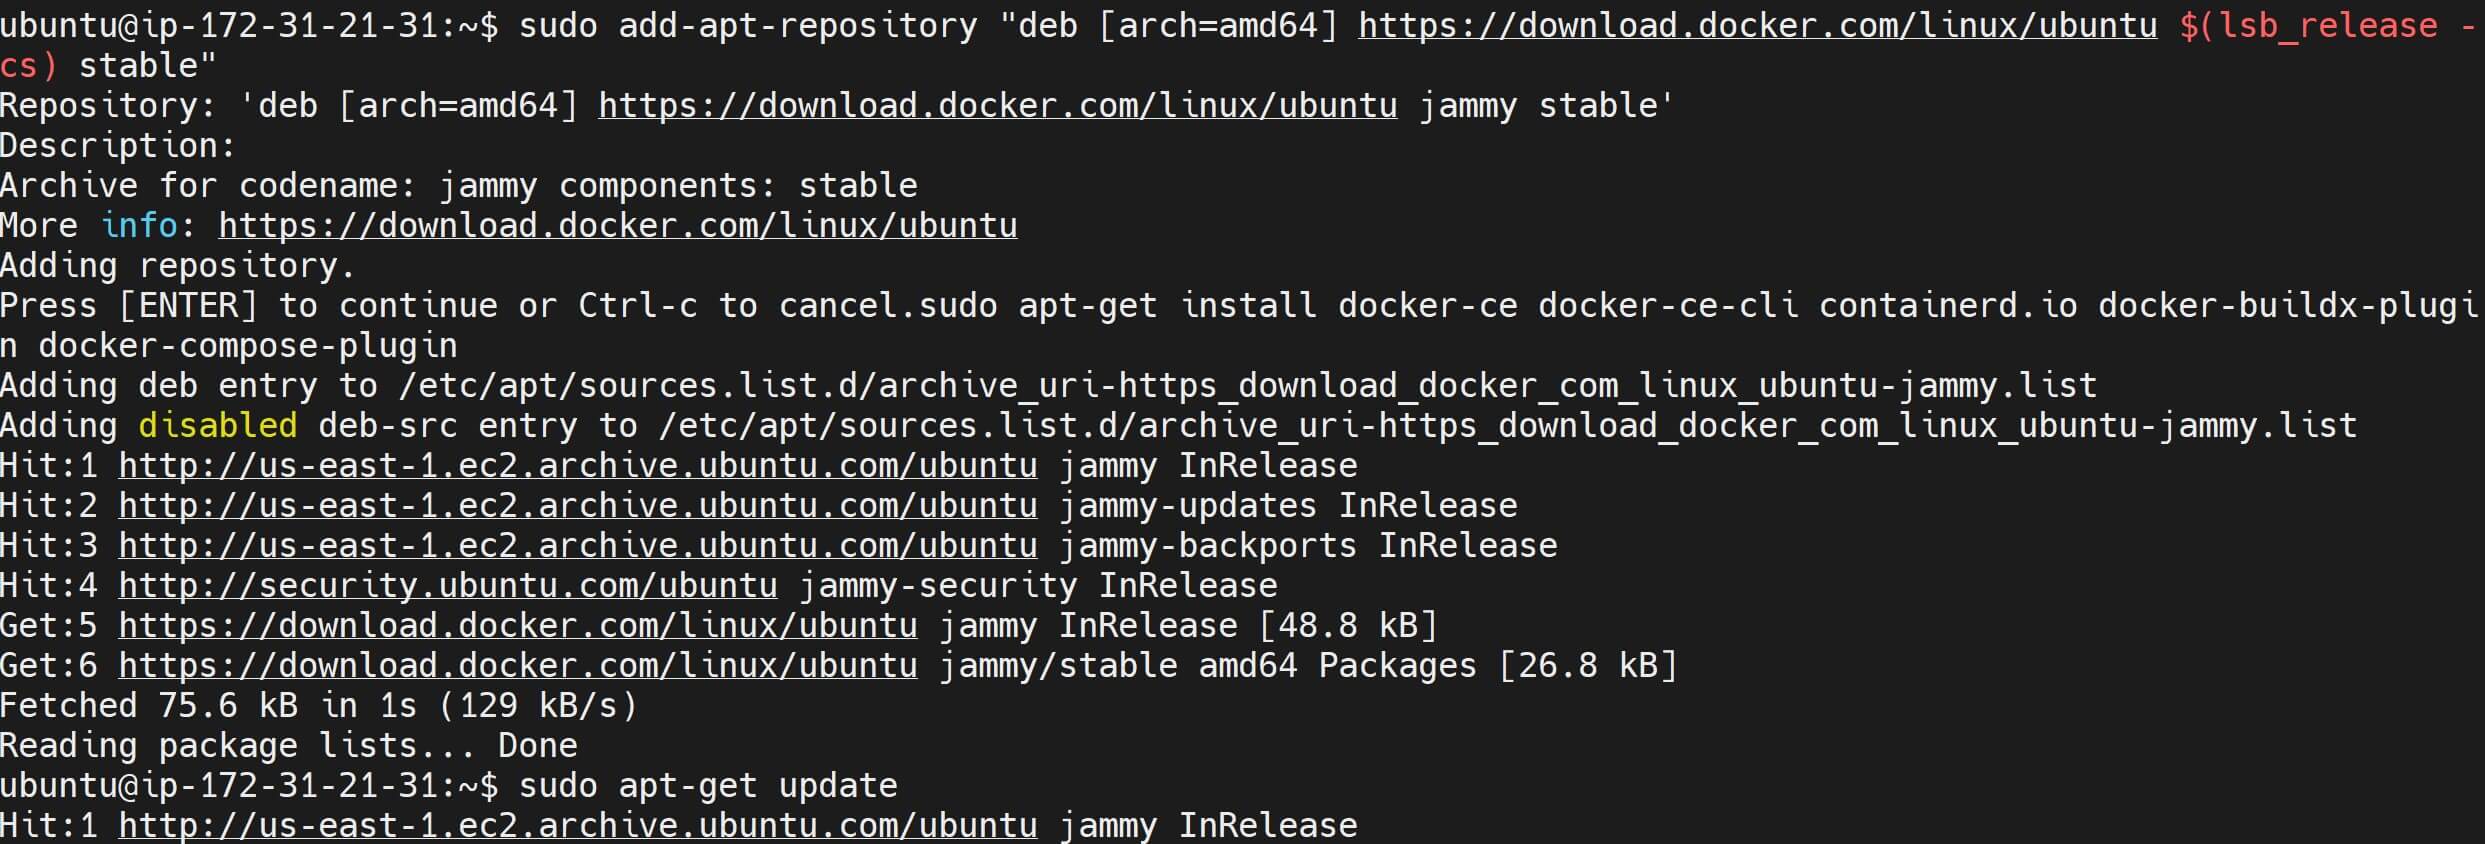
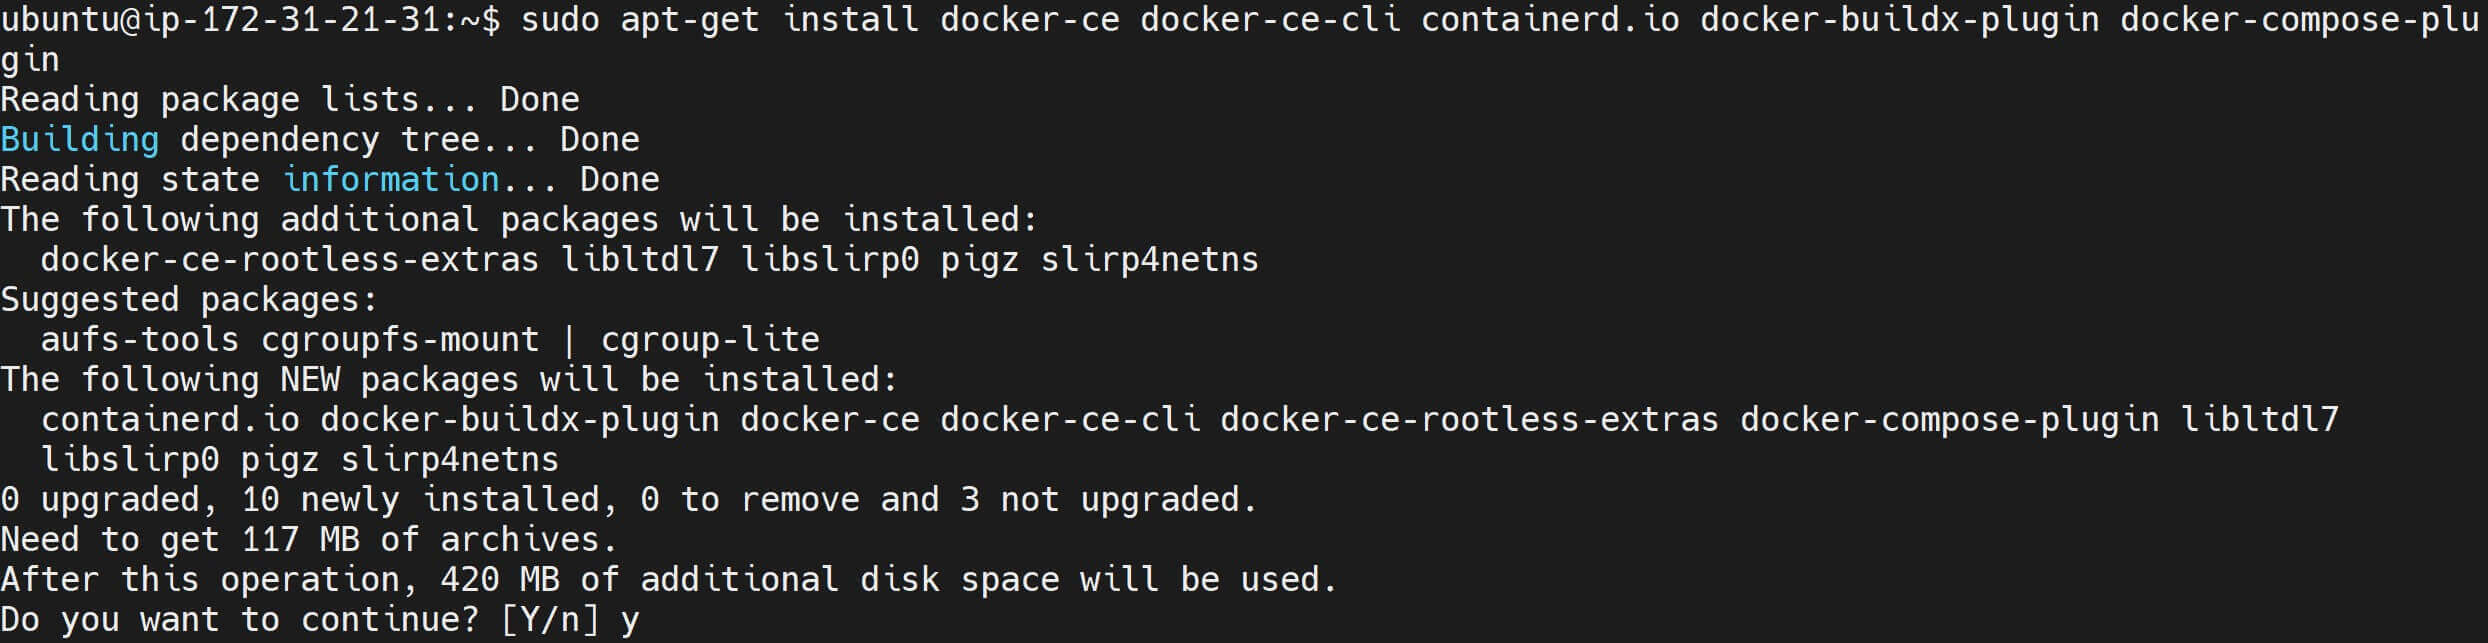
- Run the following command to Install Docker and its packages.
sudo apt-get install docker-ce docker-ce-cli containerd.io docker-buildx-plugin docker-compose-plugin
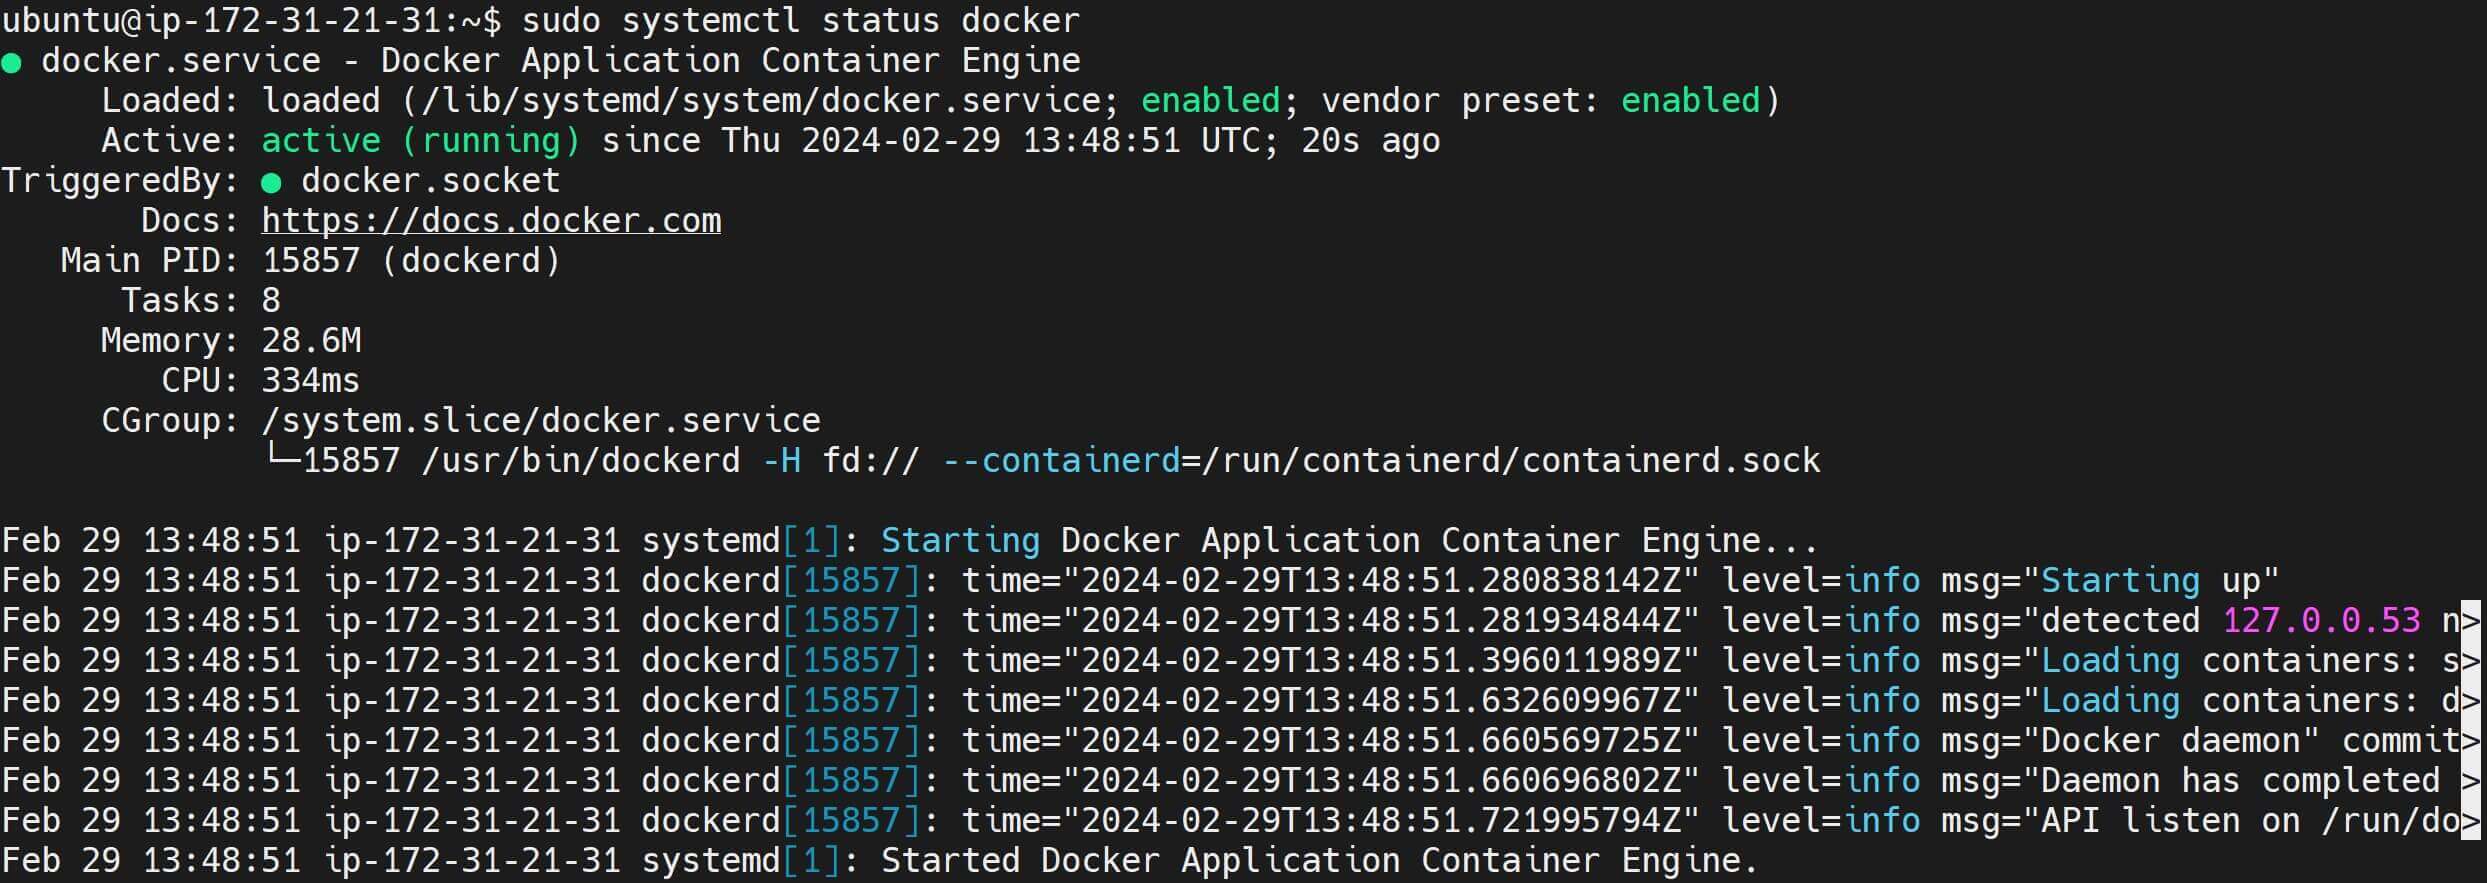
- The final step is to verify if the installed Docker Engine is running on your Ubuntu server. Use the following command:
sudo systemctl status docker
This command should check if Docker is installed and its process is running on boot:
Step 4: Installing Install Portainer on Ubuntu Server
Docker ready. It’s running as expected. This way, you can use the Docker command to get Portainer UI ready in the following steps:
There are two ways to get Portainer ready, using the Docker command and using Docker compose.
To use just Docker:
- First, pull the Portainer base image to the Ubuntu server
docker pull portainer/portainer-ce:latest
- Then start the Portainer container from the above image:
docker run -d -p 9000:9000 --restart always -v /var/run/docker.sock:/var/run/docker.sock --name portainer portainer/portainer-ce:latest
If you want to get Portainer using Docker compose:
- Ensure Docker Compose is installed. If not Install it:
# Check version
docker compose version
# Install Command
sudo apt-get update
sudo apt-get install docker-compose-plugin

- Create a
docker-compose.ymlfile (nano docker-compose.yml) and add Portainer as follows:
version: '3.9'
services:
  portainer:
  # Use the Portainer Community Edition image
    image: portainer/portainer-ce
     # Set the container name to 'portainer'
    container_name: portainer
    # Ensure the container restarts automatically if it stops
    restart: always
    ports:
    # Expose Portainer's web interface on host port 9000
      - "9000:9000"
    volumes:
     # Mount the Docker socket for Docker API access
      - /var/run/docker.sock:/var/run/docker.sock
      # Mount a volume for persistent data storage
      - portainer_data:/data

volumes:
# Define a volume for persistent data storage
  portainer_data:
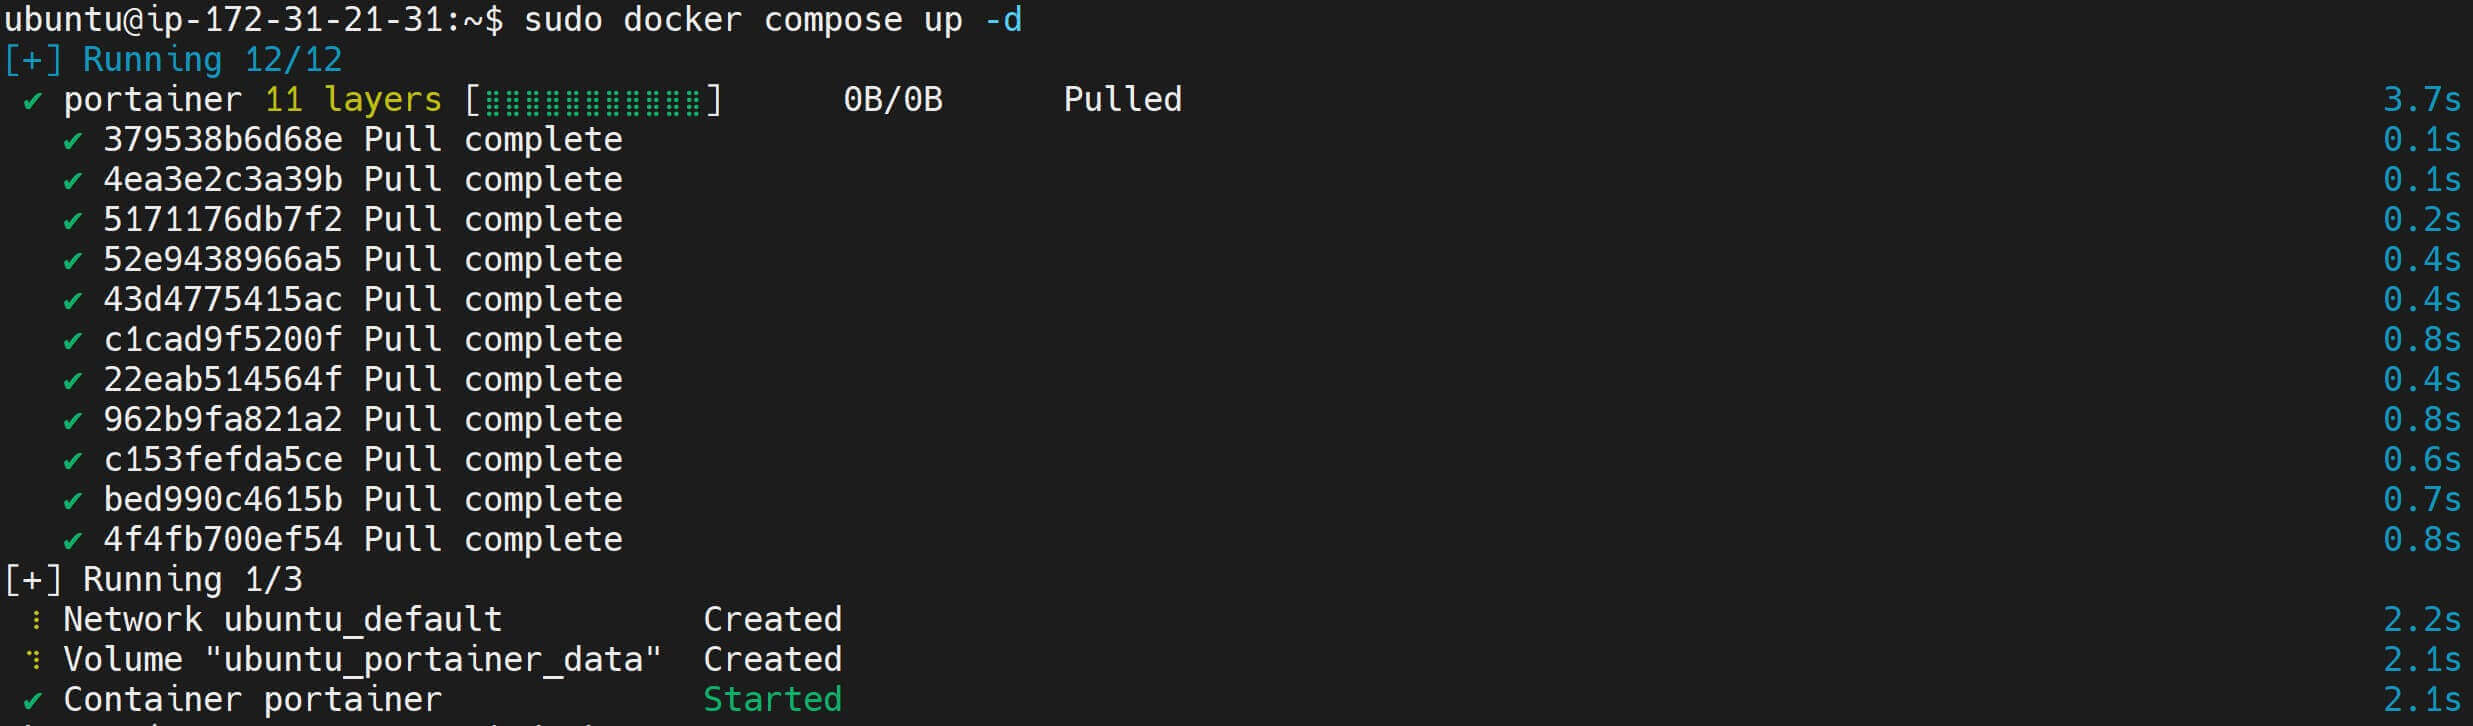
- Go to your
docker-compose.ymlpath and run the following command:
sudo docker compose up -d
Step 5: How to Access Portainer UI on Ubuntu
In any of the above commands, run the following command to check if the Portainer container is now up and running:
sudo docker ps

You have the container named portainer running on port 9000. To access the Portainer UI use http://your_server_ip:9000 in your web browser.
Now, you might get a small error telling you you need to restart Portainer. If you get the following message:
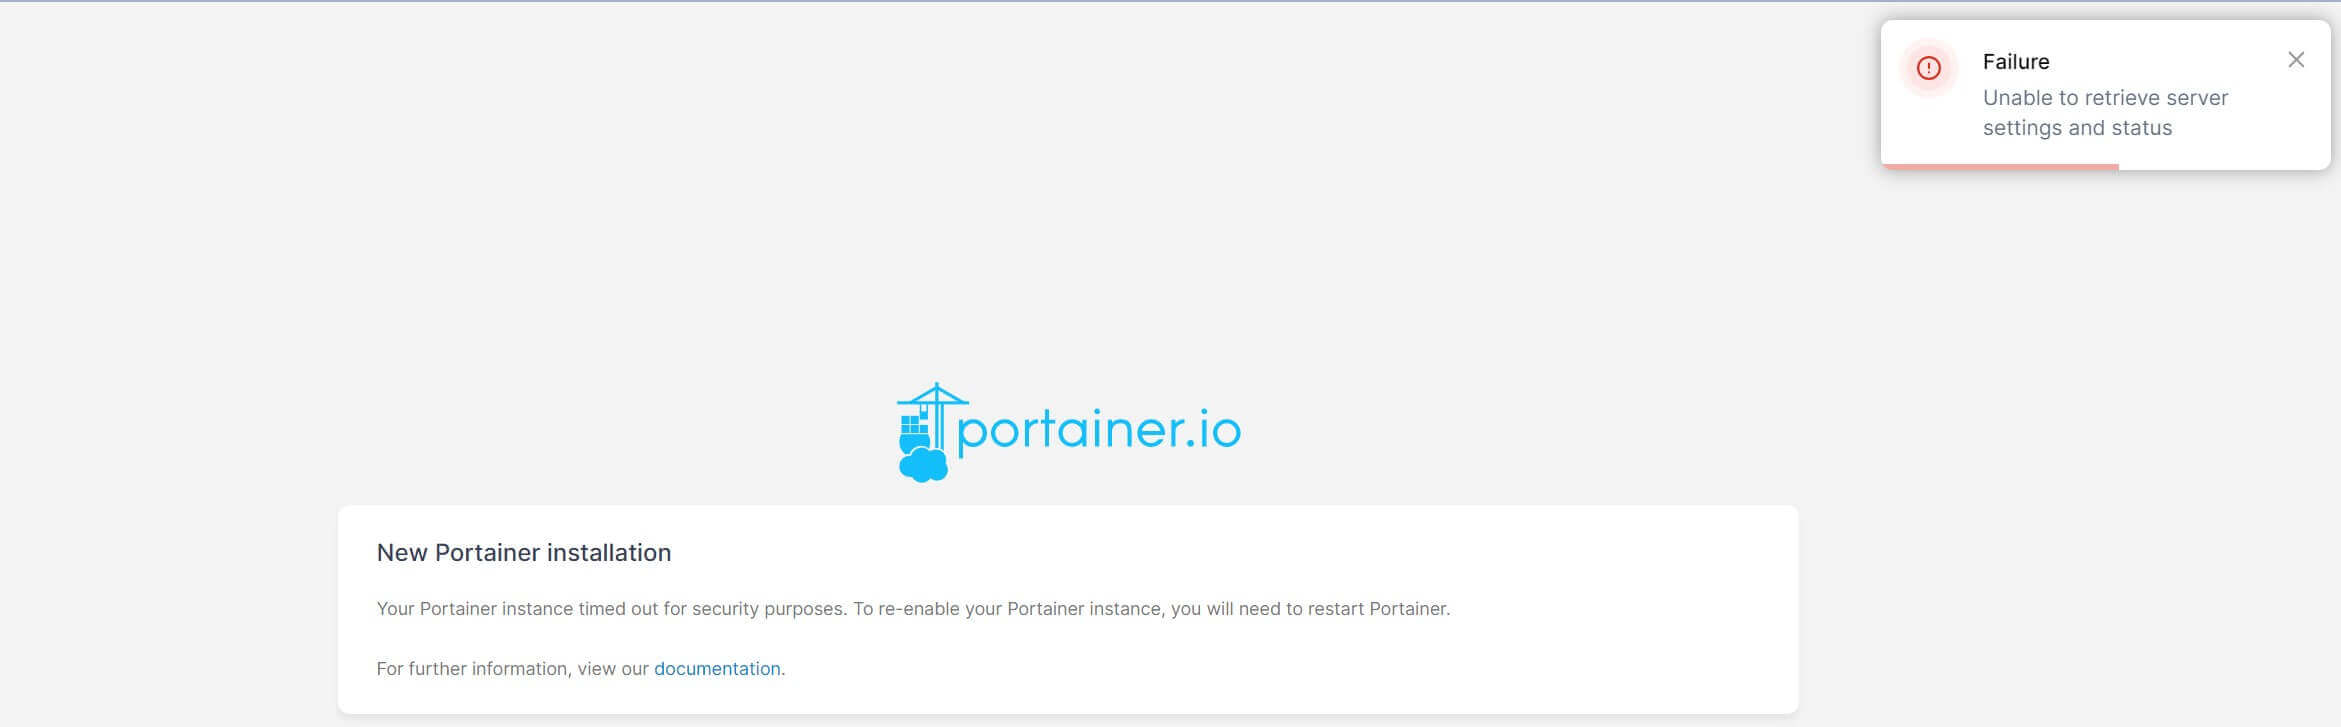
Run the following command (where portainer is the container name):
sudo docker restart portainer
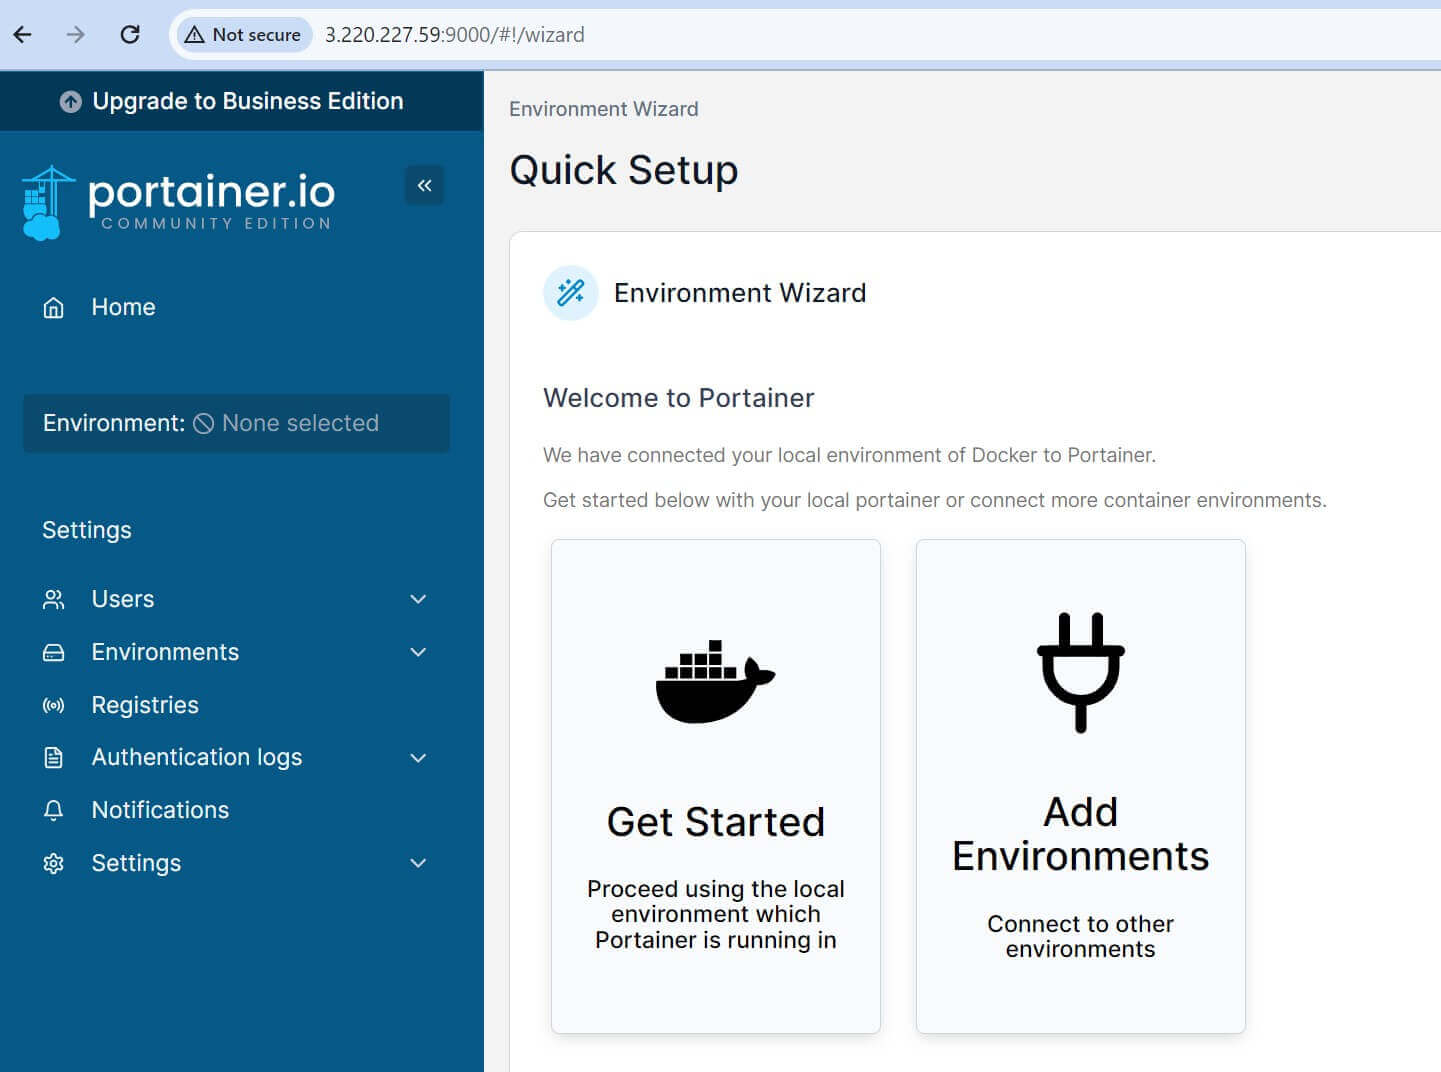
Then access Portainer (http://your_server_ip:9000) as follows:

Here, you should provide a username and password for accessing Portainer. Once done, you should have a ready Portainer installed through Docker in your Ubuntu machine:
You should select the Docker environment that you want to manage. Click Get Started and proceed using the local environment in which Portainer is running in:
The following should be the first view of Ubuntu Portainer and its running Docker environments:
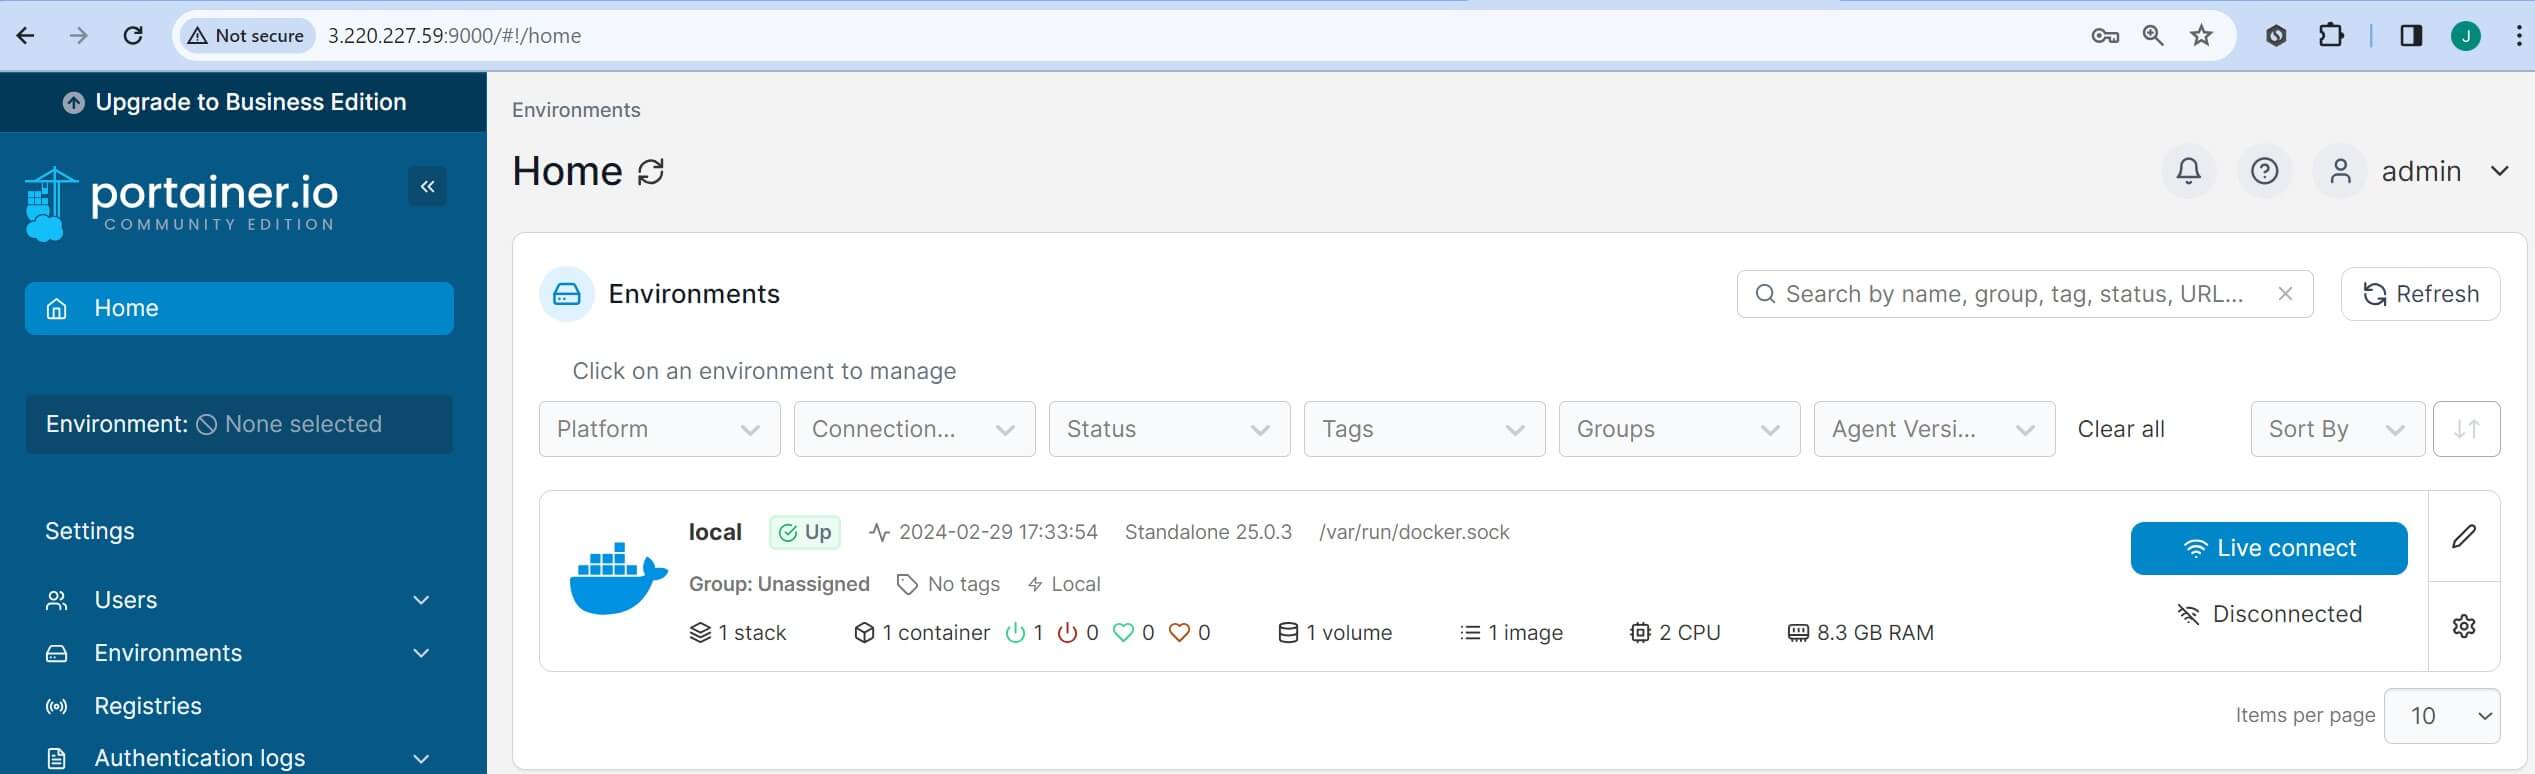
Click it and access the full Dashboard:
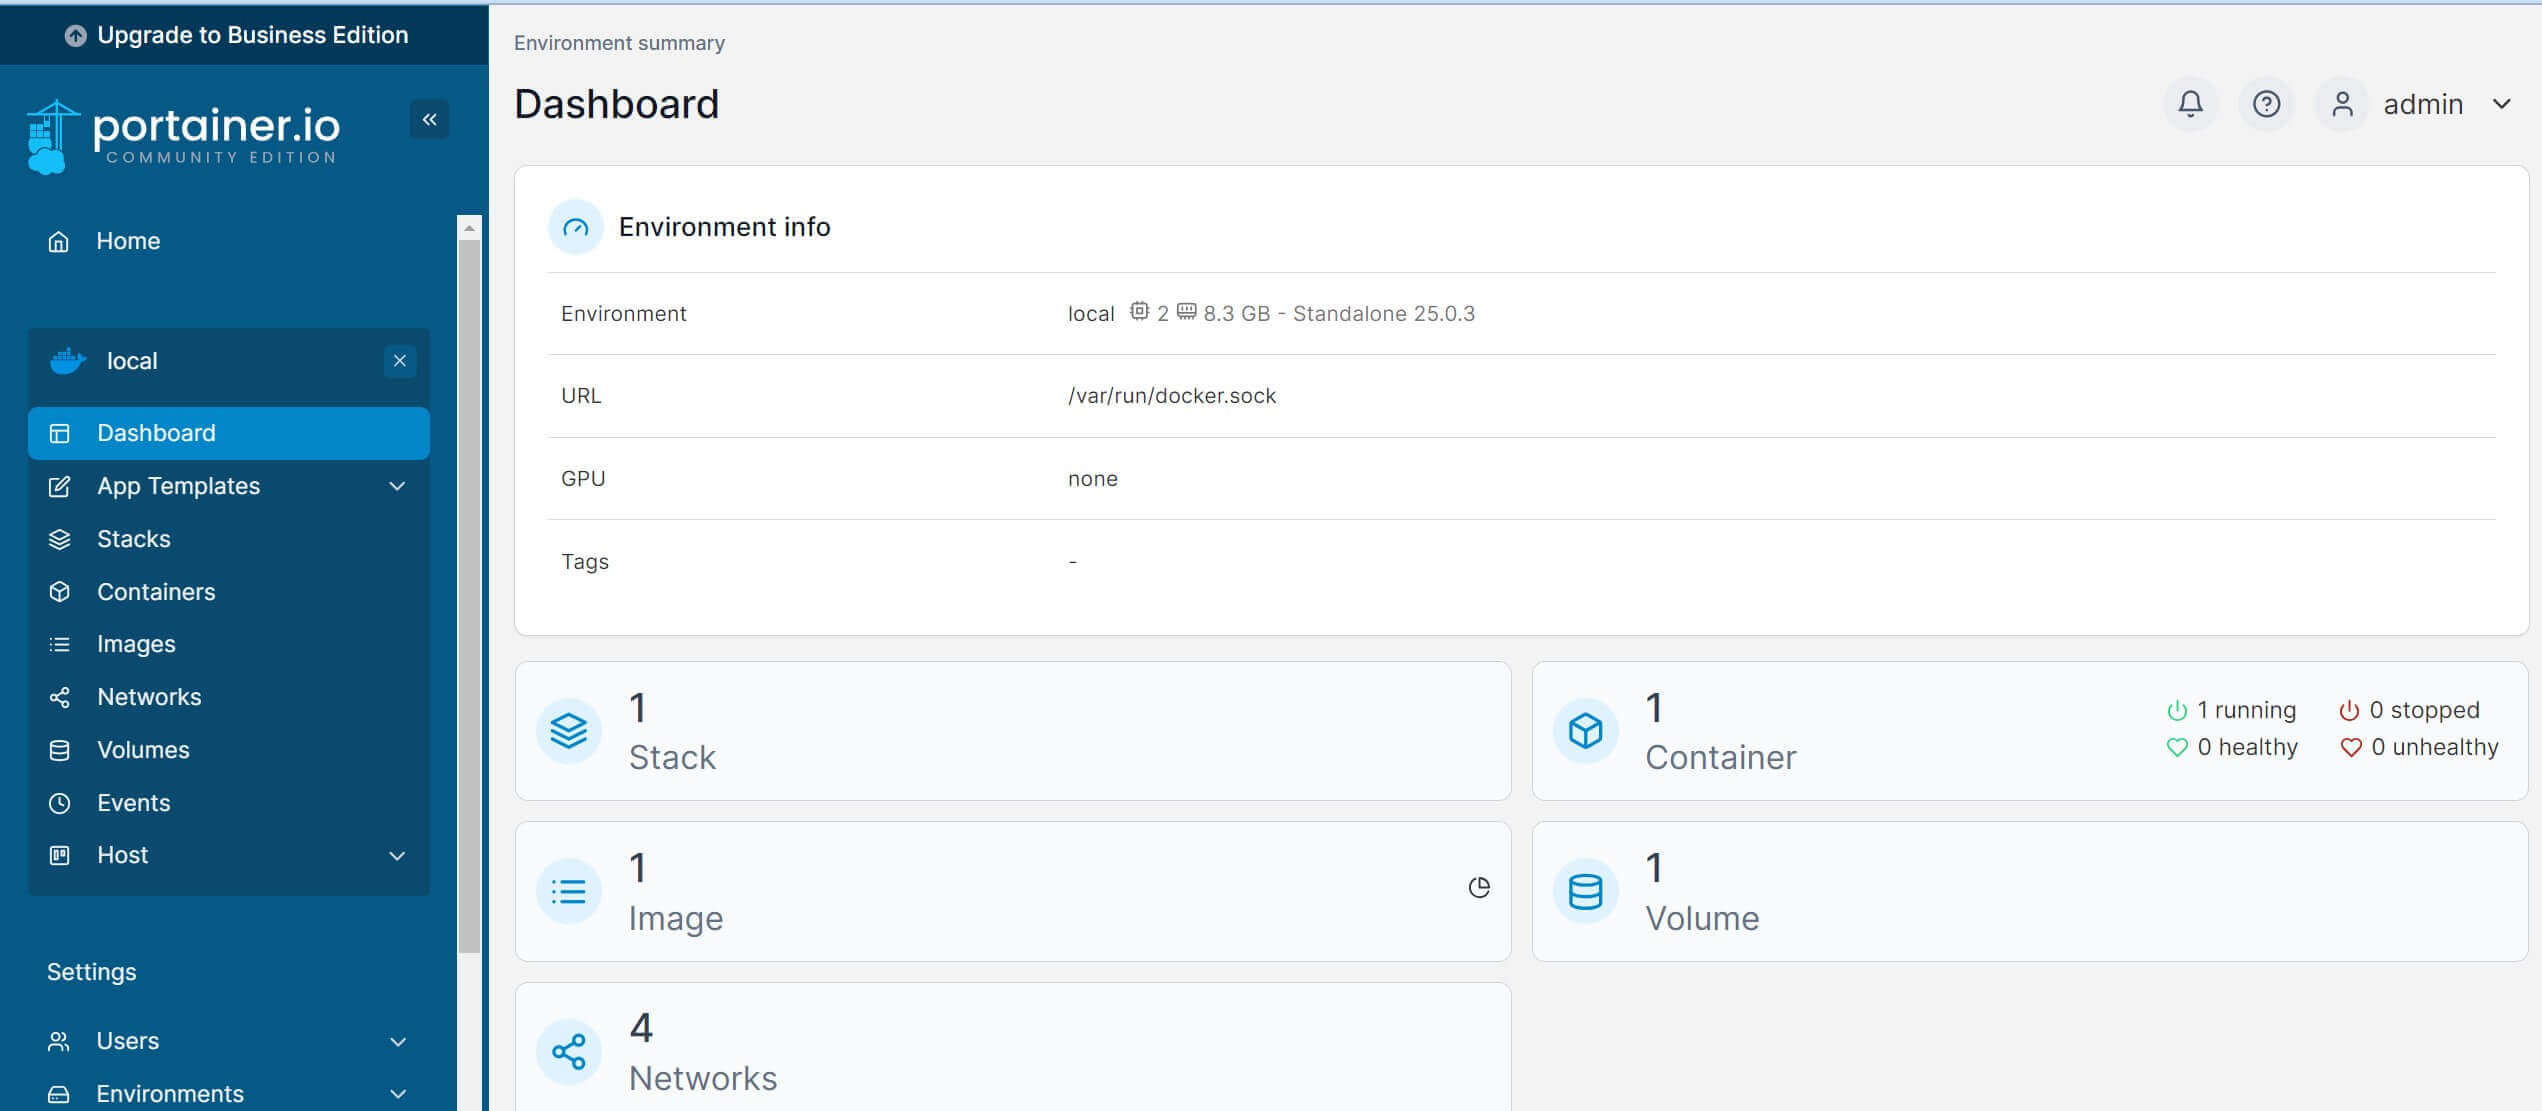
Step 6: Navigating Through Portainer Dashboard
The above Dashboard has its own dashboard summarizing the available resources in your local Docker environment.
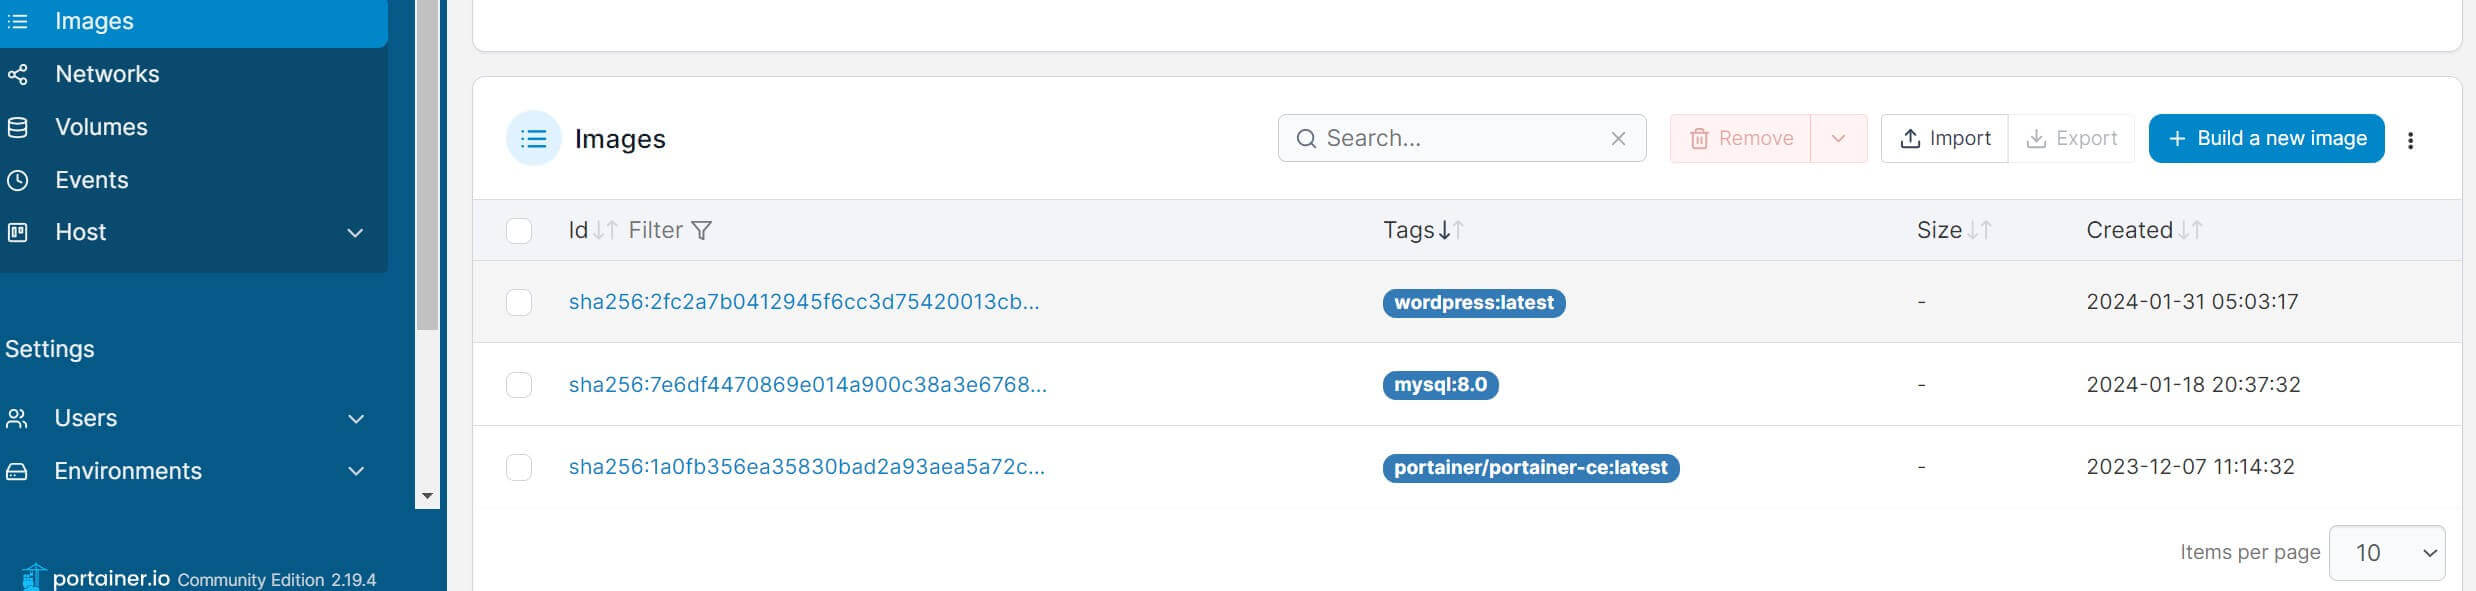
In this dashboard, each action button has its context-specific function such as:
- Images:
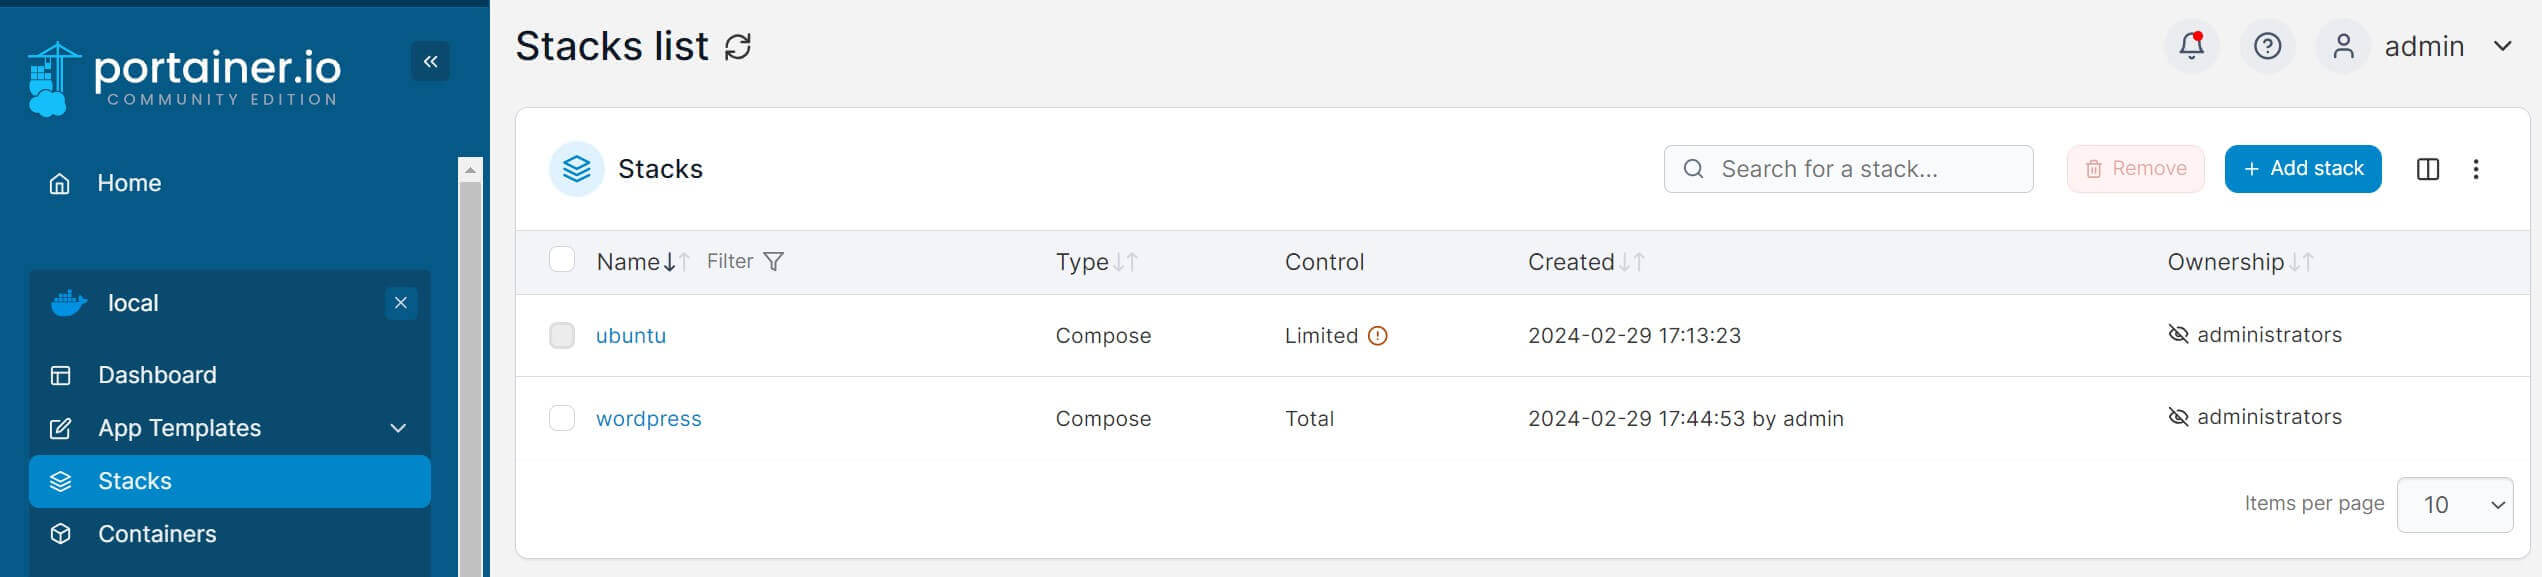
- Stack running on Docker Compose:
- Available Container
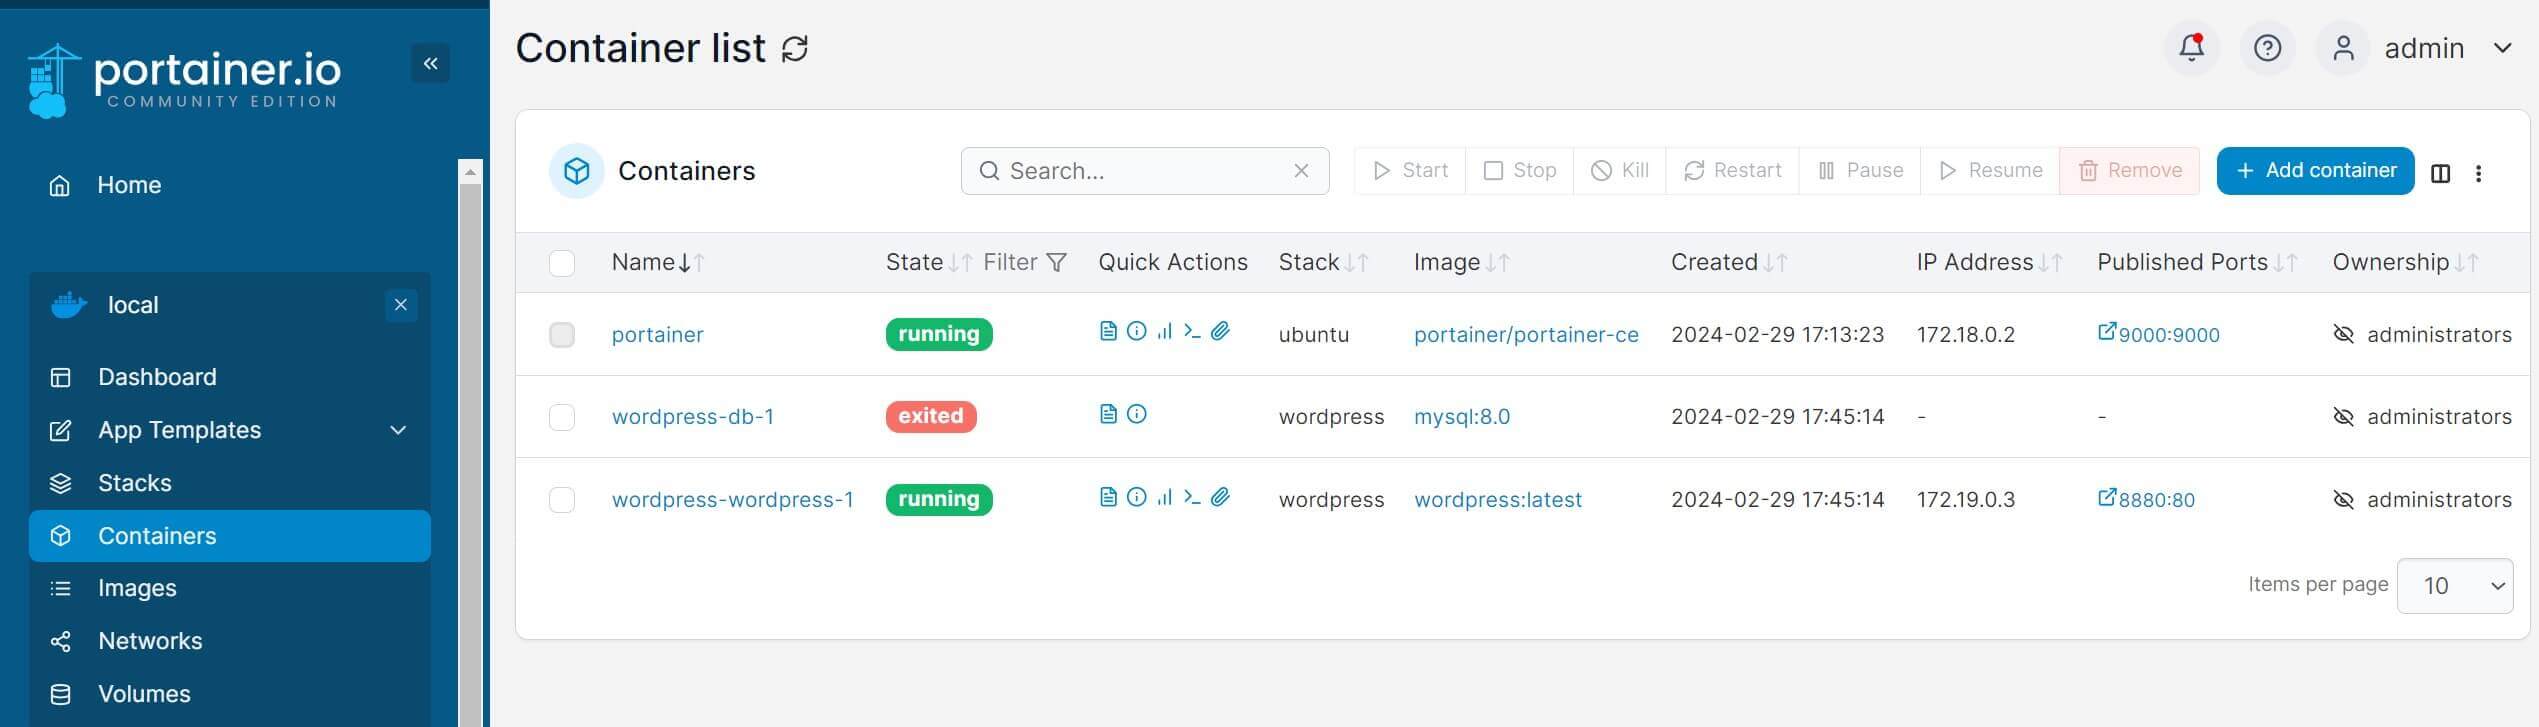
- Volumes:
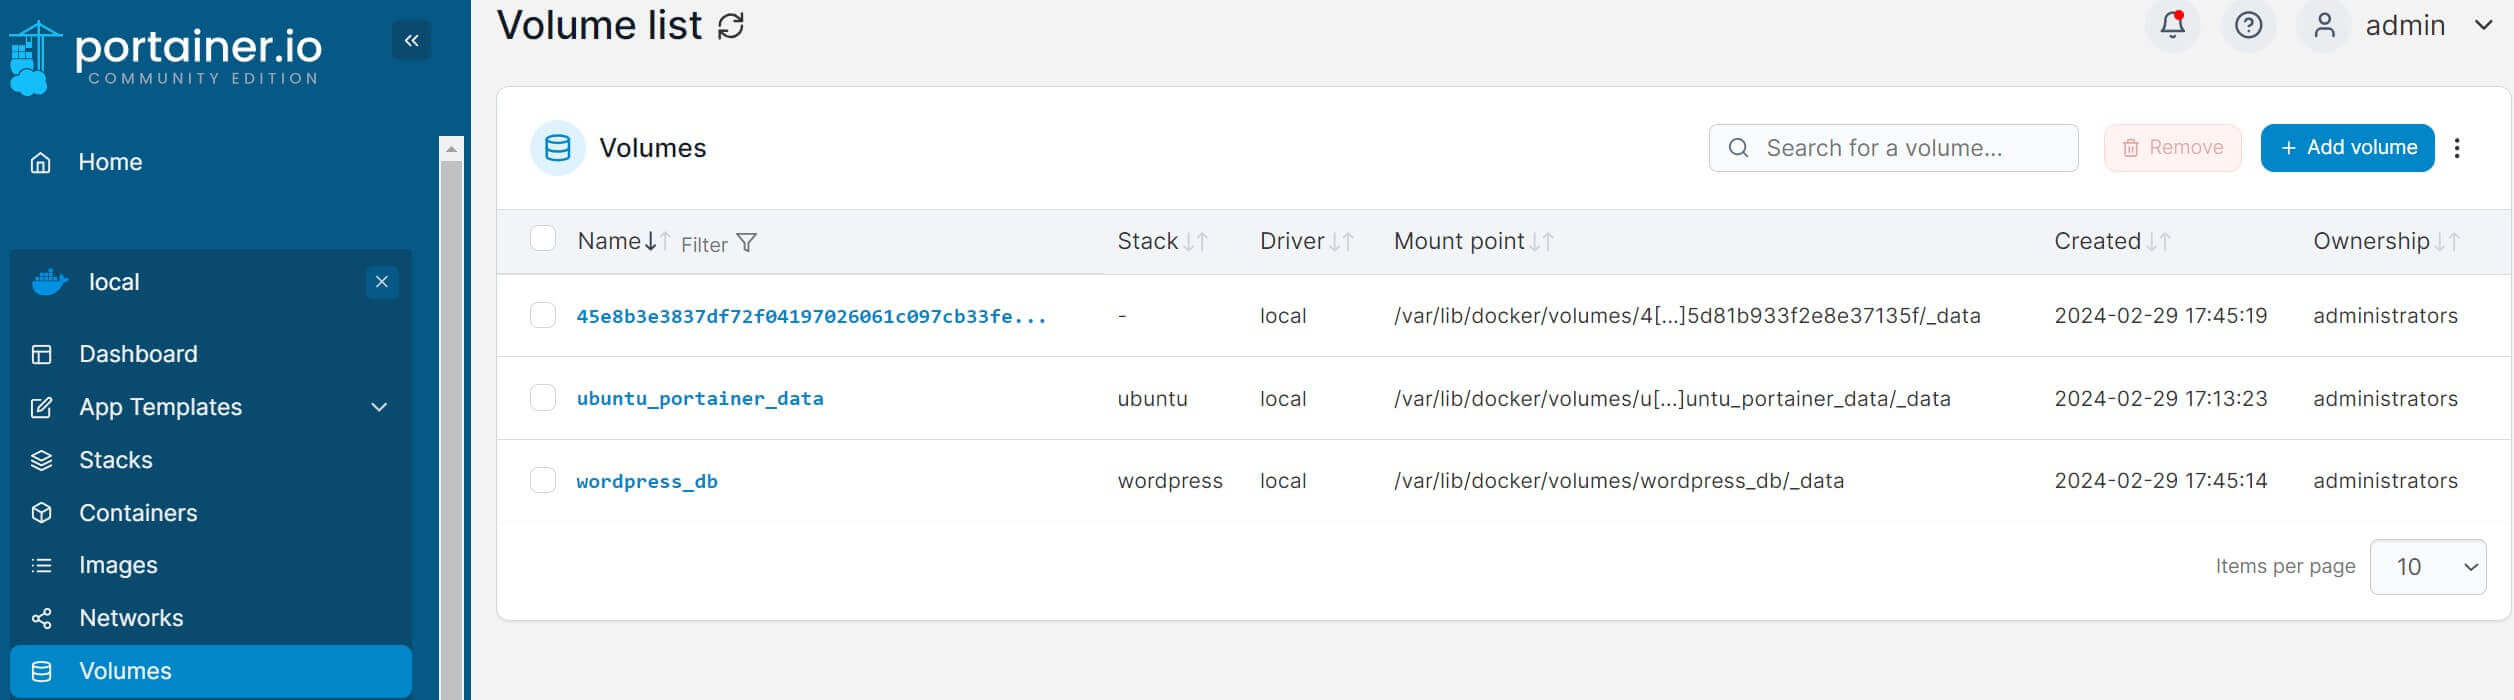
Step 7: How to Deploy Container Using Ubuntu Portainer
To run Container within Portainer, you will go Container section and Add container. Below is an example of deploying an Nginx container:
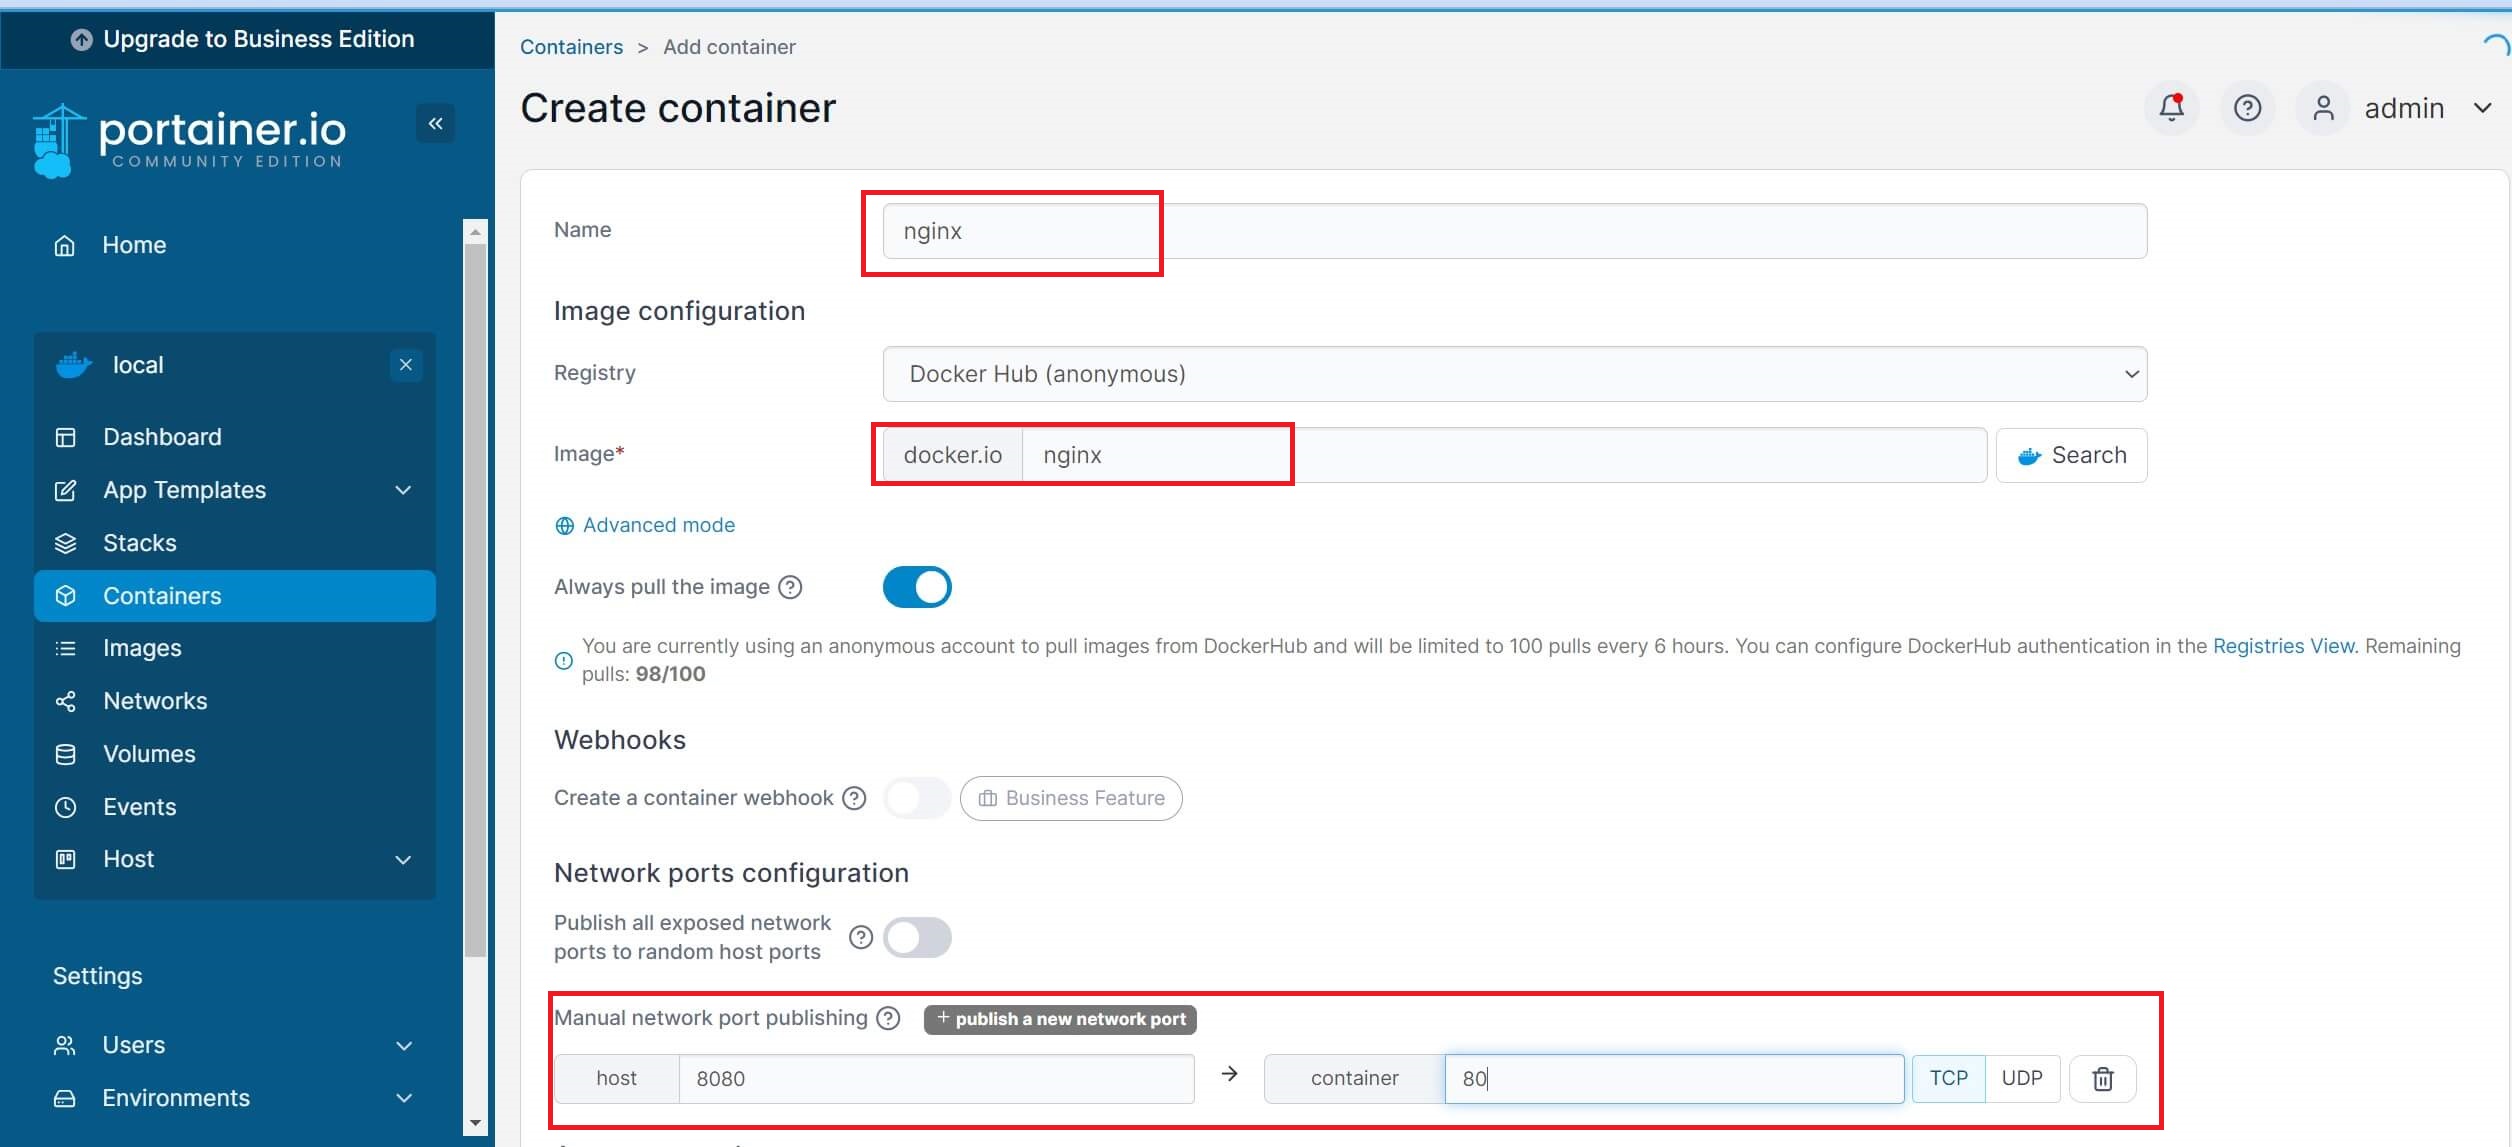
Click the Deploy the container Button and the new container should be available in your container list and running on port 80:
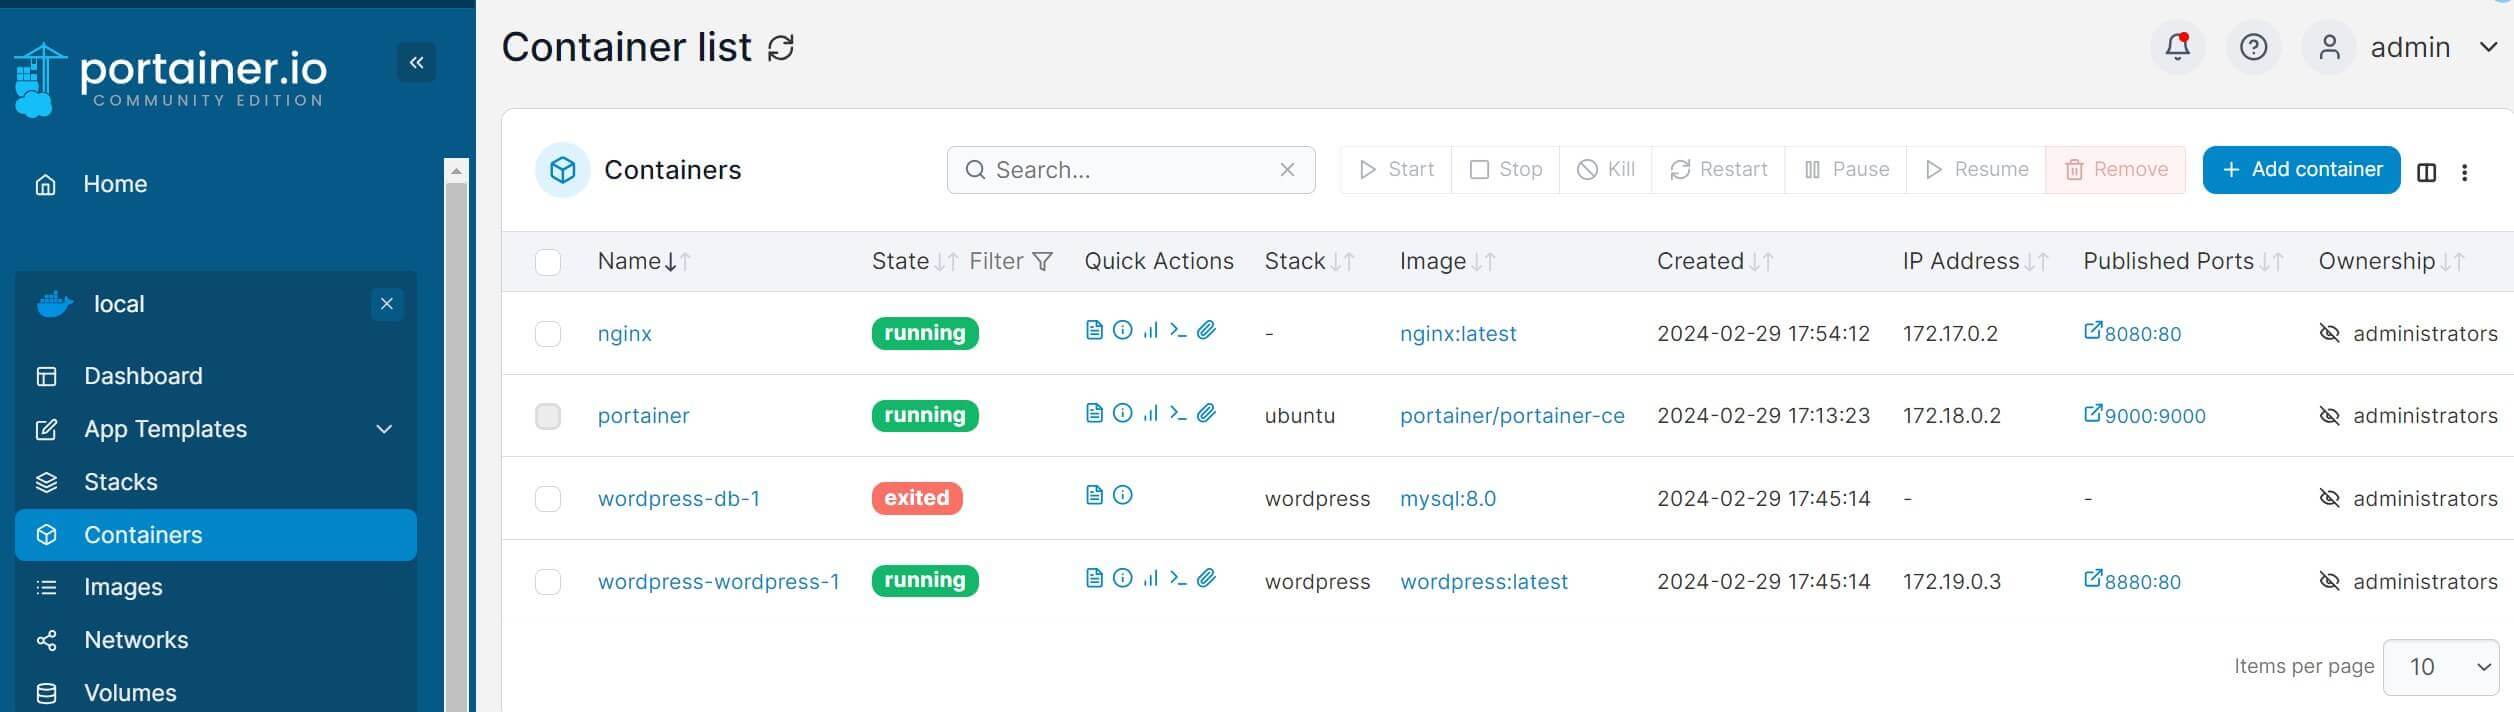
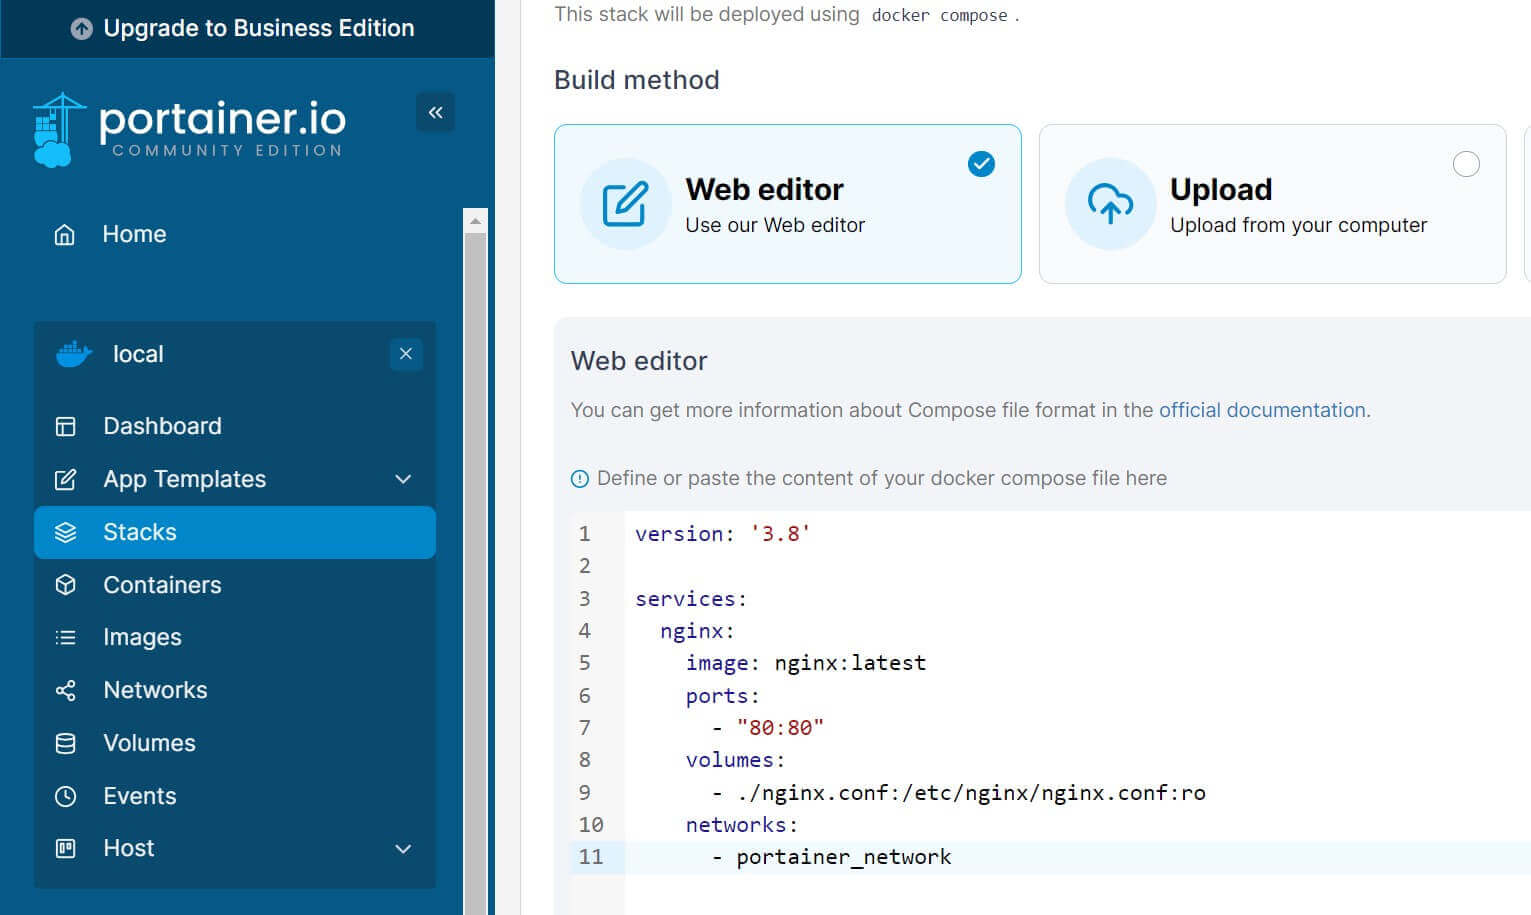
However, some application requires other services. This means you can run Nginx along with Portainer using Docker Compose without creating a docker-compose.yml file.
You need to go to the Stacks section, Add Stack, and use Docker Compose configurations as follows:
Step 8: Accessing Portainer with HTTPS SSL Cert On Ubuntu
HTTPS adds a security layer to Portainer. To use HTTPS, you must have a valid SSL certificate and key. You can use OpenSSL to generate one as follows:
mkdir ~/certs
cd ~/certs
openssl genrsa -out portainer.key 2048
openssl req -new -key portainer.key -out portainer.csr
openssl x509 -req -in portainer.csr -signkey portainer.key -out portainer.crt
You then use the following as your command to create the Portainer container:
docker run -d -p 9443:9443 -p 8000:8000 \
    --name portainer --restart always \
    -v /var/run/docker.sock:/var/run/docker.sock \
    -v portainer_data:/data \
    -v /path/to/your/certs:/certs \
    portainer/portainer-ce:latest \
    --sslcert /certs/portainer.crt \
    --sslkey /certs/portainer.key
You now need to Portainer setting and Force it to use HTTPS:

If you want to use a Certbot-generated certificate and key, check this guide for comprehensive details.
Conclusion
You have successfully learned how to Install Docker and Portainer on the Ubuntu 20.04|22.04|18.04 Server. In summary, you can now:
- Get Docker ready on Ubuntu to run Portainer.
- Have different ways to install and run Portainer within the Ubuntu server.
- Manage your container and other resources with the installed Ubuntu Portainer GUI.
- Force and access Portainer with HTTPS and SSL.
Written By: