How to Install and Run Nginx Proxy Manager with Kubernetes
Posted March 4, 2024
This guide teaches you how to install and run Nginx Proxy Manager with Kubernetes. Nginx Proxy Manager manages Nginx as a reverse proxy server. Kubernetes will deploy Nginx Proxy Manager across your cluster and allow you access to Nginx Proxy Web Manager.
To follow along with this guide, ensure:
- You have Kubernetes correctly configured on your computer.
kubectlcommand-line tool installed and configured with your cluster.
Ready? Dive in and Learn How to Install and Run Nginx Proxy Manager with Kubernetes like a Pro.
Related: Run Portainer Behind Nginx Reverse Proxy Manager and HTTPS
Creating Nginx Proxy Manager Kubernetes Volumes
Volumes allow you to persist in Nginx Proxy Manager. If you restart your running Pods, Kubernetes should be able to retain the previous setting and data.
Kubernetes uses Claims to create PersistentVolumeClaims (PVCs). This will make it easier to request storage resources from the cluster’s storage provider.
In this guide, I will run Nginx Proxy Manager with MariaDB. This means you will add PVCs for MariaDB as well.
In your working directory, create a persistent-volume-claims.yml file. Add PersistentVolumeClaim for Nginx and MariaDB Data as follows:
apiVersion: v1
kind: PersistentVolumeClaim
metadata:
# Name of the PersistentVolumeClaim for Nginx data
  name: nginx-data-pvc
spec:
  accessModes:
  # Define access mode as ReadWriteOnce
    - ReadWriteOnce
  resources:
    requests:
    # Request 1GiB of storage
      storage: 1Gi

---
apiVersion: v1
kind: PersistentVolumeClaim
metadata:
  name: letsencrypt-pvc  # PersistentVolumeClaim for Let's Encrypt
spec:
  accessModes:
    - ReadWriteOnce  # Use mode as ReadWriteOnce
  resources:
    requests:
      storage: 1Gi  # Request 1GiB of storage

---
apiVersion: v1
kind: PersistentVolumeClaim
metadata:
# Name of the PersistentVolumeClaim for MariaDB data
  name: mariadb-data-pvc
spec:
 # Add access mode as ReadWriteOnce
  accessModes:
    - ReadWriteOnce
  resources:
    requests:
    # Request 1GiB of storage
      storage: 1Gi
Nginx adds Let’s Encrypt SSL certs to manage HTTPS. The above PVCs will create letsencrypt-pvc to get Let’s Encrypt stored on your cluster.
Setting Nginx Proxy Manager with Kubernetes Deployment
Kubernetes must deploy Nginx Proxy Manager itself. Here, you will use the Kubernetes deployment manifest file. You will add images, ports, and environment variables required for connecting Proxy Manager.
Along this guide, I will use Kubernetes default namespace. You can create one if you want to.
First, create an nginx-proxy-manager-deployment.yml file.
apiVersion: apps/v1
kind: Deployment
metadata:
# Name your deployment
  name: nginx-proxy-manager
spec:
# Number of replicas (instances) of the pod
  replicas: 1
  selector:
    matchLabels:
    # Selector to match labels for pod assignment
      app: nginx-proxy-manager
  template:
    metadata:
      labels:
      # Labels the pods created by this deployment
        app: nginx-proxy-manager
    spec:
      containers:
      # Name the Kubernetes container
      - name: nginx-proxy-manager
      # Docker image for Nginx Proxy Manager
        image: jc21/nginx-proxy-manager:latest
        ports:
        - containerPort: 80  # Port 80 Exposed
        - containerPort: 81  # Port 81 Exposed
        - containerPort: 443  # Port 443 Exposed
        env:
        - name: DB_MYSQL_HOST
          value: "mariadb"  # MariaDB host
        - name: DB_MYSQL_PORT
          value: "3306"  # MariaDB port
        - name: DB_MYSQL_USER
          value: "proxy_manager_user"  # MariaDB username
        - name: DB_MYSQL_PASSWORD
          value: "user_pass"  # MariaDB password
        - name: DB_MYSQL_NAME
          value: "proxy-manager"  # MariaDB database name
          # Mount path for persistent data
        volumeMounts:
        - name: data
          mountPath: /data
        - name: letsencrypt
        # Mount path for Let's Encrypt certificates
          mountPath: /etc/letsencrypt
      volumes:
      - name: data
        persistentVolumeClaim:
        # PersistentVolumeClaim for Nginx data
          claimName: nginx-data-pvc
      - name: letsencrypt
        persistentVolumeClaim:
        # PersistentVolumeClaim for Let's Encrypt certificates
          claimName: letsencrypt-pvc
In this Nginx Proxy manager Pod Template, you have:
- Docker image jc21/nginx-proxy-manager creates the Proxy manager container.
- Ports 80, 81, and 443 are exposed by the container. You will use Port 81 to access Proxy Manager on the web later in this guide.
- You have Environment Variables for accessing MariaDB. Note how they are added as the MariaDB deployment manifest must have the same details.
- Note the
DB_MYSQL_HOSTismariadb. This is named after the service running MariaDB. You check that later. - Volume mounts for
letsencryptanddataare added as such.
If you don’t want to use MariaDB, you can remove the environment variables and check the Nginx Proxy Manager Service to expose it to the web.
Setting MariaDB with Kubernetes Deployment
We need a YAML defining a Kubernetes Deployment for MariaDB. It must have the above environments that the Nginx Proxy manager will need.
Create mariadb-deployment.yml as follows:
apiVersion: apps/v1
kind: Deployment
metadata:
# mariadb deployment
  name: mariadb
spec:
# Number of mariadb replicas (instances)
  replicas: 1
  selector:
    matchLabels:
      app: mariadb
  template:
    metadata:
      labels:
        app: mariadb
    spec:
      containers:
      # Name mariadb container
      - name: mariadb
      # Docker image for MariaDB
        image: jc21/mariadb-aria:latest
        env:
        - name: MYSQL_ROOT_PASSWORD
          value: "root_pass"  # MariaDB root password
        - name: MYSQL_DATABASE
          value: "proxy-manager"  # MariaDB database name
        - name: MYSQL_USER
          value: "proxy_manager_user"  # MariaDB username
        - name: MYSQL_PASSWORD
          value: "user_pass"  # MariaDB user password
        volumeMounts:
        - name: data
        # Mount MariaDB path for persistent data
          mountPath: /var/lib/mysql
      volumes:
      - name: data
        persistentVolumeClaim:
        # Use PersistentVolumeClaim for MariaDB data
          claimName: mariadb-data-pvc
The key things here are:
- With Nginx Proxy Manager, jc21/mariadb-aria:latest is the right image for creating a MariaDB Kubernetes container (pod).
- Environment variables for configuring MariaDB match the variables
nginx-proxy-manager-deployment.ymlneeds. - Database needs persistent Data. You get that covered using
persistentVolumeClaim.
Exposing Nginx Proxy Manager with Kubernetes
A Kubernetes Service defines how you will Expose Nginx Proxy Manager to the web. This can be:
- ClusterIP
- NodePort
- LoadBalancer
- Ingress Controller
To make this guide easier, I will use the default ClusterIP to create the Service.
You can Expose the service with the Kubernetes method of your choice.
Go ahead and create an nginx-proxy-manager-service.yml and create your service as follows:
apiVersion: v1
kind: Service
metadata:
  name: nginx-proxy-manager
spec:
  selector:
    app: nginx-proxy-manager
  ports:
    - name: nginxport
      protocol: TCP
      port: 80
      targetPort: 80
    - name: webui
      protocol: TCP
      port: 81
      targetPort: 81
    - name: justtcp
      protocol: TCP
      port: 443
      targetPort: 443
At the same time, MariaDB must be exposed to port 3306. The MariaDB service must be named mariadb based on the environment variables we have. Create a mariadb-service.yml file and get the MariaDB service ready as such:
apiVersion: v1
kind: Service
metadata:
  name: mariadb
spec:
  selector:
    app: mariadb
  ports:
    - protocol: TCP
      port: 3306
      targetPort: 3306
Running Nginx Proxy Manager with Kubernetes
You now have at least 5 files. It will be hard to deploy each file individually. In that case, I will use Kustomization to deploy these files.
Kustomization is a feature of Kustomize. It’s a standalone tool to customize Kubernetes objects. It’s been built into Kubectl since version 1.14. If you have Kubectl version 1.14 or newer, Kustomize will be already installed.
In the same Working directory, create a kustomization.yml file and add all your Kubernetes deployment, namespace, volumes, and service files:
apiVersion: kustomize.config.k8s.io/v1beta1
kind: Kustomization

resources:
  - nginx-proxy-manager-deployment.yml
  - mariadb-deployment.yml
  - persistent-volume-claims.yml
  - nginx-proxy-manager-service.yml
  - mariadb-service.yml
This file will create a transformation to apply to your base Kubernetes manifests. Run the following command in your Working directory:
kubectl apply -k .

This command will apply the resources listed in the kustomization.yml file.
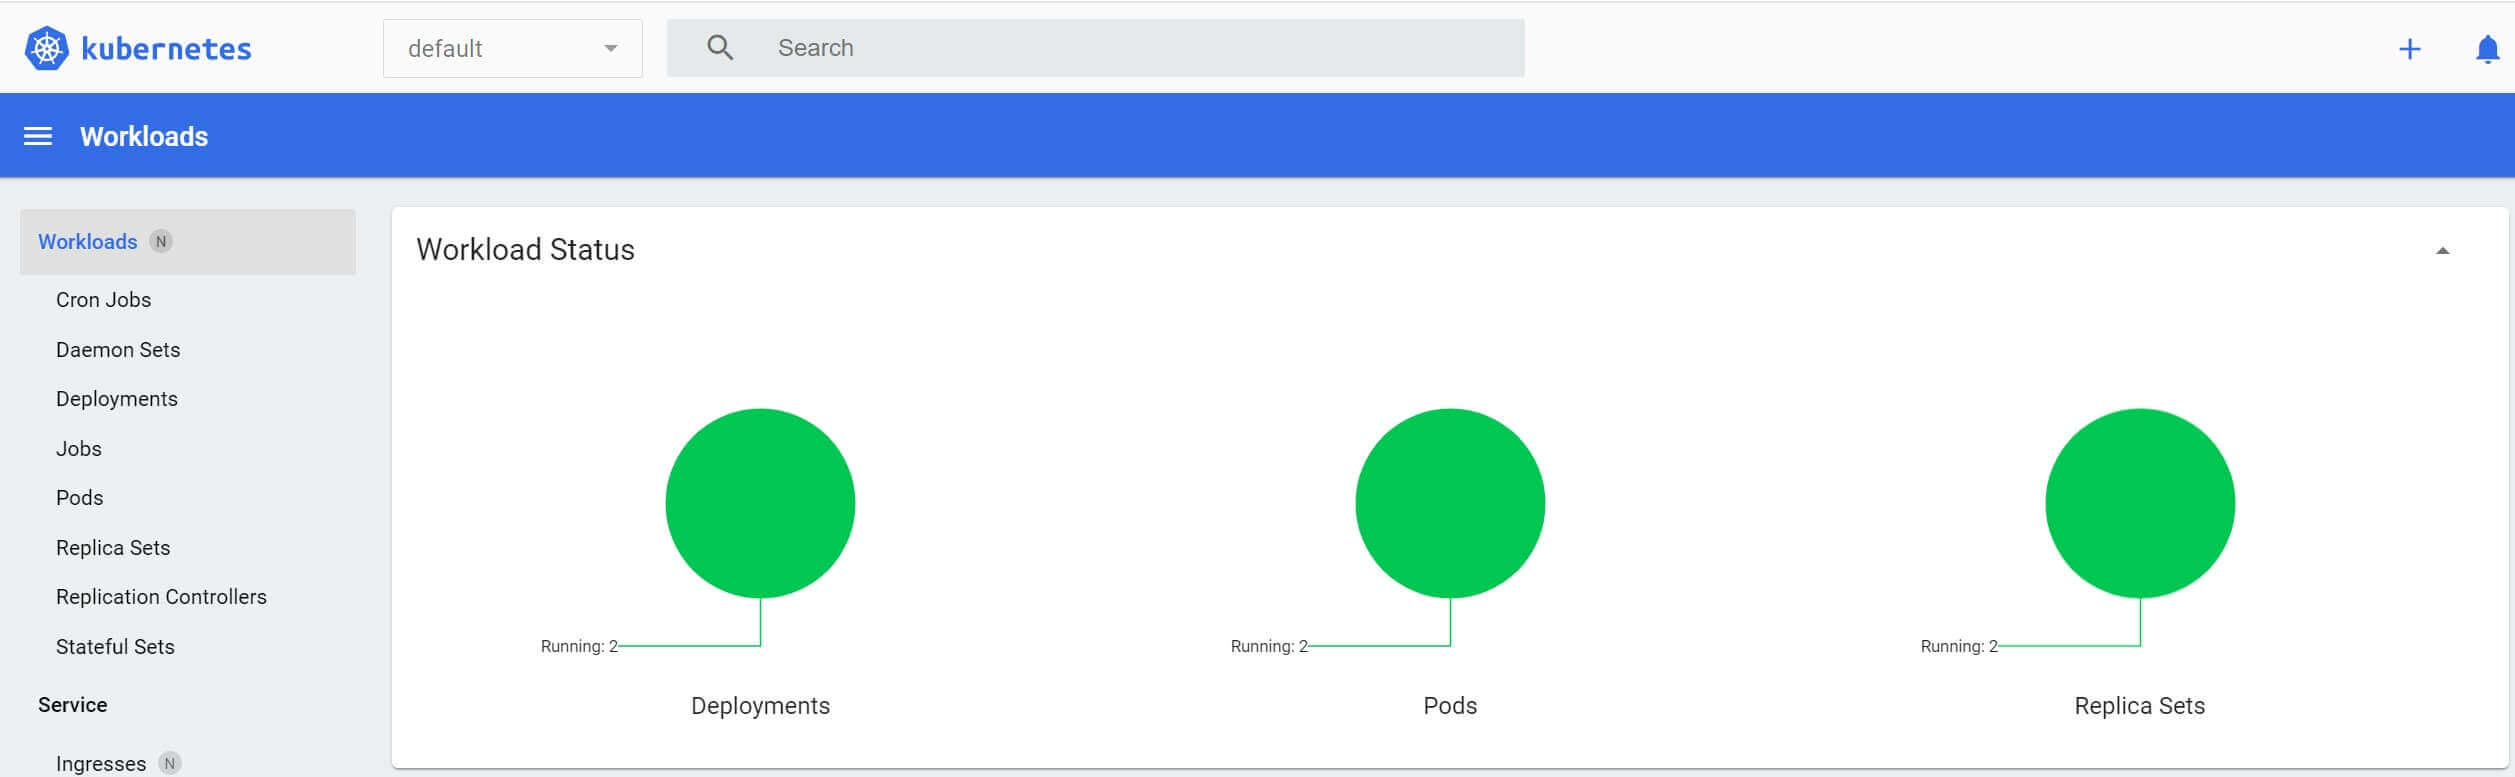
Give Kubernetes time to set up your pods. After applying the Kustomization, verify the resources are created:
- Check the added Deployments:
kubectl get deployment

- Get all services
kubectl get svc

- Check if the pods are ready and running:
kubectl get pods

If you are using a Dashboard such as Minikube, you should be able to dig and check what’s happening to your services, Deployments, and PVCs.
Accessing Nginx Proxy Manager On the Web
The cluster is running using Cluster IP. This means Service is only accessible within the Kubernetes cluster. You will access your Nginx Proxy Manager service internally within the cluster using its ClusterIP.
This means, to access Nginx Proxy Manager, you need to forward port 81 of the Nginx Proxy Manager pod outside the cluster:
Here, you need the nginx-proxy-manager Pod name as follows:
kubectl get pods

Then run the port forwarding to access your service using its ClusterIP:
kubectl port-forward nginx-proxy-manager-5b459c6d8b-d4vrk 81:81
Replace
nginx-proxy-manager-5b459c6d8b-dm4t2with your Pod name

Open port 81 on the web-based on your host. I am using localhost as follows:
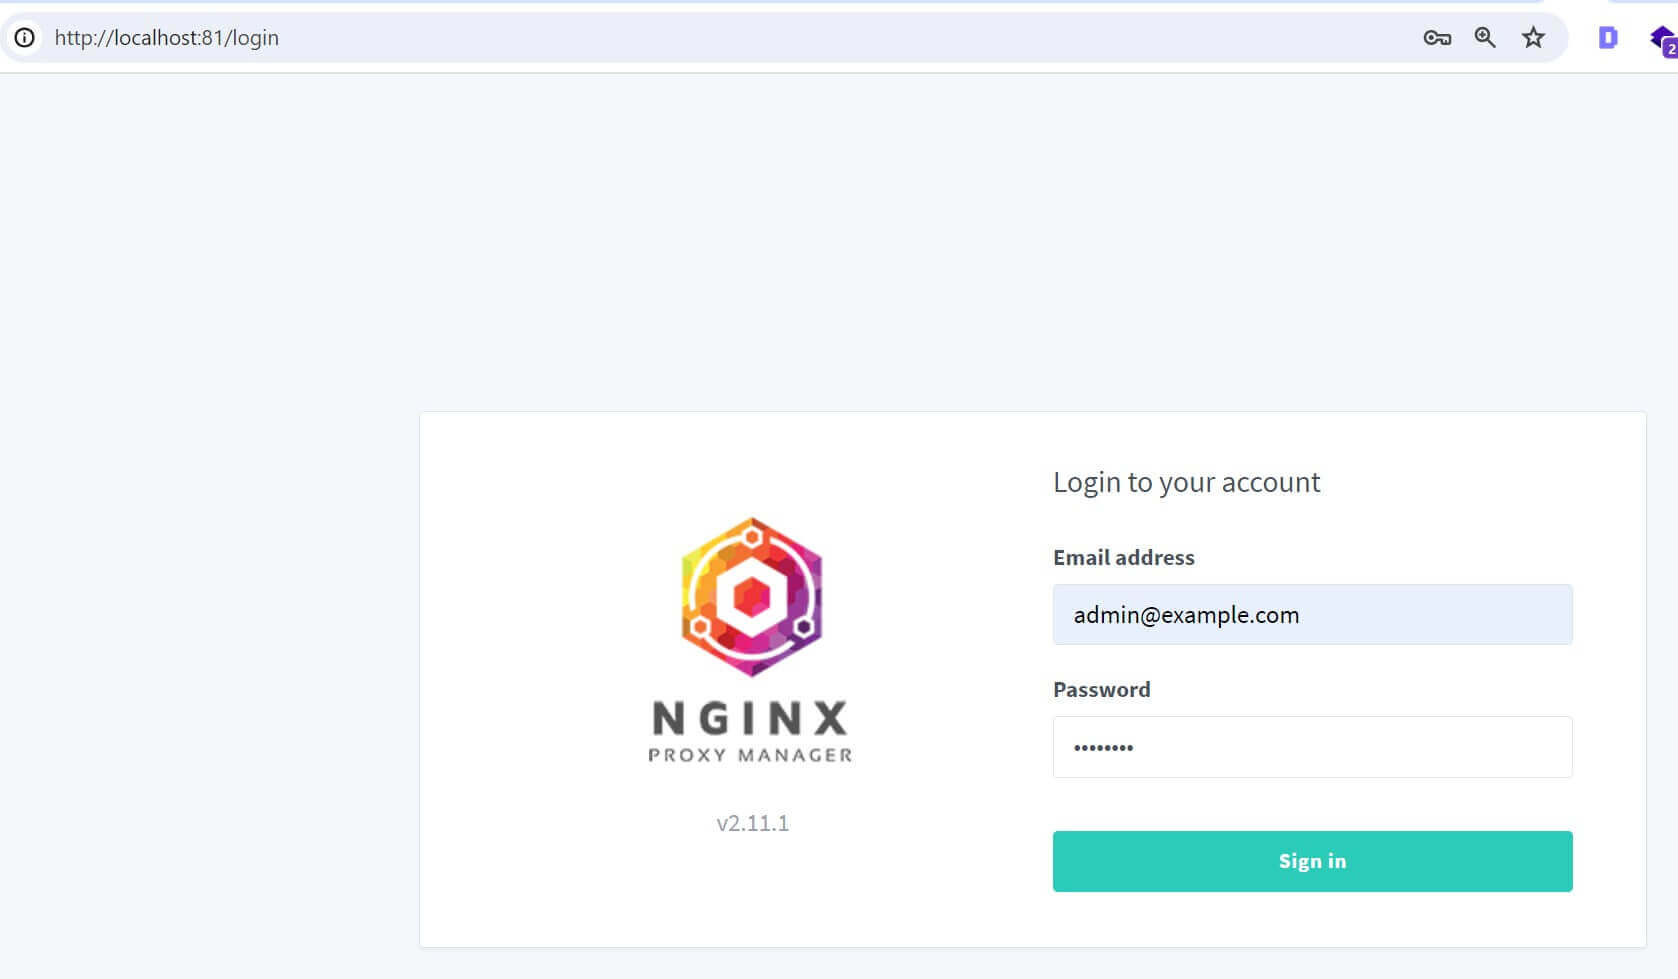
Use the following details to access the Nginx proxy manager:
# Email
[email protected]
# password
changeme
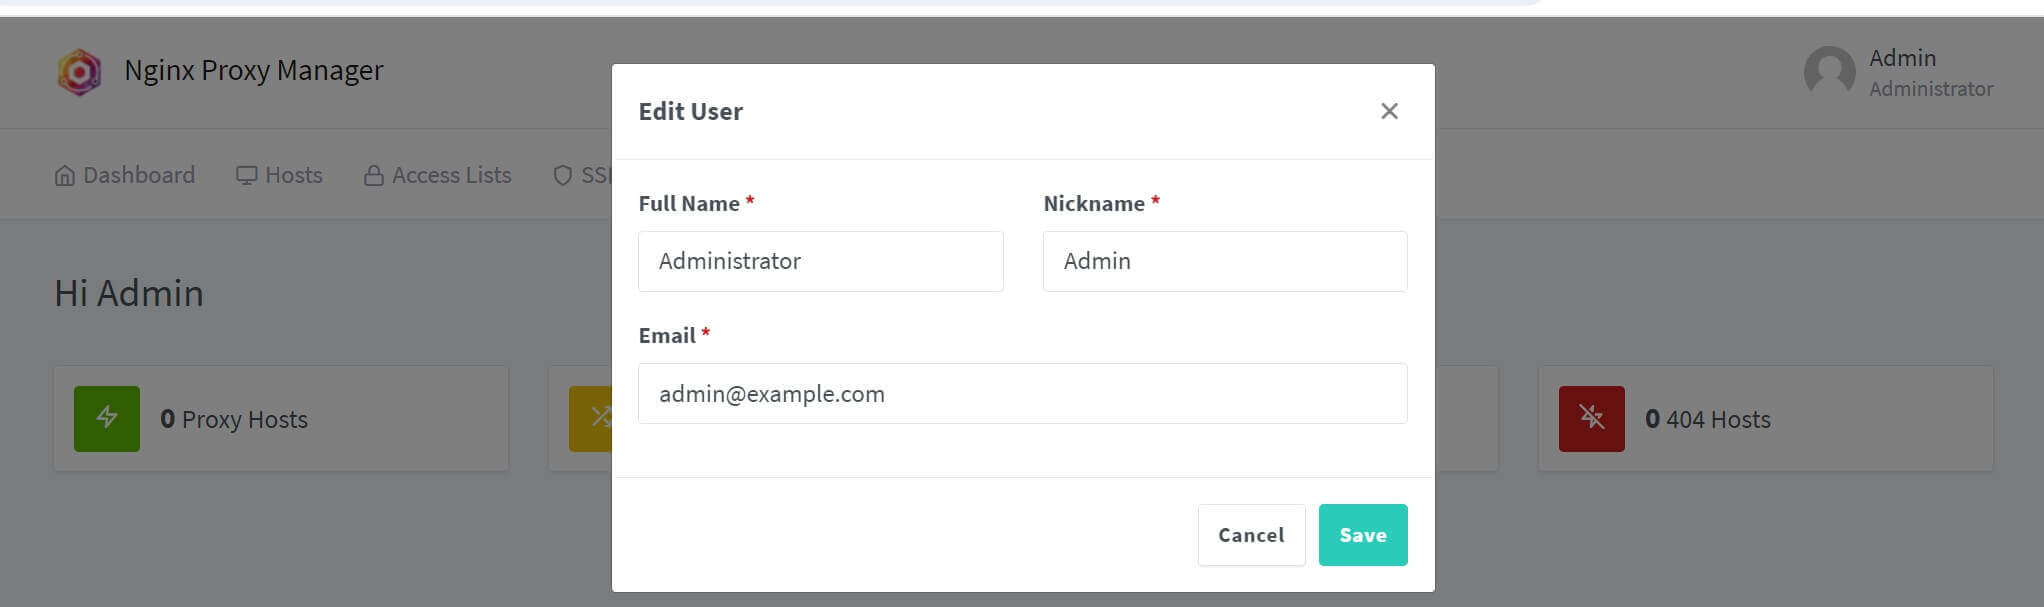
You should be redirected to add new user details:
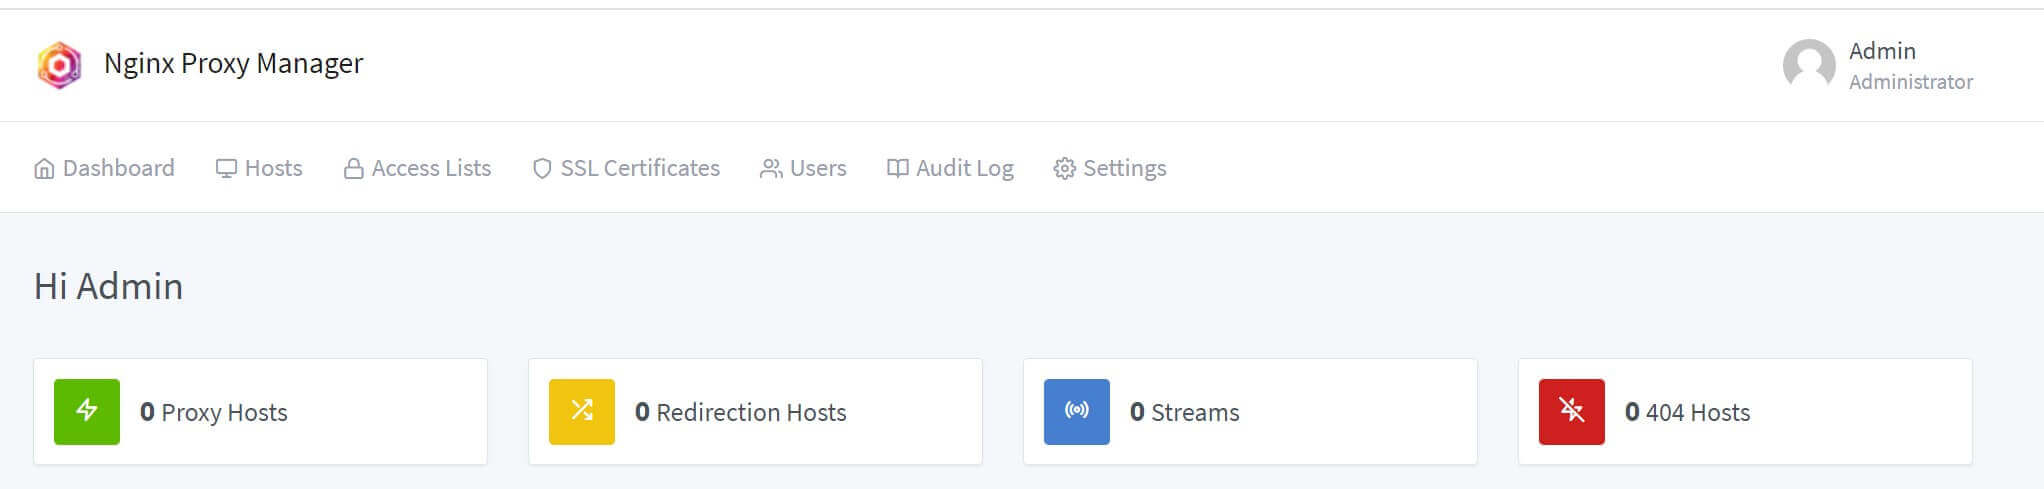
You should finally have a tour to your Nginx Proxy manager to manage proxies, SSL, HTTPS, and redirects:
Conclusion
This guide helped deploy the Nginx Proxy manager with Kubernetes. I hope you found the tutorial helpful. Check code and files on this GitHub Repo.
Written By: