How to Add Self Signed SSL Certificate in Nodejs Server
Posted January 21, 2024

A self-signed SSL certificate adds HTTPS access to a Node.js Express server. SSL (Secure Socket Layer) exposes Node.js Express server security to its clients.
Dive into this guide and learn how to create an SSL certificate and enable HTTPS access on Node.js.
In summary, you will learn:
- How to install SSL certificate on Node.js Express API using OpenSSL.
- Generating a valid SSL Certificate.
- Add and enable your SSL certificate to Node.js and expose the server over HTTPS.
- How to create a Node.js SSL certificate key path key.
Step 1: What you Need to Create a Node.js HTTPS SSL Certificate
Before diving into and adding an SSL certificate to Node.js, ensure you have:
- Node.js installed on your computer.
- You will use Git to get OpenSSL ready. Ensure Git is installed if you are on Windows.
- If you are on Linux or Ubuntu, OpenSSL is available, and you don’t need Git.
- Ensure you have a running Node.js Express server to add the self-signed SSL certificate to HTTPS.
Related: Create a Localhost HTTPS Server on NodeJS with Express and CreateServer
- If you don’t have the Node.js Express server ready, you will set up a simple one here and install an SSL certificate on Node.js.
Step 2: Setting up a Node.js Express Server
Typically, you need your Typical Node.js Express API. It doesn’t matter how small or large it is. Adding a self-signed SSL HTTPS Certificate to these servers uses the same steps.
Now, ensure you have the Express server ready. If not, create one using npm init -y install express using npm i express and create a Node.js server as follows:
// File: app.js
const express = require('express');
const app = express();
const port = 3000;

app.get('/', (req, res) => {
  res.send('Hello, this is an HTTP server!');
});

app.listen(port, () => {
  console.log(`Server is running on http://localhost:${port}`);
});
If you run this server, it can only be accessed http://localhost:3000. Any attempt to use SSL HTTPS as https://localhost:3000 won’t connect you to this server.
This means the Express server needs access to HTTPS even before the attempt to add a self-signed SSL certificate. This will force you to modify your server as follows:
// File: app.js
const express = require('express');
const https = require('https');
const fs = require('fs');

const app = express();
const port = 3000;

app.get('/', (req, res) => {
  res.send('Hello, this is an HTTPS server!');
});

// Create an HTTPS server with the Express app
const httpsServer = https.createServer(app);

// Start the server
httpsServer.listen(port, () => {
  console.log(`Server is running on https://localhost:${port}`);
});
The new changes here are:
- Import the https module for creating an HTTPS server and the
fsmodule that we will use later to add an SSL certificate to Node.js. - You have added the
https.createServermethod to create an HTTPS server and the Express app.
Regardless of your Node.js server, these are the only changes you need. However, if you run the app, you don’t have a valid SSL certificate to open Node.js on a valid SSL cert. Let’s dive deeper and learn how to generate these certs.
Step 3: Generating a Self-Signed SSL Certificate to Node.js
It’s time to create and add the SSL certificate to this Node.js server. If you are on Windows, ensure you are using GIT. You will use OpenSSL to get the cert ready. But on Linux/Ubuntu, OpenSSL should be already installed, and you are good to go.
Navigate to the folder containing our Node.js Express server, and use the following command to get a Self-Signed SSL certificate ready:
- Generate a private key (key.pem) with RSA encryption.
openssl genrsa -out key.pem 2048
- Use the private key to create a Certificate Signing Request (CSR) (
csr.pem).

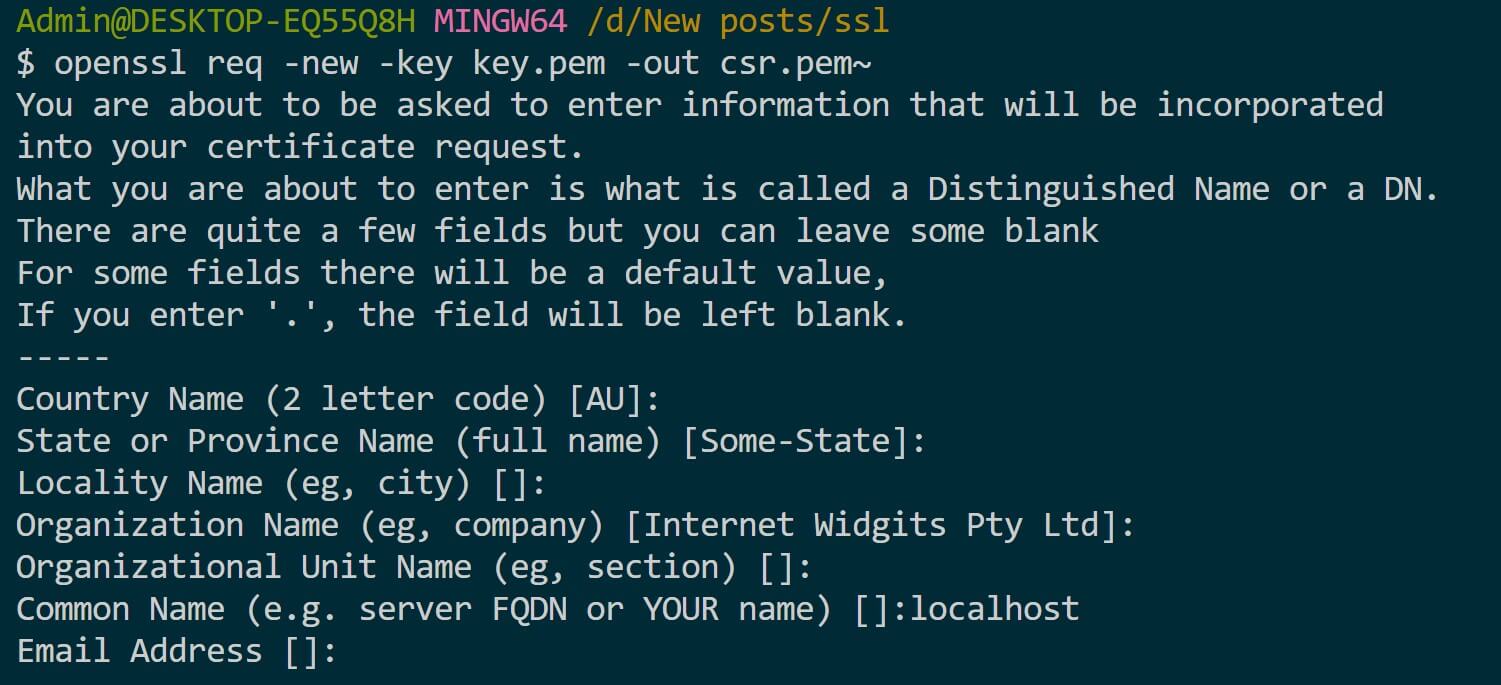
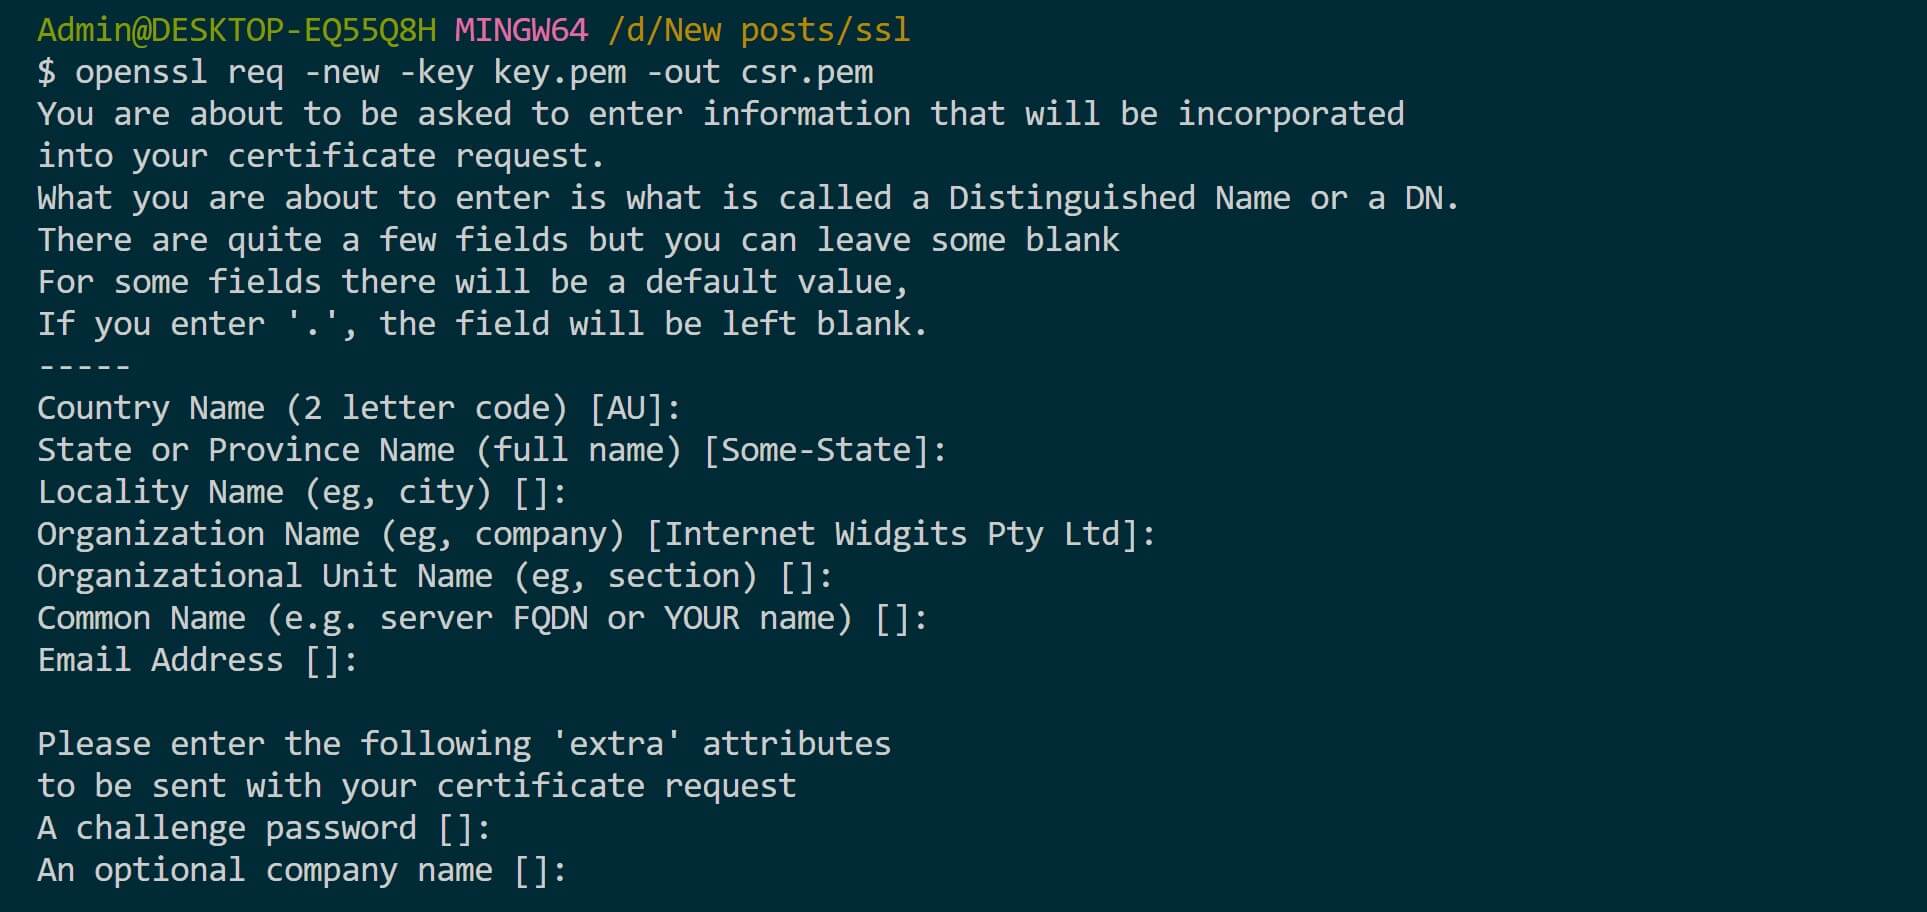
openssl req -new -key key.pem -out csr.pem
In this step, you’ll be prompted to answer a few questions. You proceed with ENTER and choose to add the based on your choices.

But Note: Because you are on localhost, remember to YOUR name as localhost:
Related: [Add localHost Domain HTTPS with Let’s Encrypt SSL Certificate Issuer | SelfSigned](Add localHost Domain HTTPS with Let’s Encrypt SSL Certificate Issuer | SelfSigned)

- Sign the CSR with the private key, creating a self-signed certificate (
cert.pem) valid for 365 days.
openssl x509 -req -days 365 -in csr.pem -signkey key.pem -out cert.pem

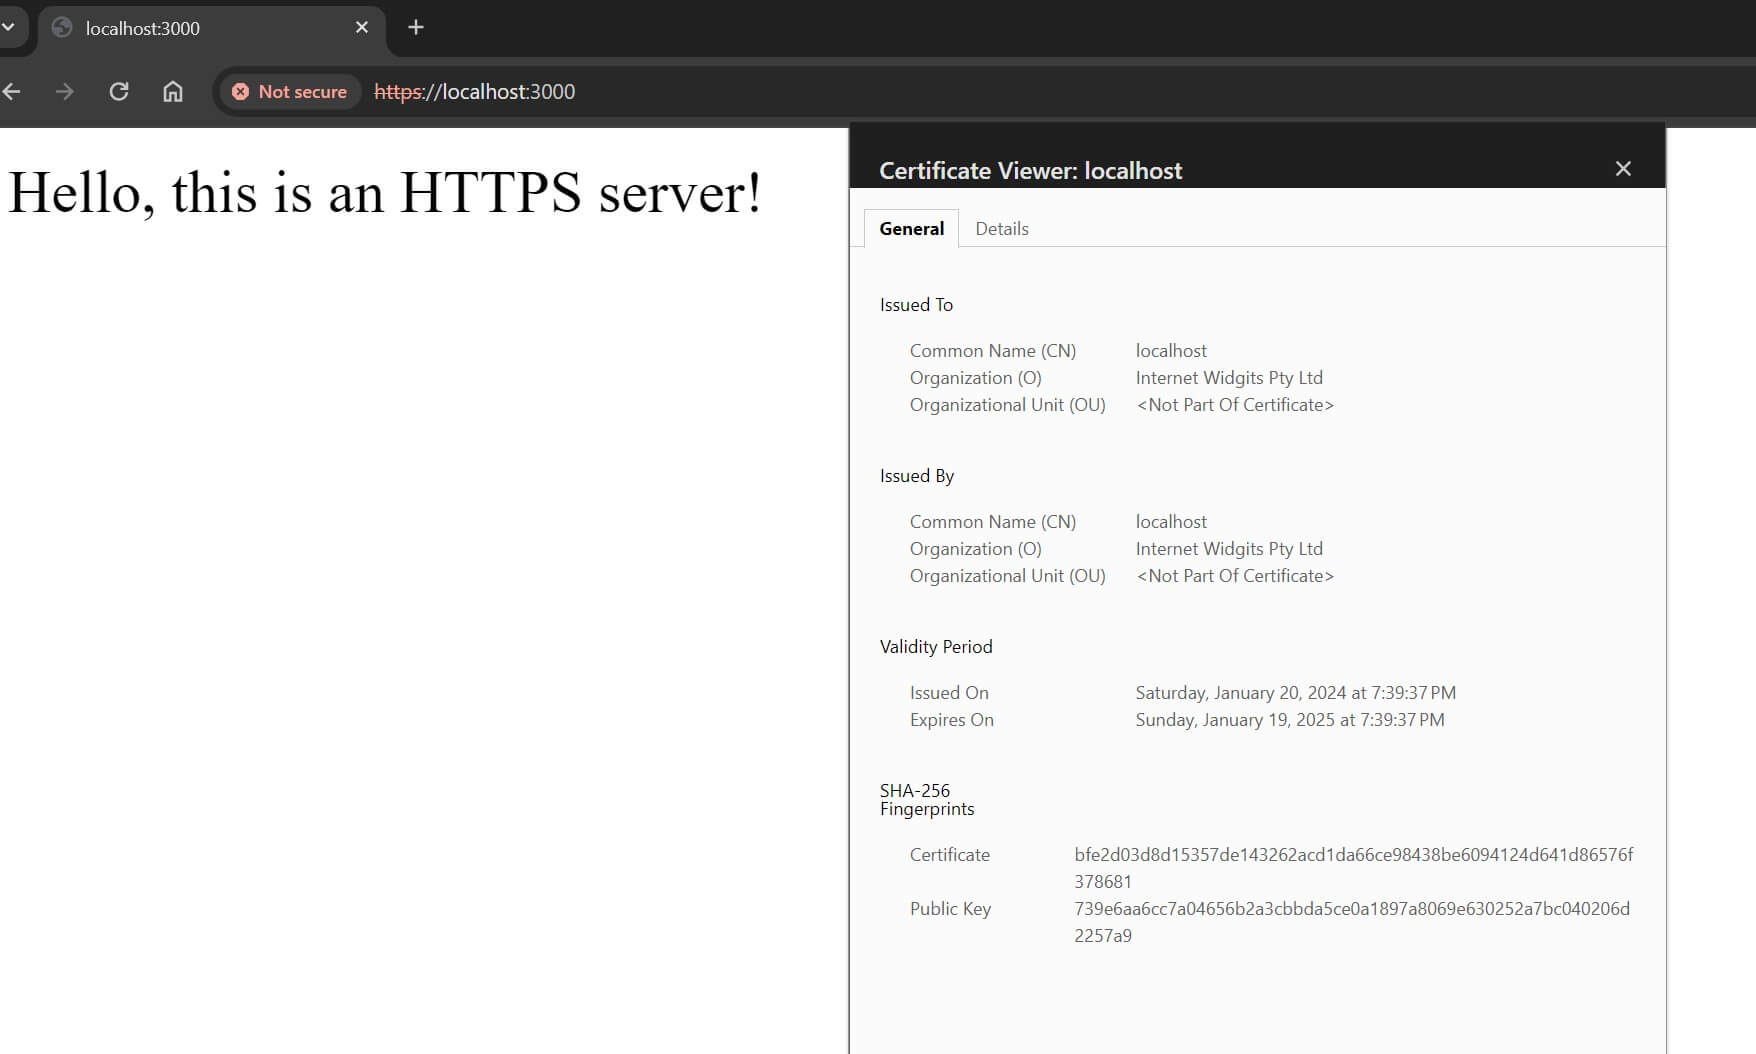
These steps should now install the SSL certificate on your Node.js project as follows:

Step 4: Adding SSL Certificate to Node.js
You have created your self-signed certificate on Node.js. Now, you need to load it so the Express server can access the cert and use HTTPS.
In your code, create the following variable to read the path of these keys, and the certificate is self. Ensure the path to key.pem and cert.pem are correct. Here, you will load the path key using fs as follows:
// Load SSL certificate and key
const privateKey = fs.readFileSync('key.pem', 'utf8');
const certificate = fs.readFileSync('cert.pem', 'utf8');
const credentials = { key: privateKey, cert: certificate };
The final step is to update the following line:
// Create an HTTPS server with the Express app
const httpsServer = https.createServer(credentials, app);
In this section, you will:
- Read the private key (
key.pem) and certificate (cert.pem) files usingfs.readFileSync. - Create an object (credentials) containing the private key and certificate.
- Use the
https.createServermethod to create an HTTPS server with the specified credentials and the Express app.
Now you should run your Node.js Express server and access it over HTTPS using the generated SSL certificate as follows:

Conclusion
You have learned how to install an SSL certificate on Node.js Express API using OpenSSL. I hope you can now add and enable your SSL certificate to Node.js and expose the server over HTTPS.
More Related Articles:
-

Create a Localhost HTTPS Server on NodeJS with Express and CreateServer
Nov 16, 2023
-

Add All CORS Access Control Allow Origin in NodeJS Express Headers
Jun 14, 2024
-

How to Seed Databases Using Sequelize Seeders and Faker.js
Feb 14, 2024
-

Create|Add New Fields to Existing Sequelize Migration Model
Feb 14, 2024