How to Seed Databases Using Sequelize Seeders and Faker.js
Posted February 14, 2024
Seeding databases adds testing data to your databases. Sequelize uses Sequelize CLI to use a Sequelize Seeder tool for seeding your database with initial data.
To use Sequelize Seeder you must use Sequelize CLI. Once you create the necessary file, you run seeding commands to let Sequelize populate your database with data.
In this guide, you will learn how to seed databases using Sequelize Seeder alongside Faker.js. Faker.js is a library used to generate fake data. This means you’ll create a powerful approach to populate databases.
In summary, you will learn:
- How to set up the Sequelize Seeder feature within Node.js.
- What you need to do to let Sequelize Seeder seed with Sequelize associates.
- How to apply Faker.js to Sequelize Seeder to seed databases with dummy data.
Related: Create|Generate|Run Sequelize CLI db Migrations with Nodejs
How to set up Sequelize Seeder
Sequelize uses Sequelize CLI. This means you must have an existing Node.js app. Go ahead and create one using the following command:
npm init -y
This project will need Sequelize and Faker.js libraries. Use the following command to install them:
npm install sequelize sequelize-cli @faker-js/faker pg
I will use PostgreSQL. That’s why I have a pg package. Update that based on your database server.
Initializing Sequelize Database Seeder
To seed your database, Sequelize needs access to its seeder files. You don’t have to create them manually. Here you will use Sequelize CLI. Initialize Sequelize in your project and Sequelize-CLI will help you set up the necessary project structure using the following command:
npx sequelize-cli init
You will get the following directories
configwith database connection configuration files.modelsfor saving Sequelize model definitions.migrationsto add Sequelize migration files.seederswhere you will add all the seeder files Sequelize needs.

Generating Sequelize Models Before Seeder Files
Sequelize must understand the structure of the database table you want to seed. This means Sequelize-CLI will first create a model and migrations file related to what you’re creating.
Let’s say you are creating a Products model that will use a product table. You will use the following command to allow Sequelize CLI to create a model and migration file:
npx sequelize-cli model:generate --name Product --attributes name:string,price:float,description:text

Here you will have:
- New model
models\product.js. - New migration was created at
migrations\20240214150520-create-product.js.
You can Modify this command based on your liking. In this case, the model file product.js will contain product attributes as such:
  Product.init({
    name: DataTypes.STRING,
    price: DataTypes.FLOAT,
    description: DataTypes.TEXT
  },
This model will create data validation. It ensures the data being entered into the database meets the criteria and is consistent with the expected format. It will act as a model level for the Product model:
Generating Sequelize Seed Files and Seeding Database
It’s time to start creating the seeding files. Generate a seed file for the Products table using the following command:
npx sequelize-cli seed:generate --name product-seed
In your seeders folder, you should now have a seeders\20240214151343-product-seed.js file. This is where you will write the Seeder logic, the logic to seed your Products table as follows:
'use strict';

/** @type {import('sequelize-cli').Migration} */
module.exports = {
  up: async (queryInterface, Sequelize) => {
    await queryInterface.bulkInsert('Product', [
      { name: 'Product 1', price: 10.99, description: 'Description for Product 1' },
      { name: 'Product 2', price: 24.99, description: 'Description for Product 2'},
      { name: 'Product 3', price: 15.49, description: 'Description for Product 3' }
      // Add more products as needed
    ], {});
  },

  down: async (queryInterface, Sequelize) => {
    await queryInterface.bulkDelete('Product', null, {});
  }
};
How to Run a Sequelize Seeder
Before you seed your databases, you must have a connection to your database. I’m using PostgreSQL in this case. Go to the config\config.json file and add the database connection as follows
  "development": {
    "username": "postgres",
    "password": "pass",
    "database": "shop",
    "host": "127.0.0.1",
    "dialect": "postgres"
  },
Ensure your database server is up and running and the connections are based on that. Also, make sure the database shop is created before going to the next step.
Run the seeders to populate the Products table with initial data:
npx sequelize-cli db:seed:all
If you get an error as follows:
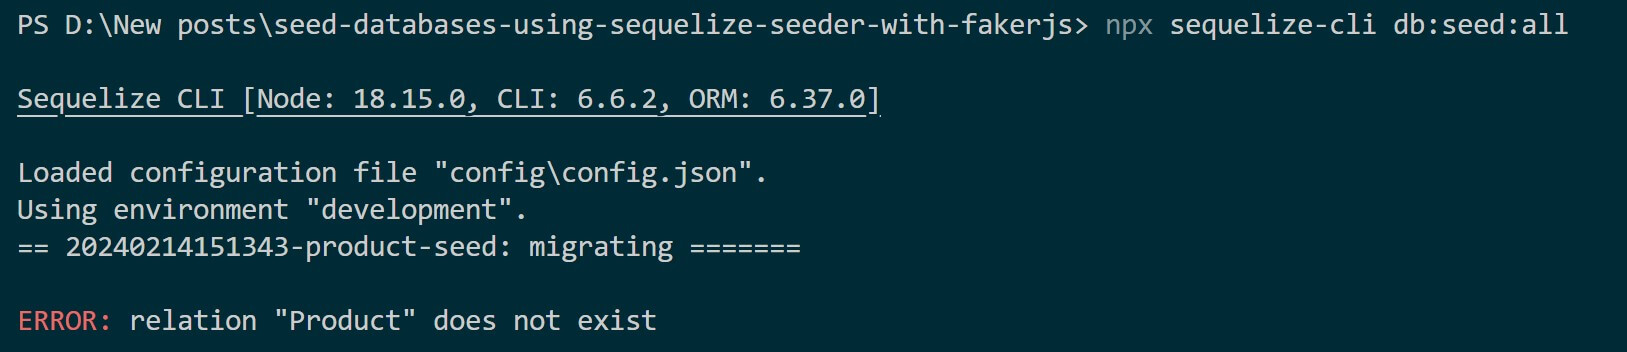
This means your seeding database table is not ready. Go to migrations\20240214150520-create-product.js and create a Migration:
'use strict';
/** @type {import('sequelize-cli').Migration} */

module.exports = {
  up: async (queryInterface, Sequelize) => {

   await queryInterface.createTable('Product', {
    id: {
     allowNull: false,
     autoIncrement: true,
     primaryKey: true,
     type: Sequelize.INTEGER
    },
    name: {
     type: Sequelize.STRING
    },
    price: {
     type: Sequelize.DECIMAL
    },
    description: {
     type: Sequelize.STRING
    },

   });
  },
  down: async (queryInterface, Sequelize) => {
   await queryInterface.dropTable('Product');
  }
};
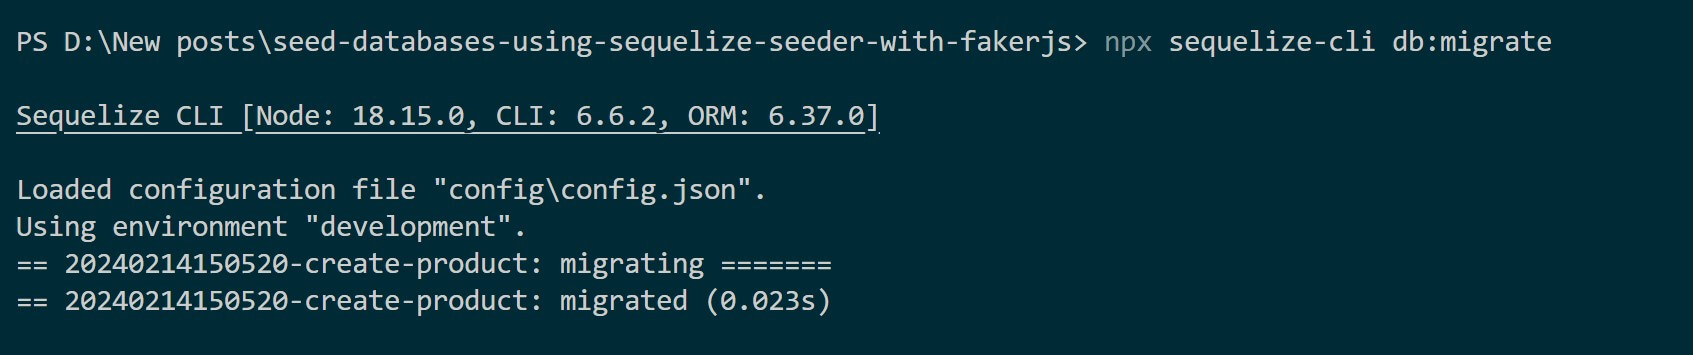
Now run the migrations to create the table structure:
npx sequelize-cli db:migrate
Now seed the Product table using this command:
npx sequelize-cli db:seed:all
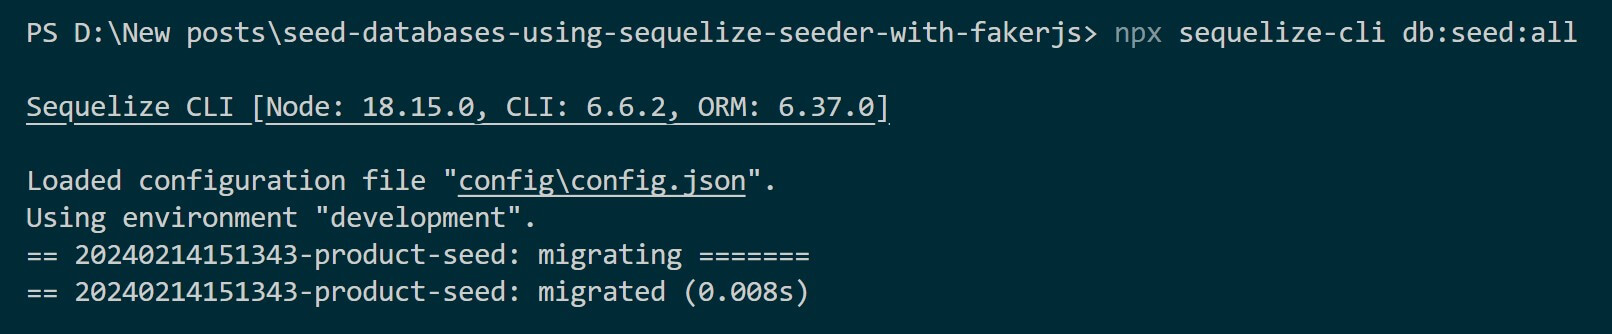
Check your database to confirm you have these changes ready as follows:
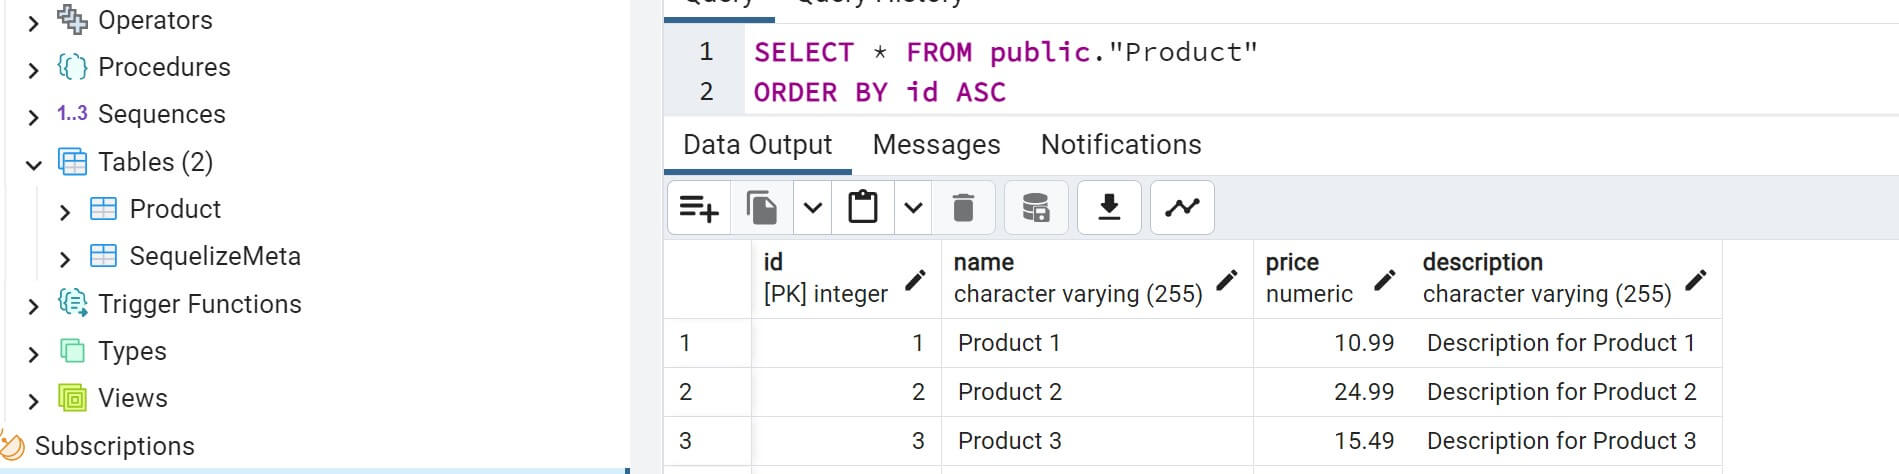
Seed Databases Using Sequelize Seeders and Faker.js
The above process may be good but you need to create the seeding data manually. Now, the best option is to use Faker.js.
While still using Sequelize Seeder, the Faker.js will seed your table with several rows you wish.
Go to the seeders\20240214151343-product-seed.js file and use Faker.js as follows:
'use strict';
const { faker } = require('@faker-js/faker');

/** @type {import('sequelize-cli').Migration} */

module.exports = {
  up: async (queryInterface, Sequelize) => {
    const productsData = [];
    const numProducts = 15; // Number of products to generate

    for (let i = 0; i < numProducts; i++) {
      productsData.push({
        name: faker.commerce.productName(),
        price: faker.commerce.price(),
        description: faker.commerce.productDescription()
      });
    }

    await queryInterface.bulkInsert('Product', productsData, {});
  },

  down: async (queryInterface, Sequelize) => {
    await queryInterface.bulkDelete('Product', null, {});
  }
};
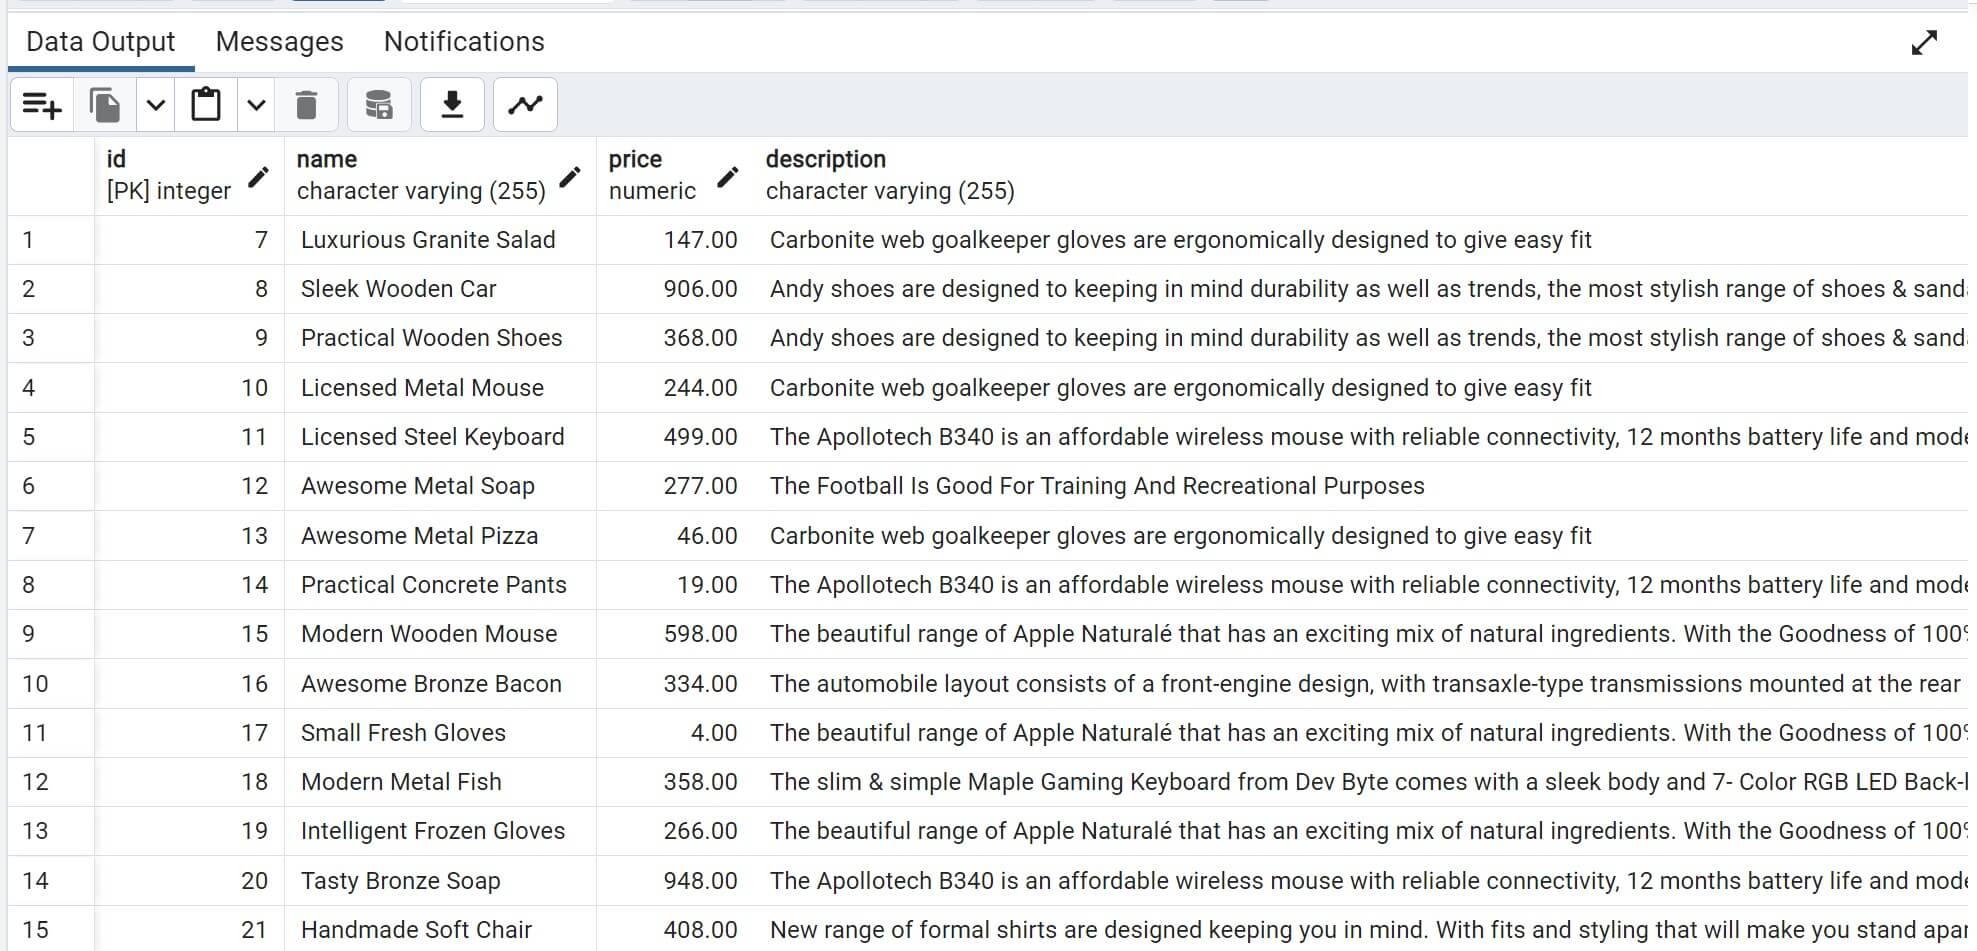
In this case, Faker.js will generate 15 sample products it will use the bulkInsert to access the Product table and seed it with sample data.
You will still run the following command to apply this seeder:
npx sequelize-cli db:seed:all
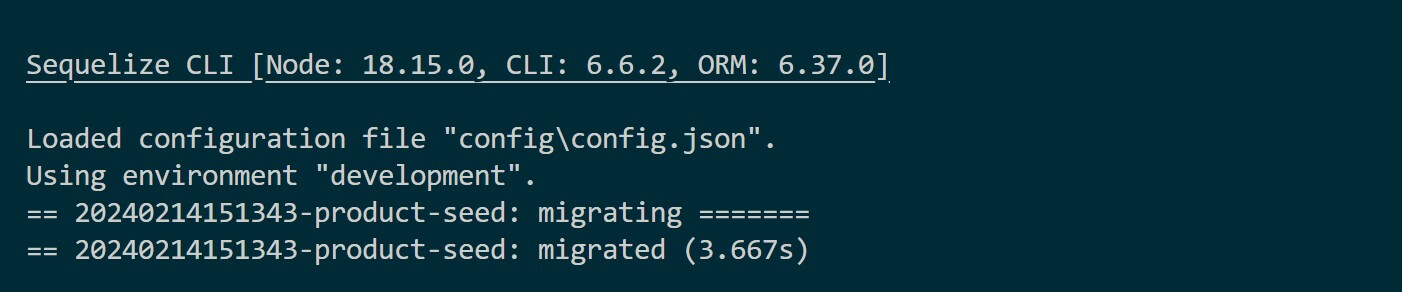
Your database should now get updated with need data seeded with Sequelize and Faker.js:
Seed Databases Using Sequelize Seeders and Associate
Let’s say you have associates in your database, how can you seed them using the same Sequelize seeder? Don’t worry, you can still achieve the same here.
Let’s assume you have two models: Product and Category, where each product belongs to a category. Therefore, you need to create a Category model using the following command:
npx sequelize-cli model:generate --name Category --attributes name:string
In the models file category.js define the associations between the Category and Product models:
// category.js
'use strict';
const {
  Model
} = require('sequelize');
module.exports = (sequelize, DataTypes) => {
  class Category extends Model {
    static associate(models) {
      Category.hasMany(models.Product);
    }

  }
  Category.init({
    name: DataTypes.STRING
  }, {
    sequelize,
    modelName: 'Category',
  });
  return Category;
};
At the same time, the Product model (product.js) needs to use the belongsTo Category model to extend the associations and use the categoryId as a foreign key as follows:
// product.js
'use strict';
const {
  Model
} = require('sequelize');
module.exports = (sequelize, DataTypes) => {
  class Product extends Model {
    static associate(models) {
      Product.belongsTo(models.Category);
    }
  }

  Product.init({
    name: DataTypes.STRING,
    price: DataTypes.FLOAT,
    description: DataTypes.TEXT,
    categoryId: DataTypes.INTEGER
  }, {
    sequelize,
    modelName: 'Product',
  });
  return Product;
};
You have categoryId. This means you have to update the migrations for product as follows:
'use strict';
/** @type {import('sequelize-cli').Migration} */

module.exports = {
  up: async (queryInterface, Sequelize) => {

   await queryInterface.createTable('Product', {
    id: {
     allowNull: false,
     autoIncrement: true,
     primaryKey: true,
     type: Sequelize.INTEGER
    },
    name: {
     type: Sequelize.STRING
    },
    price: {
     type: Sequelize.DECIMAL
    },
    description: {
     type: Sequelize.STRING
    },
    categoryId: {
      type: Sequelize.INTEGER
     },
   });
  },
  down: async (queryInterface, Sequelize) => {
   await queryInterface.dropTable('Product');
  }
};
Also, you need to create a migration for the category go to the migrations\20240214162442-create-category.js file and add the following:
'use strict';
/** @type {import('sequelize-cli').Migration} */

module.exports = {
  up: async (queryInterface, Sequelize) => {

   await queryInterface.createTable('Category', {
    id: {
     allowNull: false,
     autoIncrement: true,
     primaryKey: true,
     type: Sequelize.INTEGER
    },
    name: {
     type: Sequelize.STRING
    },
   });
  },
  down: async (queryInterface, Sequelize) => {
   await queryInterface.dropTable('Category');
  }
};
To apply the new migrations, you first need to undo the previous product migration.
npx sequelize db:migrate:undo:all
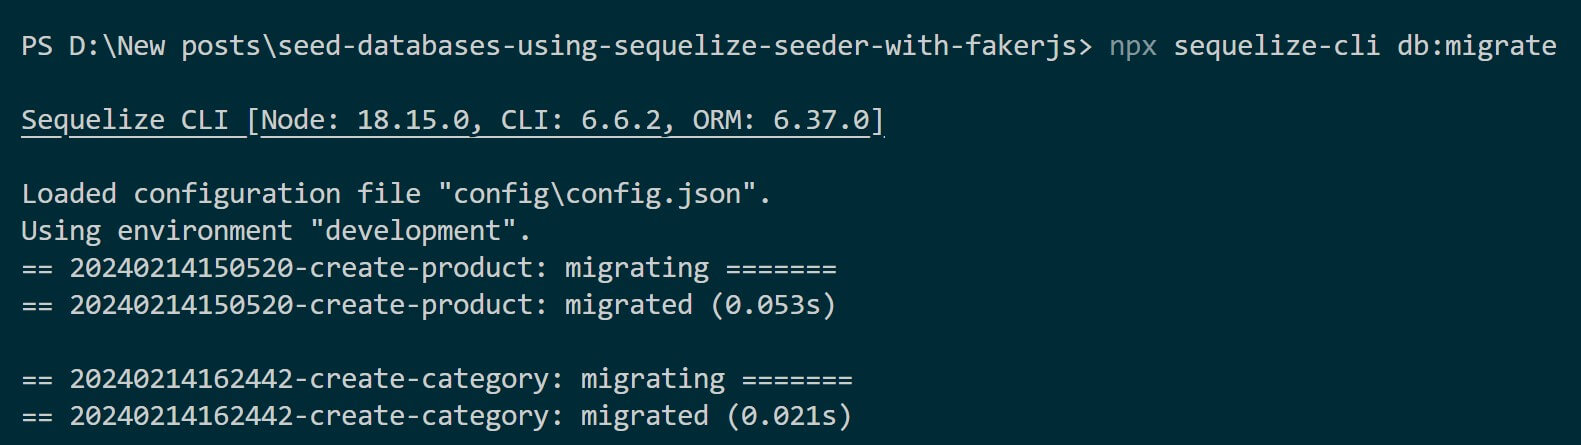
The rerun both Product and category migrations:
npx sequelize-cli db:migrate
Seeding Associates with Faker and Sequelize Seeder
You have already created seeder files for the product. But because you have changed, you need to update the seeders/20240214151343-product-seed.js to add the new categoryId as follows
// seeders/YYYYMMDDHHMMSS-product-seed.js
'use strict';

module.exports = {
  up: async (queryInterface, Sequelize) => {
    // Get Category ID from existing categories
    const category1Id = await queryInterface.rawSelect('Category', {
      where: { name: 'Category 1' }
    }, ['id']);

    const category2Id = await queryInterface.rawSelect('Category', {
      where: { name: 'Category 2' }
    }, ['id']);

    await queryInterface.bulkInsert('Product', [
      { name: 'Product 1', price: 10.99, description: 'Description for Product 1', categoryId: category1Id},
      { name: 'Product 2', price: 24.99, description: 'Description for Product 2', categoryId: category2Id},
      { name: 'Product 3', price: 15.99, description: 'Description for Product 3', categoryId: category1Id},
      { name: 'Product 4', price: 29.99, description: 'Description for Product 4', categoryId: category2Id},
      // Add more products as needed
    ], {});
  },

  down: async (queryInterface, Sequelize) => {
    await queryInterface.bulkDelete('Product', null, {});
  }
};
Now create a Sequelize model representing the Category entity seeding:
npx sequelize-cli seed:generate --name category-seed
Your /seeders/20240214170109-category-seed.js file should be updated to seed the Category table as follows:
// seeders/YYYYMMDDHHMMSS-category-seed.js
'use strict';

module.exports = {
  up: async (queryInterface, Sequelize) => {
    await queryInterface.bulkInsert('Category', [
      { name: 'Category 1' },
      { name: 'Category 2'},
      // Add more categories as needed
    ], {});
  },

  down: async (queryInterface, Sequelize) => {
    await queryInterface.bulkDelete('Category', null, {});
  }
};
To run these seeding, you must run and seed the Category table as the Product depends on it. Therefore, copy the category seed file name and run it as follows:
npx sequelize-cli db:seed --seed 20240214170109-category-seed.js
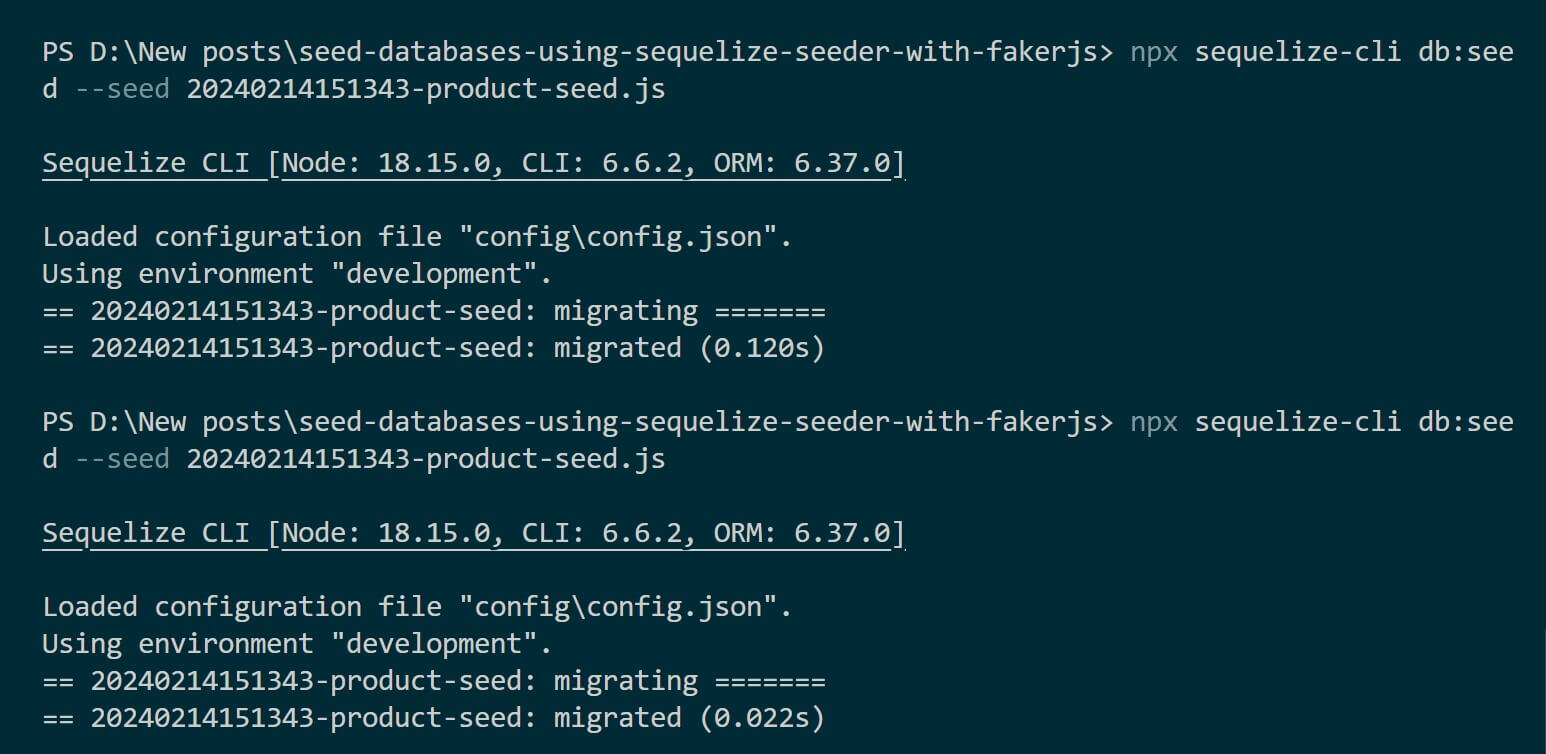
Do the same to the product seed file:
npx sequelize-cli db:seed --seed 20240214151343-product-seed.js
Go to your database and check if Sequelize seeder has seeded your tables:

Conclusion
You’ve successfully seeded your Sequelize database with Faker.js data and Sequelize Seeder. This approach helps in testing and developing applications without relying on real data. Check the code on this GitHub repo.
Written By: