How to Render HTML and CSS Pages With Node.js MySQL Server
Posted December 21, 2023

Node.js uses template Engines such as EJS and PUG. However, is always fun to have, HTML, CSS, and Plain JavaScript templates running on your Node.js HTTP server. In this example tutorial, you’ll learn how to implement HTML in Node.js. You’ll render a HTML CSS and JavaScript app with Node.js and Express MySQL API.
In summary, you’ll understand:
- How to create an HTML template and Node.js Example API. Take an example of an
index.htmland display its element with Node.js. - Most developers often have Node.js and CSS doesn’t work issue. You’ll learn how to perfectly implement HTML with CSS and ensure Node.js can render CSS code with Express.
- Plain JavaScript goes hand in hand if you’re creating an HTML CSS template. You should be able to comfortably HTML CSS and JavaScript on Node.js.
- Do you want to run an HTML Node.js MySQL app? To make your app complete, you need a database such as MySQL or MongoDB. You’ll use a MySQL example db, manage its data with Node.js and Express, and then use your HTML to display and POST data.
Now, dive in and Render your HTML and CSS Pages with Node.js MySQL Server step by step.
Related: How to Use XMLHttpRequest with Node.js (Code Examples)
Setting Up a Basic HTML CSS Template with Node.js and Express
Let’s first create a simple Node.js app. Create a new directory for your project and navigate into it:
mkdir nodejs-html-css
cd nodejs-html-css
Go ahead and initialize Node.js in your project folder:
npm init -y
You will use Express.js and MySQL dependencies. Install them in the following command:
npm install express mysql2
At this point, assume you have the following project structure:
nodejs-html-css/
├── server.js
│
└─── public/
    ├── index.html
    └── styles.css
Rendering Basic HTML CSS Template with Node.js and Express
Based on the above structure, you’ll use the public directory to host your Node.js CSS and HTML code.
To create a Basic HTML page and render in on Node.js with Express, navigate to the public/index.html file and create just a simple HTML page as such:
<!DOCTYPE html>
<head>
  <link rel="stylesheet" href="styles.css">
  <title>Node.js HTML CSS Server</title>
</head>
<body>
  <h1>Hello from Node.js Server!</h1>
  <p>This is a Node.js HTML and CSS Test Page</p>
</body>
</html>
This page should be rendered using Node.js. At the same time, you want to add CSS to structure your HTML template and let Node.js access your styling. Create a simple CSS style in your public/styles.css file as follows:
body {
  font-family: 'Arial', sans-serif;
  background-color: #f4f4f4;
  color: #333;
  margin: 0;
  padding: 0;
  text-align: center;
}

h1 {
  color: #0066cc;
}

p {
  font-size: 1.2em;
  color: #000;
}
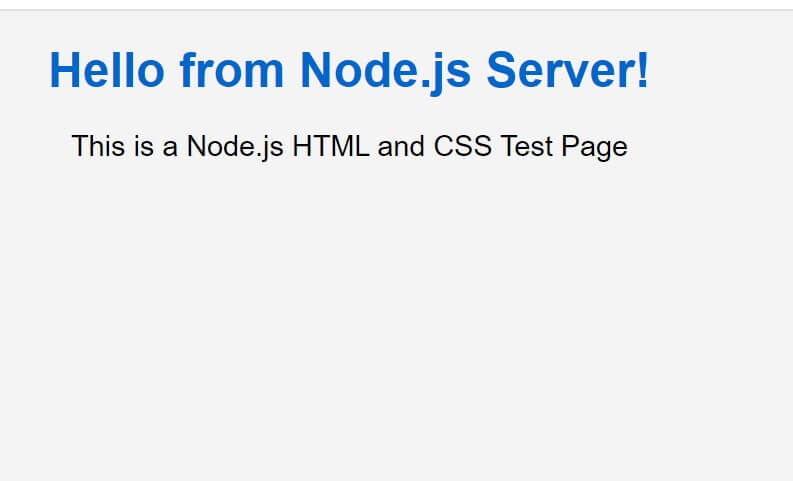
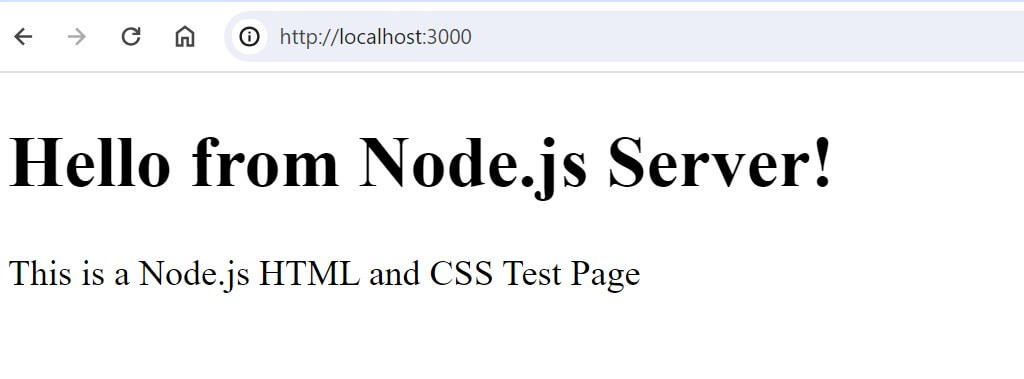
This is how your HTML page should look like:
Now, how do we get the same page but using Node.js and Express as the server? In your server.js file:
- Step One: Import Express to create a server and
pathto access the public directory:
const express = require('express');
const path = require('path');
- Step Two: Initialize Express and the Port you want to expose your HTML page with Node.js:
const app = express();
const port = 3000;
- Step Three: To access and expose your
index.htmlpage, create a Node.js express endpoint pointing to thepublicfolder while specifying the HTML file you want to expose. You must note how you are usingpathwith__dirnameto read your files:
// route to access HTML page
app.get('/', (req, res) => {
  res.sendFile(path.join(__dirname, 'public', 'index.html'));
});
- Step Four: Start the server and render HTML to Node.js on
http://localhost:3000/:
// Start the server
app.listen(port, () => {
  console.log(`Server is running on http://localhost:${port}`);
});
- Step Five: Use the following command to get your server running:
node server.js
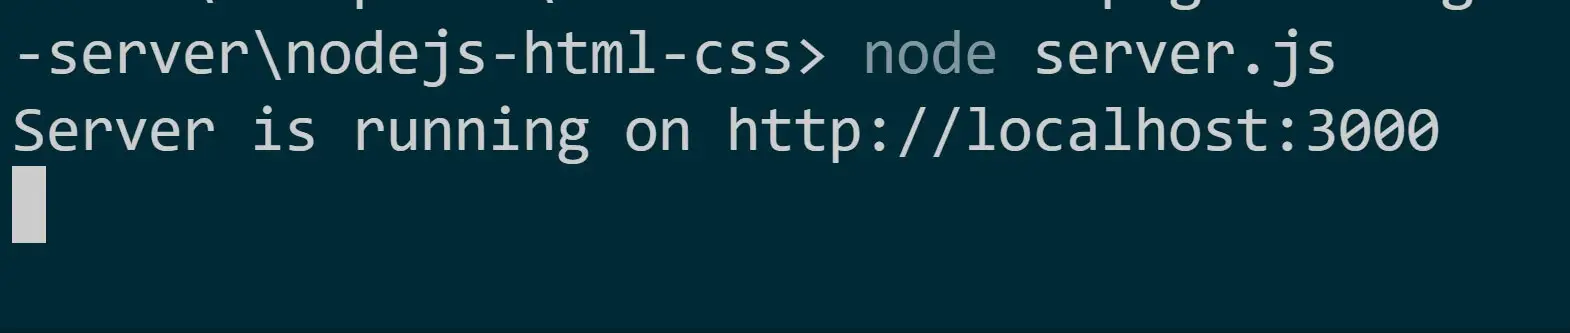
- Step Six: Finally, open
http://localhost:3000/on the browser and check your page:
Hold On! Node.js with CSS doesn’t seem to work together. Let’s fix that.
How To Handle Node.js with CSS Files Using Express
Based on the above example, we have a problem. Node.js doesn’t seem to render the styles.css file.
If you are working with CSS code, Node.js must be instructed to use Express and server CSS files as static.
In this case, you will still use path and __dirname. But combine it with express.static and Node.js will Read CSS as a static file from your ‘public’ directory.
In your server.js file, you update your code and add express.static as follows:
const express = require('express');
const path = require('path');

const app = express();
const port = 3000;

👇👇👇
// Read CSS as a static file
// from the 'public' directory
app.use(express.static(path.join(__dirname, 'public')));

// route to access HTML page
app.get('/', (req, res) => {
  res.sendFile(path.join(__dirname, 'public', 'index.html'));
});

// Start the server
app.listen(port, () => {
  console.log(`Server is running on http://localhost:${port}`);
});
Rerun your server with node server.js and refresh http://localhost:3000/. This time, Nodejs should serve HTML with its respective CSS styles:

Integrating Node.js with HTML, CSS, and JavaScript Using MySQL
Let’s say in this scenario, you want to create an HTML template that uses Node.js as the server. At the same time, you want to use CSS and JavaScript to POST data to the database as well as Fetch and display with HTML.
To create a Node.js API that will communicate with MySQL, you’ll use HTML and JavaScript to parse form data to the server with the HTML form and save it to the database.
Go to your server.js file and create a POST endpoint as follows:
-
Step One: Go to MySQL and create a sample database name:
-
Step Two: Add Sequelize import to allow connections to MySQL:
const express = require('express');
const path = require('path');
const { Sequelize, DataTypes } = require('sequelize');
- Step Three: Use Sequelize to access MySQL based on your connection credentials:
// Create a Sequelize instance
// connect to MySQL
const sequelize = new Sequelize('your-database', 'database-username', 'database password', {
  host: 'localhost',
  dialect: 'mysql',
});
- Step Four: Define a Sequelize model. In this case, I will create a Task example:
// Define a Sequelize model
const Task = sequelize.define('Task', {
    title: {
      type: DataTypes.STRING,
      allowNull: false,
    },
    description: {
      type: DataTypes.STRING,
      allowNull: false,
    },
  });
// Synchronize the model with the database (create the table if it doesn't exist)
sequelize.sync();
- Step Five: Read CSS as a static file:
const app = express();
const port = process.env.PORT || 3000;

app.use(express.json());
app.use(express.static(path.join(__dirname, 'public')));
- Step Six: Create a POST Route to handle all Node.js POST requests from HTML:
// Route to handle POST requests
app.post('/api/tasks', async (req, res) => {
    try {
        const { title, description } = req.body;
        const newTask = await Task.create({ title, description });
        res.status(201).json({ message: 'Task saved successfully' });
    } catch (error) {
        console.error(error);
        res.status(500).json({ message: 'Internal Server Error' });
    }
});
- Step Seven: Create a Route to handle GET requests and fetch tasks from the database:
// A GET endpoint to Fetch data from the database
app.get('/api/tasks', async (req, res) => {
    try {
        const tasks = await Task.findAll();
        res.status(200).json(tasks);
    } catch (error) {
        console.error(error);
        res.status(500).json({ message: 'Internal Server Error' });
    }
});
- Step Eight: Serve and Expose the Node.js API with your HTML code:
app.get('/', (req, res) => {
  res.sendFile(path.join(__dirname, 'public', 'index.html'));
});

app.listen(port, () => {
  console.log(`Server is running on http://localhost:${port}`);
});
Creating an HTML POST Form and Connect to MySQL Via Node.js
To add your data to the database, HTML will create a FORM that will access the POST endpoint and save data to the database.
I created the following form sample in the index.html file while handling all HTML backend logic with JavaScript:
<!DOCTYPE html>
<html lang="en">

<head>
  <meta charset="UTF-8">
  <meta name="viewport" content="width=device-width, initial-scale=1.0">
  <link rel="stylesheet" href="styles.css">
  <title>Node.js HTML CSS Server</title>
</head>

<body>
  <h1>Hello from Node.js Server!</h1>

  <form id="dataForm">
    <label for="title">Title:</label>
    <input type="text" id="title" name="title" required>

    <label for="description">Description:</label>
    <input type="text" id="description" name="description" required>

    <button type="submit">Submit</button>
  </form>

  <h2>Task List</h2>
  <ul id="taskList"></ul>

  <script>
    const taskForm = document.getElementById('dataForm');
    const titleInput = document.getElementById('title');
    const descriptionInput = document.getElementById('description');
    const taskList = document.getElementById('taskList');

    // Function to fetch and display tasks on page load
    async function fetchAndDisplayTasks() {
      try {
        const response = await fetch('/api/tasks');
        const tasks = await response.json();

        taskList.innerHTML = tasks.map(task => `<li>${task.title}: ${task.description}</li>`).join('');
      } catch (error) {
        console.error(error);
      }
    }

    // Event listener for form submission
    taskForm.addEventListener('submit', async function (event) {
      event.preventDefault();
      const title = titleInput.value;
      const description = descriptionInput.value;

      // Send a POST request to save a new task
      const response = await fetch('/api/tasks', {
        method: 'POST',
        headers: {
          'Content-Type': 'application/json',
        },
        body: JSON.stringify({ title, description }),
      });

      // Fetch and display tasks after submitting the form
      fetchAndDisplayTasks();

      // Clear the form inputs after submission
      titleInput.value = '';
      descriptionInput.value = '';
    });

    // Fetch and display tasks on page load
    fetchAndDisplayTasks();
  </script>
</body>

</html>
To make this form and displayed database task, update CSS styles as follows:
body {
  font-family: Arial, sans-serif;
  margin: 0;
  display: flex;
  flex-direction: column;
  align-items: center;
  justify-content: center;
  height: 100vh;
  background-color: #f4f4f4;
}

h1 {
  color: #333;
}

form {
  margin-top: 10px;
  text-align: center;
}

label {
  display: block;
  margin-bottom: 5px;
}

input {
  width: 100%;
  padding: 8px;
  margin-bottom: 10px;
}

button {
  background-color: #4caf50;
  color: white;
  padding: 10px 15px;
  border: none;
  cursor: pointer;
}

button:hover {
  background-color: #45a049;
}

ul {
  list-style-type: none;
  padding: 0;
}

li {
  border-bottom: 1px solid #ddd;
  border-top: 1px solid #ddd;
  padding: 10px 0;
}

h2 {
  border-bottom: 1px solid #ddd;
  padding: 10px 0;
  color: #333;
}
Testing your Node.js HTML, CSS, JavaScript, and MySQL Inspired App
At this point, you must ensure you have your database ready. The name of the database should be the same you added in the server.js file with Sequelize as 'your-database':
Now run your Server:
node index.js
Node.js should expose the API on http://localhost:3000.
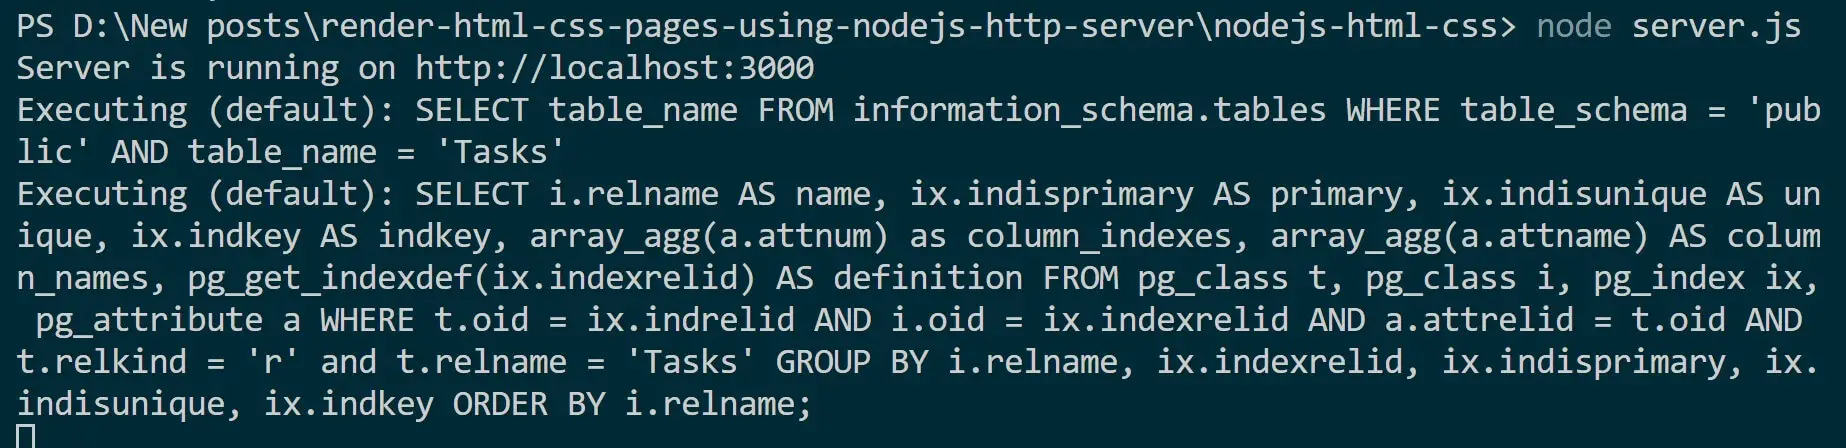
At the same time, Sequelize will create your database table with its attributes:

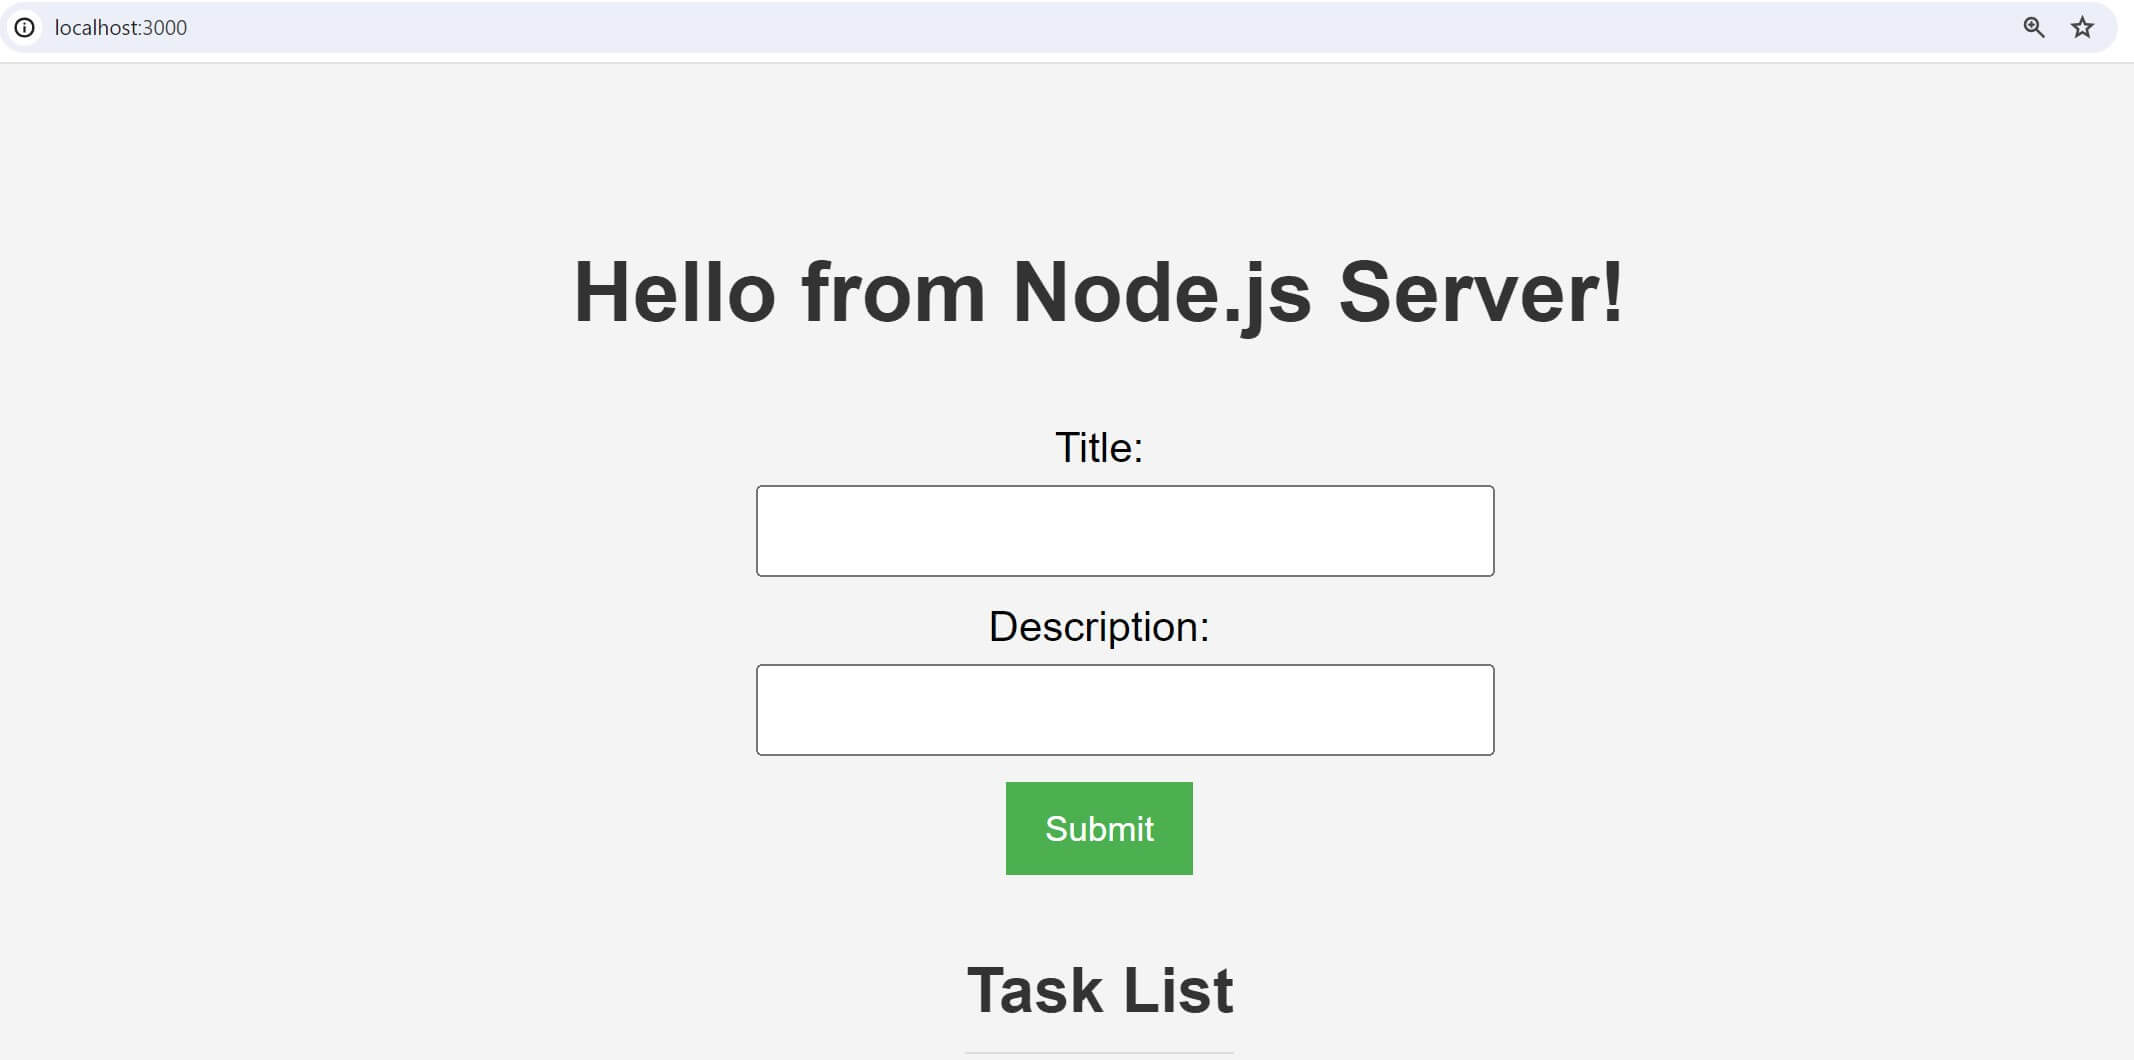
Now, open http://localhost:3000 on the browser. you should get your app ready as follows:
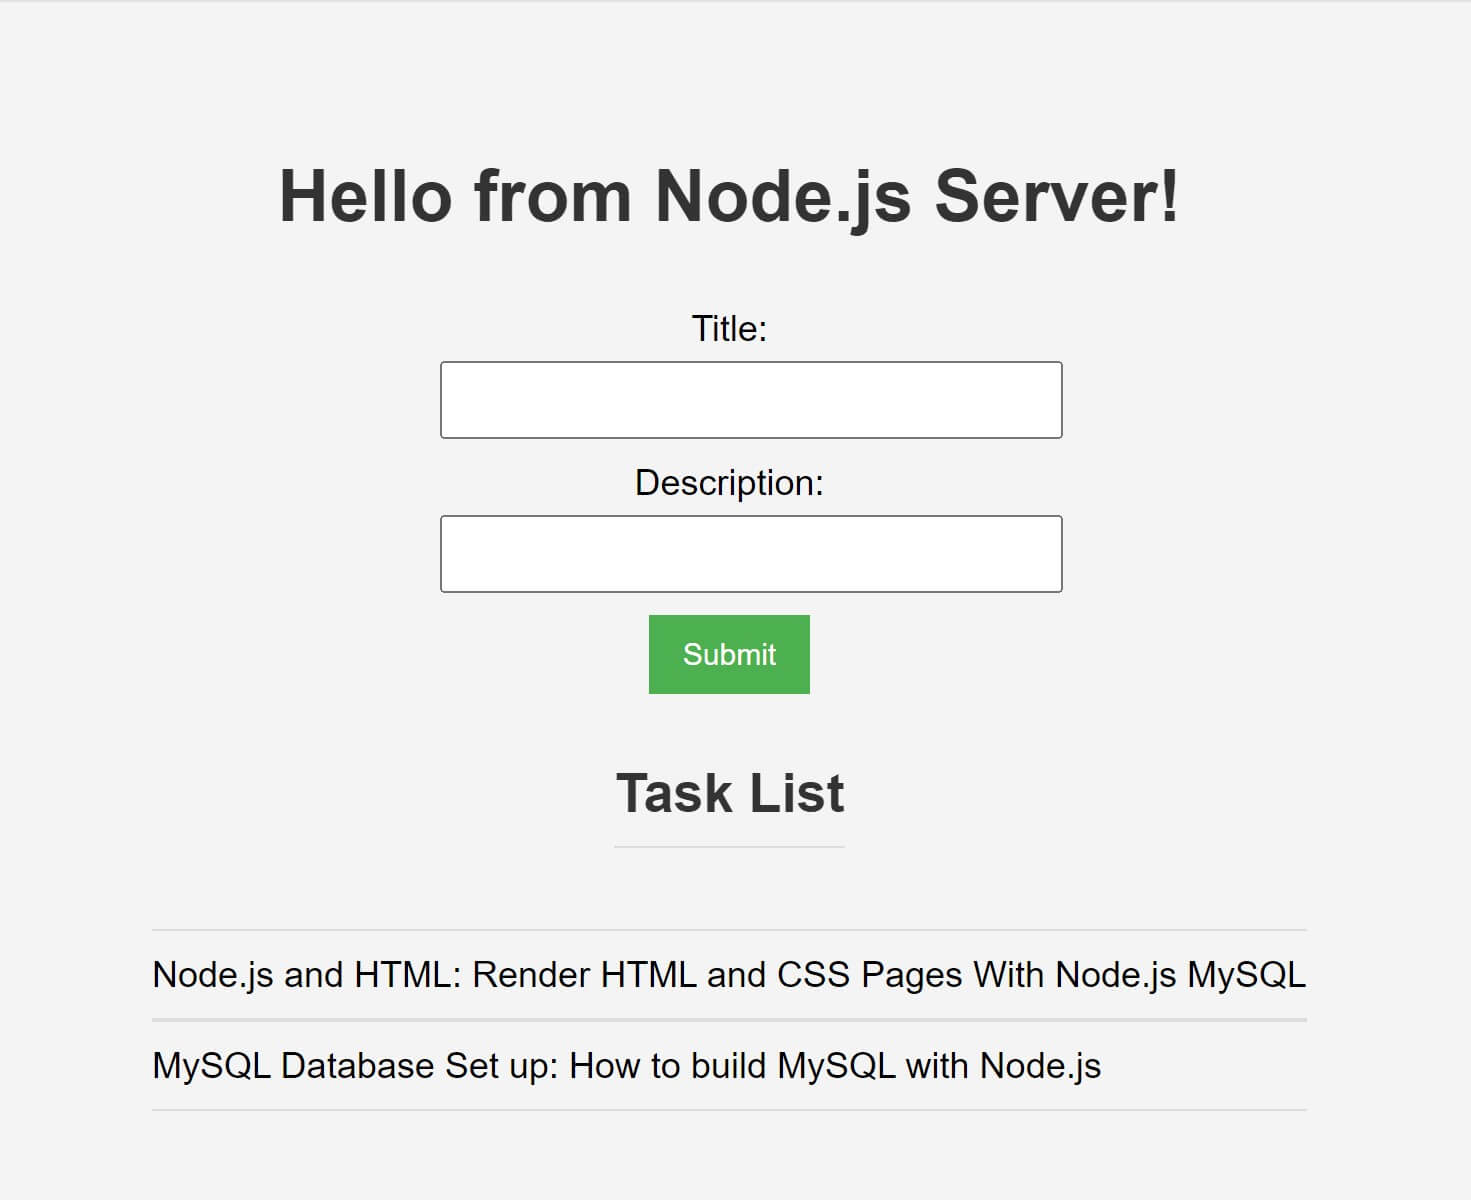
Use the HTML form and create a new Task. Once added, HTML should load it as follows
Check the console for each SELECT AND INSERT operation you made:

To confirm these operations are indeed working go to your database look for the Tasks table and view the added data:
Conclusion
This guide taught you how to:
- Create an HTML CSS template and Node.js Example API with Express
- Use a MySQL example db, manage its data with Node.js and Express, and then use your HTML to display and POST data.
I hope you learn something useful!
Check all code used along this tutorial on GitHub repo
Written By: