Uninstalling K3s|Remove K3s Kubernetes Completely
Posted February 28, 2024

If you have installed K3s and you want to completely Uninstall and remove it from the system this guide is for you.
This guide will assume you are Uninstalling K3s installed on a Linux machine. I will use Ubuntu. In this case, a K3s cluster/server should be up and running on your system.

Now let’s dive into the step-by-step process of Uninstalling and deleting K3s Kubernetes Completely from your system.
Step One: Uninstalling K3s: Stop K3s Service
If you need to remove any service, you must ensure it is not running. The same applies to K3s. Before Uninstalling K3s, ensure the server is not running. This ensures no files related to K3s are locked during the K3s Uninstall process.
Use the systemctl command:
sudo systemctl stop k3s
If you run the following command, your system should tell you K3s is not running:
kubectl cluster-info

Step Two: Uninstalling and Deleting K3s
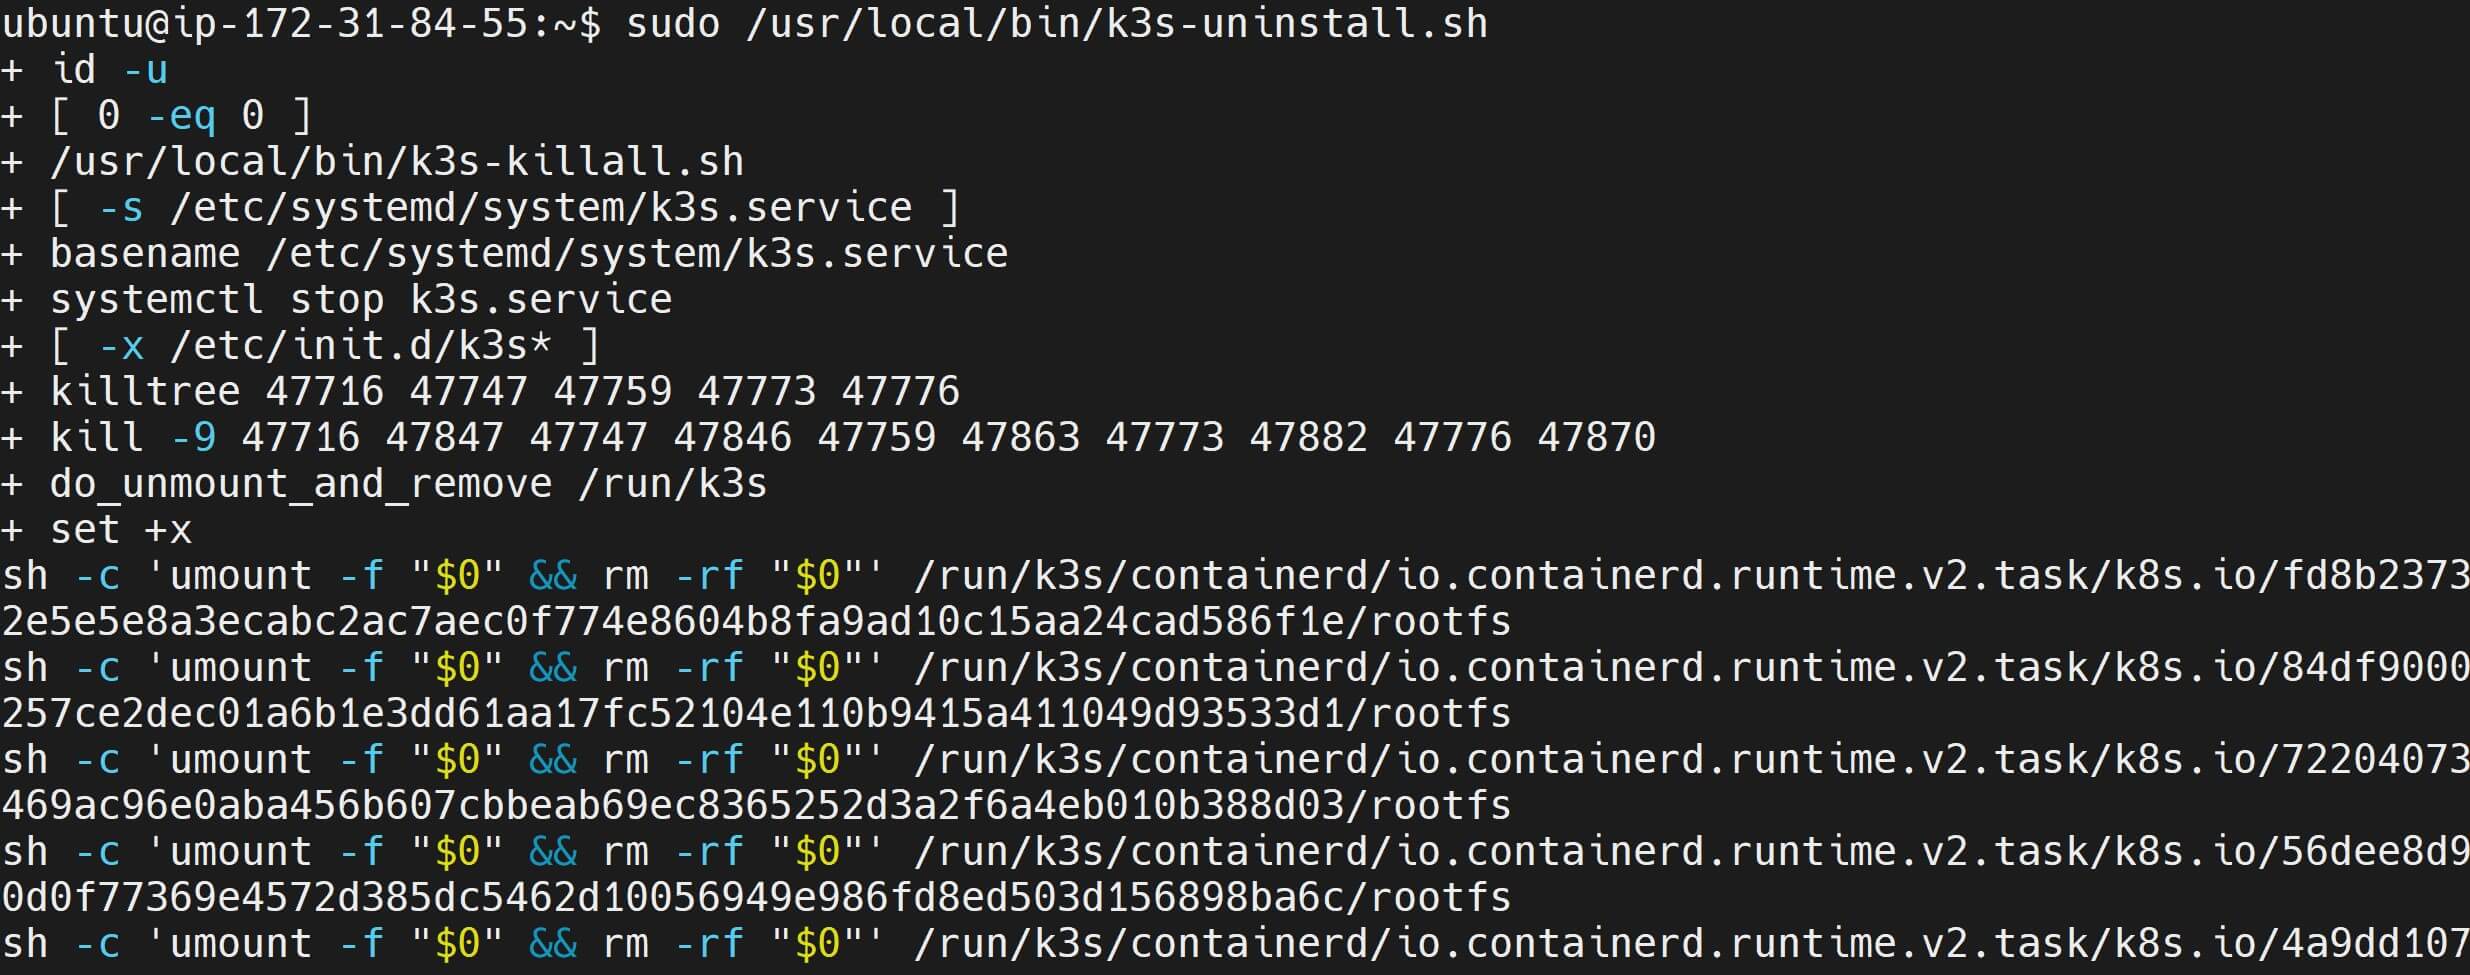
The services related to K3s are no longer running. K3s will use k3s-uninstall.sh to Uninstall and remove any K3s binaries. Go ahead and run the following uninstall script to remove all K3s-related components from your system:
sudo /usr/local/bin/k3s-uninstall.sh

This k3s-uninstall.sh script should remove K3s binaries, systemd service files, configuration directories, and any other associated files.
Rerun the kubectl cluster-info to confirm if these K3s configurations are uninstalled, removed, and deleted. You should get -bash: /usr/local/bin/kubectl: No such file or directory as follows:

Step Three: Remove and Delete K3s Kubernetes Configuration
The above step may be enough to uninstall and delete K3s. However, you need to make sure to clean up any remaining Kubernetes configuration files.
These are located in /etc/rancher/k3s or /etc/kubernetes. You remove these directories:
sudo rm -rf /etc/rancher/k3s /etc/kubernetes
Step Four: Uninstalling K3s and Kubectl
When running kubectl cluster-info, your system didn’t tell you Command ‘kubectl’ not found, but can be installed with: sudo snap install kubectl.
This means K3s kubectl could still be available on this computer. To make sure K3s has kubectl deleted you must remove the kubectl binaries. Kubectl is part of your K3s setup and you no longer need it, you remove it using:
sudo rm /usr/local/bin/kubectl
If you had kubectl installed via a package manager, use:
sudo apt remove kubectl
Step Five: Post Uninstalling K3s: Clean-up Systemd Service
The final step is to make sure the system no longer needs the K3s systemd service file. This will ensure any remnant of K3s that were not uninstalled in the previous step are now removed.
Use the following command to delete the K3s systemd service file:
sudo rm /etc/systemd/system/k3s.service
All these steps were removing a service from the system. Therefore, you must reload systemd for changes to take effect:
sudo systemctl daemon-reload
Also, reboot the system manually. At this time kubectl cluster-info should have the following message:

Wrapping up
I hope you have now Completely uninstalled K3s. These steps should completely Uninstall and remove K3s from your Ubuntu system and any associated configuration files and data directories.


