How to Connect Mongoose with MongoDB Atlas Cluster Login
Posted January 30, 2024

Mongoose allows you to access the MongoDB server on your application. However, when working with MongoDB Atlas, you need to check your connection URI correctly and ensure you get Mongoose authenticated to access and connect to MongoDB Atlas.
This guide will teach you how to create a MongoDB Atlas cluster. You will then use Mongoose to connect and log into MongoDB Atlas Cluster. You will learn how to solve any Mongoose MongoDB connection errors along the way.
If you are using Nest.js, this setup should work fine. Check Easy Nest.js Mongoose Example Tutorial with MongoDB Schema guide for more details.
Setting Up MongoDB Atlas Cluster with Mongoose
First, head over to MongoDB Atlas and create a cluster. You must ensure the cluster/ DATABASE you create has a username and password. Once ready:
Open your web browser, navigate to the MongoDB Atlas homepage, and Navigate to Database Access:
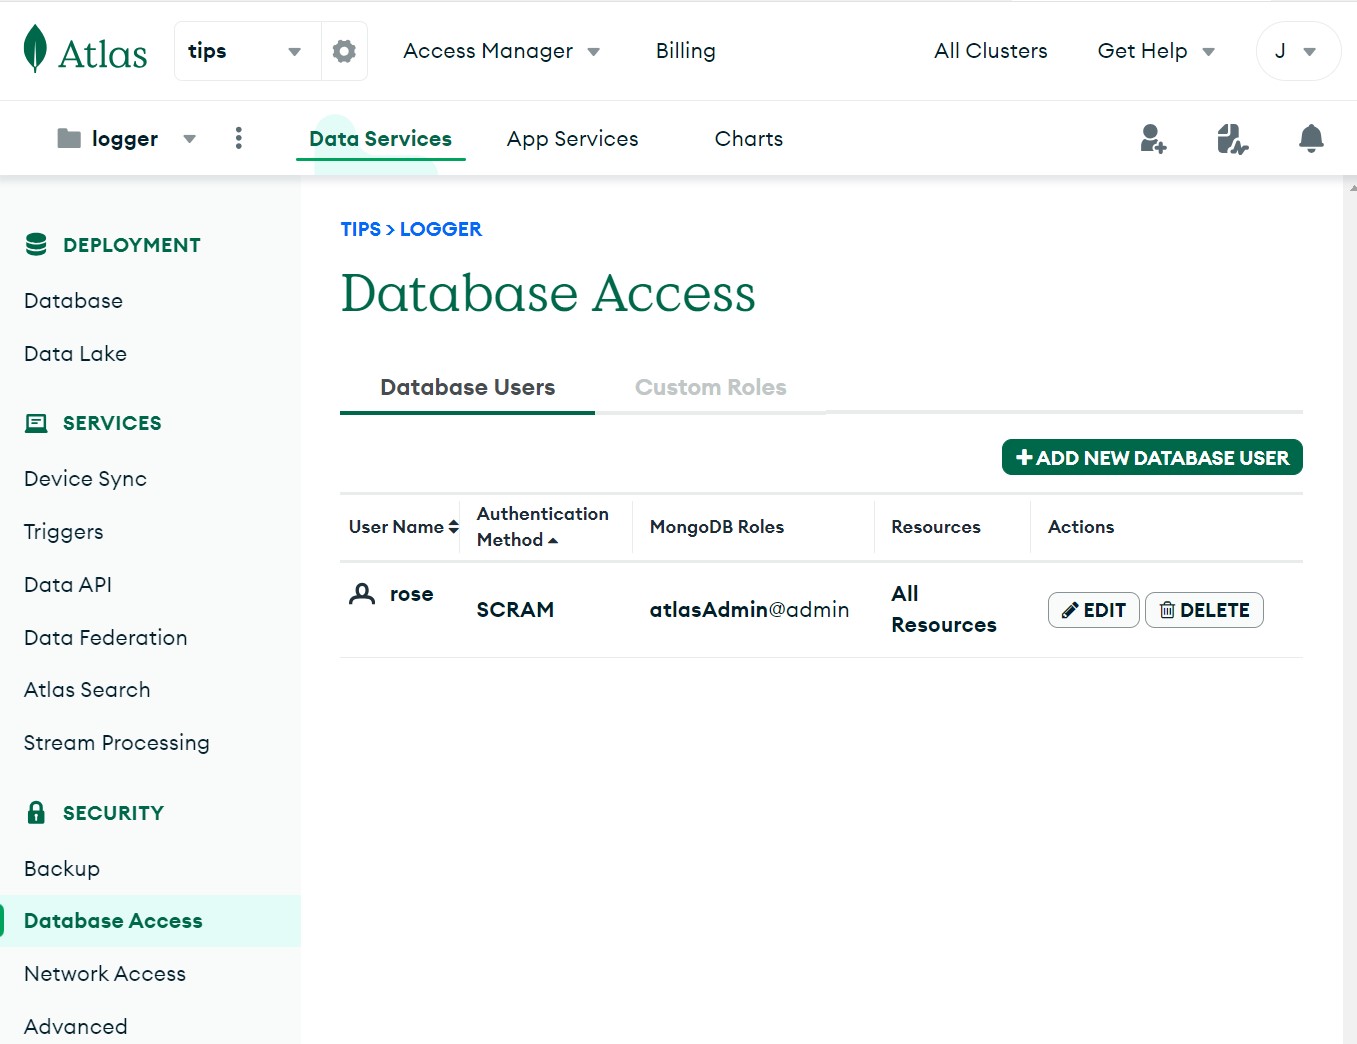
Click on the Database Access tab under the Security section in the left sidebar. Then, Add a New Database User:
- Click on “ADD A NEW DATABASE USER.”
- Fill in the username and password fields, and create the user.
- Make sure you remember the added username and password.
- Select the Role of this user. Read and write to, and the database is fine. But stick to full access as the Atlas admin.
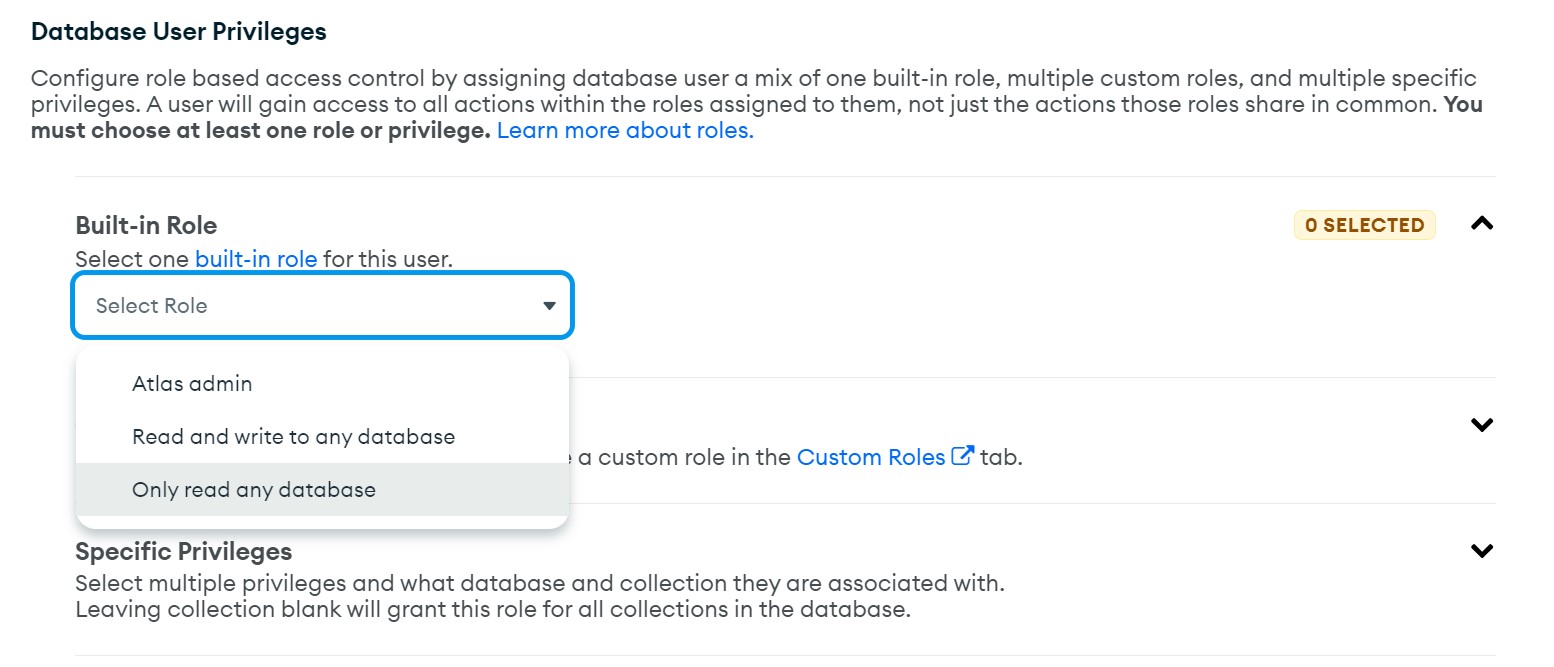
- Scroll down and Add the user
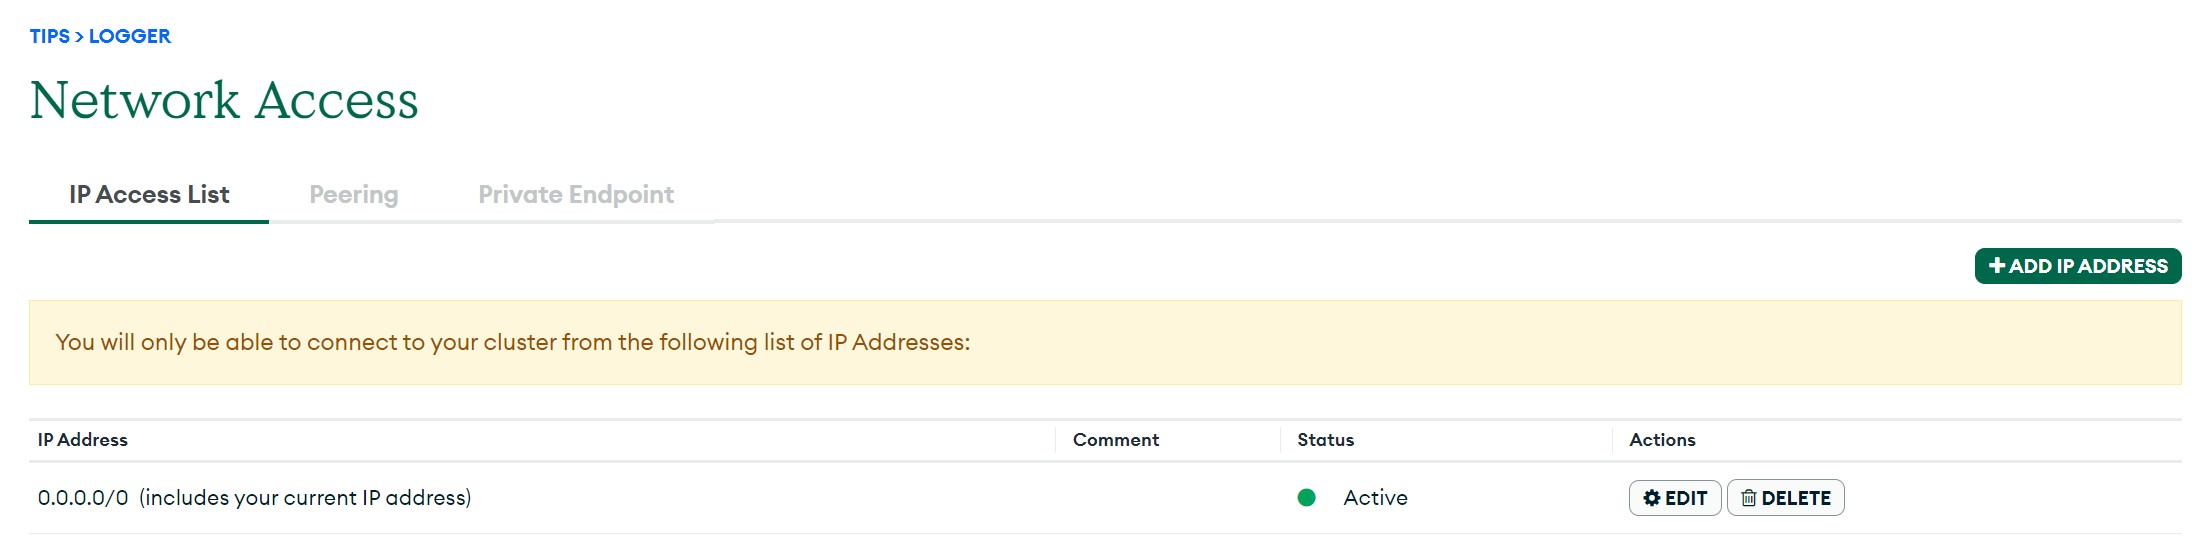
Now, Go to the ‘Network Access’ tab in the left sidebar:
- Click ‘Add IP Address’ or ‘Add New IP.’
- Use 0.0.0.0/0 as the IP address to allow full access.
- Save your changes after modifying the database access and network settings.
Setting Up the Correct Mongoose MongoDB Atlas URI
By default, you would use the following URI to allow Mongoose access to MongoDB Atlas:
mongodb+srv://:@/?retryWrites=true&w=majority
However, you won’t be able to Login and access the Atlas cluster. Your URI must contain the cluster username and password as follows:
mongodb+srv://<username>:<password>@cluster0.4obgw.mongodb.net/?retryWrites=true&w=majority
Here:
- replace
in your ATLAS user password. should be your MongoDB ATLAS user name.
You can go to your Database and Connect your cluster. Choose Connect to your application Drivers:
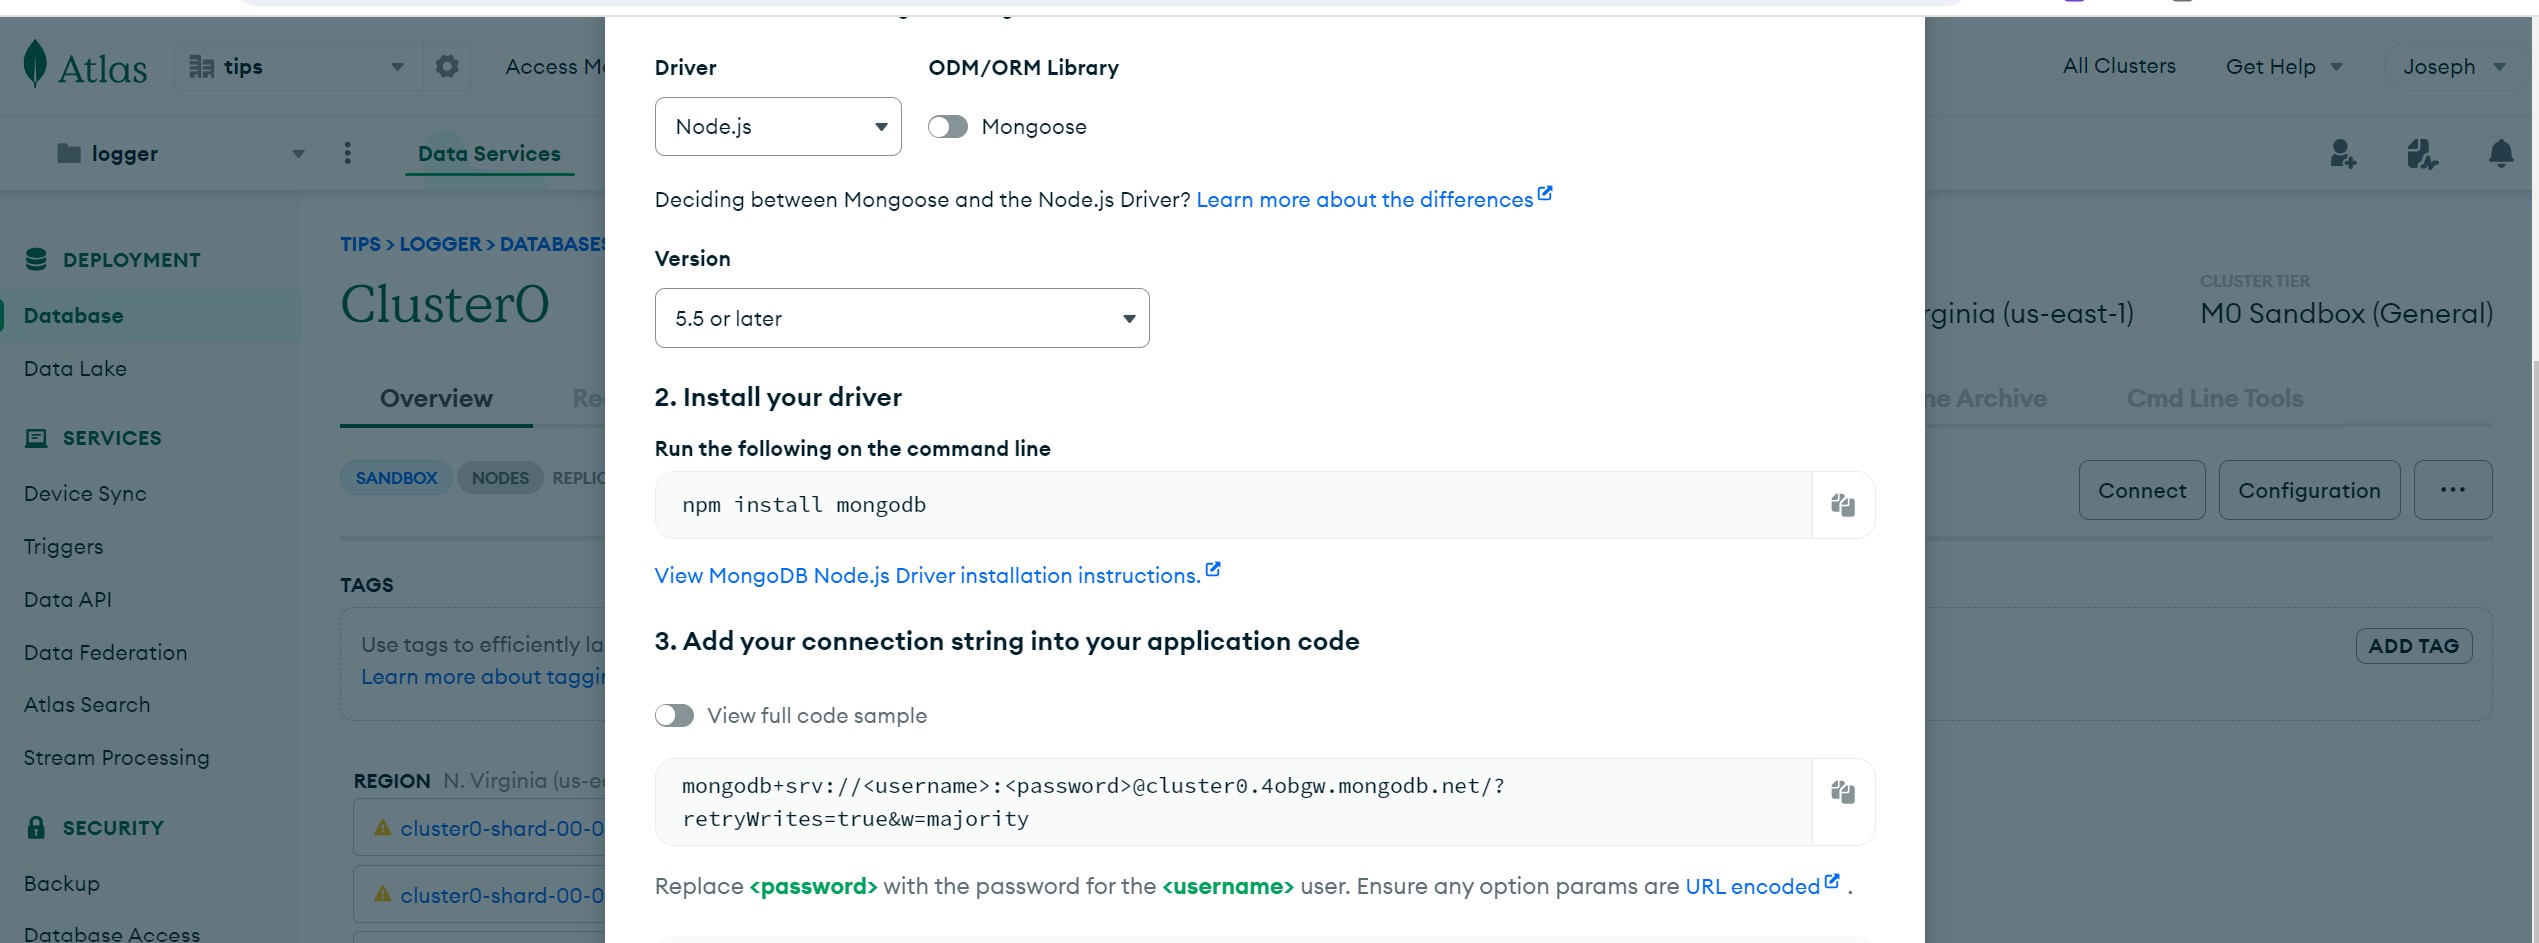
You should have the same URI as above.
This URI is not complete yet. You must add a database. Mongoose will create one once it successfully connects to MongoDB Atlas. Now, your new URI will look as follows;
mongodb+srv://<username>:<password>@cluster0.4obgw.mongodb.net/<db_name>?retryWrites=true&w=majority
<dbname> can be any database of your choice, for example testdb, and your Atlas URI will be:
mongodb+srv://<username>:<password>@cluster0.4obgw.mongodb.net/testdb?retryWrites=true&w=majority
So, Ensure you replace <dbname> accordingly. You don’t have to create the database name on your ATLAS cluster. Once Mongoose connects to Atlas, it will create that database for you.
Note: If you copy the ATLAS_URI= connection string from MongoDB Atlas, it may fail to work. Until you replace
and Correctly, then add <db_name> of your choice.
Node.js Mongoose Requirements to Connect to MongoDB Atlas
Even though you could have the correct MongoDB Atlas URI, the Mongoose version you are using will dictate success. You need to ensure that you get the more recent version of MongoDB, Mongoose, and Express at least:
- MongoDB(^4.1.3)
- mongoose 7.0 or later
- Express(^4.17.1)
Testing Mongoose Atlas Connection with Node.js and Express.
Before using your URI, you can use the following simple Node.js API to test if Mongoose can connect to Atlas:
- Create Node.js application
npm init -y
- Install Express and mongoose:
npm install express mongoose
- Create an
app.jsfile and add your Atlas URI as follows:
const express = require("express");
const mongoose = require("mongoose");

const app = express();
const port = process.env.PORT || 3000;

// Connect to MongoDB Atlas
mongoose.connect('mongodb+srv://<username>:<password>@cluster0.4obgw.mongodb.net/testdb?retryWrites=true&w=majority', {
    authSource:"admin",
    ssl: true,
});

// Check if the connection was successful
mongoose.connection.on("connected", () => {
  console.log("Connected to MongoDB Atlas");
});

// Define your schema and models here...

// Start the Express server
app.listen(port, () => {
  console.log(`Server is running on port ${port}`);
});
- Run the server with
node app.js. You should have a successful Mongoose MongoDB Atlas connection.

At the same time, mongoose will create the database added to your URI on MongoDB Atlas. Go to ATLAS and confirm the change.
To do so, first, add a sample schema as follows:
const express = require("express");
const mongoose = require("mongoose");

const app = express();
const port = process.env.PORT || 3000;

// Connect to MongoDB Atlas
mongoose.connect('mongodb+srv://<username>:<password>@cluster0.4obgw.mongodb.net/testdb?retryWrites=true&w=majority', {
    authSource:"admin",
    ssl: true,
});

// Check if the connection was successful
mongoose.connection.on("connected", () => {
  console.log("Connected to MongoDB Atlas");
});

// Define a User schema
const userSchema = new mongoose.Schema({
    username: String,
    email: String,
    // Add more fields as needed
});

// Create a User model based on the schema
const User = mongoose.model('User', userSchema);

// Create a new user and save it to the collection
const newUser = new User({
    username: 'test username',
    email: '[email protected]',
    // Set other fields as needed
});

newUser.save()
    .then(() => {
        console.log('User created and saved to the collection');
    })
    .catch((error) => {
        console.error('Error saving user:', error);
    });

// Start the Express server
app.listen(port, () => {
    console.log(`Server is running on port ${port}`);
});

Now go to your cluster/ Database and access the collection as follows:

Adding MongoDB Atlas URI to Mongoose Safely
The details in your URI are sensitive. Therefore, you must add them with caution. In Node.js, use Environment Variables. It’s good practice for storing sensitive information like the MongoDB Atlas connection string in environment variables.
Use a package like dotenv to load environment variables from a .env file:
- Install dotenv:
npm install dotenv
- Create a
.envfile in your project’s root directory and add your MongoDB Atlas connection string:
MONGODB_URI=mongodb+srv://<username>:<password>@cluster0.mongodb.net/<database>?retryWrites=true&w=majority
- Update your code and import dotenv:
require('dotenv').config();
Update the mongoose.connect with the dotenv ATLAS MONGODB_URI:
// Connect to MongoDB Atlas
mongoose.connect(process.env.MONGODB_URI, {
    authSource:"admin",
    ssl: true,
});
Related: Easy MongoDB Mongoose Connection with TypeScript Nodejs and Express
Conclusion
This guide helped you learn How to connect Mongoose with MongoDB Atlas Cluster Login. Happy Mongoose coding!!
Written By: