Run Headless Kodi Player with Docker Compose Container for Home Server
Posted October 12, 2023

Run Kodi Player in headless mode using Docker and Docker Compose on your Home Assistant Server/Lab. You use Docker and create a Container that runs Kodi for setting up a media server and control it via Home Lab.
Prerequisites to Running Kodi with Docker
- To follow this guide, ensure you have Docker installed and running on your machine.
- This will be an added bonus if you have a running Home Assistant.
What You Will Learn
Along this Kodi Docker setup guide, you will learn the following:
- How to use Docker Compose container and run a Headless Kodi Player.
- In case you want to add some configurations, you use a Dockerfile and Docker Compose to run Kodi.
- If you like to add a database server to manage Kodi setup, you will add an SQL database.
Creating your First Headless Kodi Player with Docker Compose
Let’s dive and run Headless Kodi Player with Docker Compose. So, ensure you have your docker-compose.yml file ready and run Kodi as follows:
# Docker Compose version
version: '3.7'

# Define the Kodi service
services:
  kodi:
    image: linuxserver/kodi-headless  # Docker image for the Kodi service.
    container_name: kodi  # name the container.

    # Environment variables for the Kodi container
    environment:
      - PUID=1000  # User ID for file permissions.
      - PGID=1000  # Group ID for file permissions.
      - TZ=America/Chicago  # Timezone configuration.

    # Mount local directory to store Kodi configuration
    volumes:
      - ./kodi/:/config/.kodi

    # Port mappings
    ports:
      - 8080:8080
      - 9090:9090
      - "9777:9777/udp"
    # container restart policy.
    restart: unless-stopped
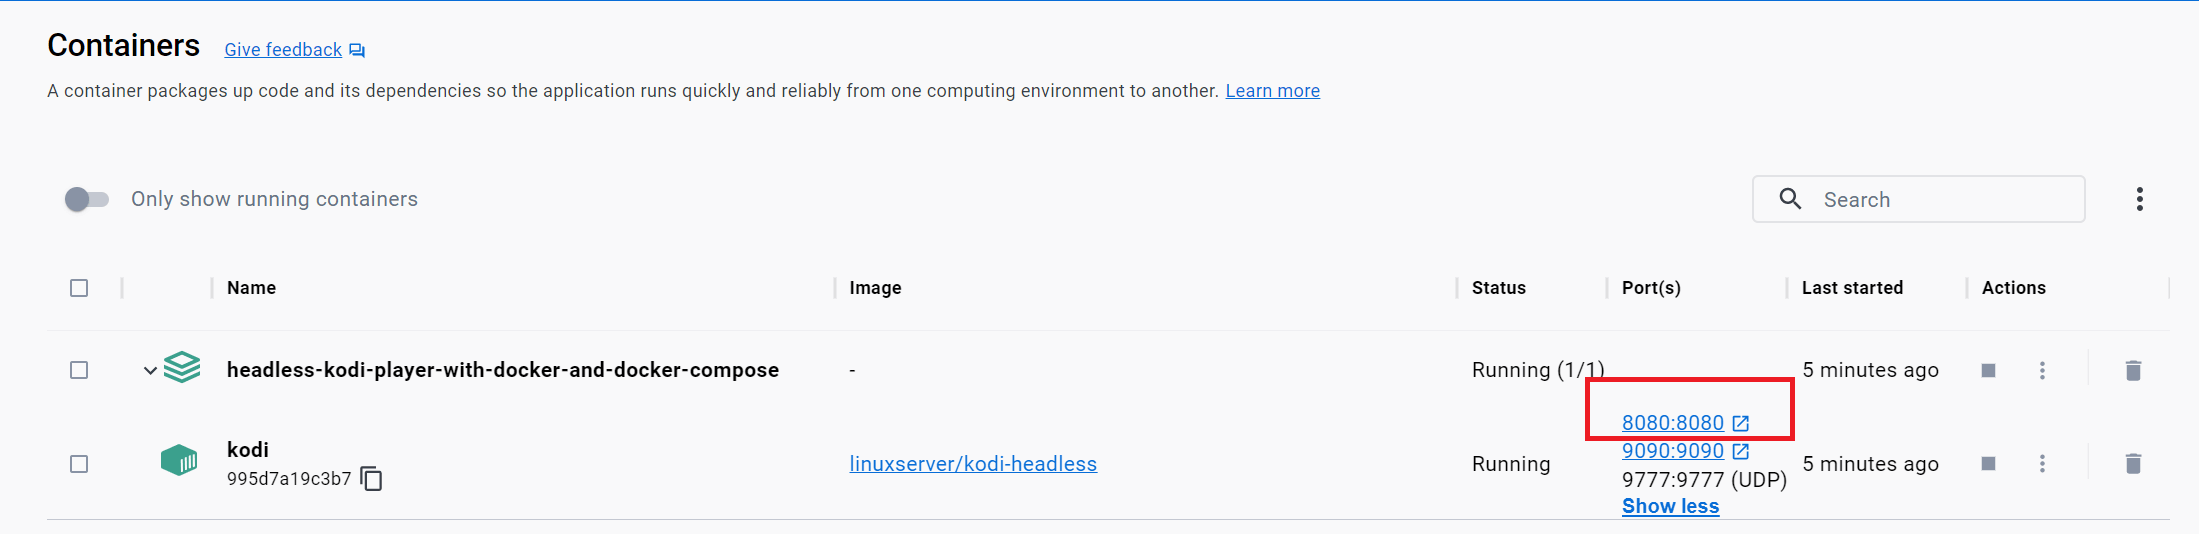
Once you run the docker-compose command, Docker should fire Kodi up and running:
docker-compose up -d
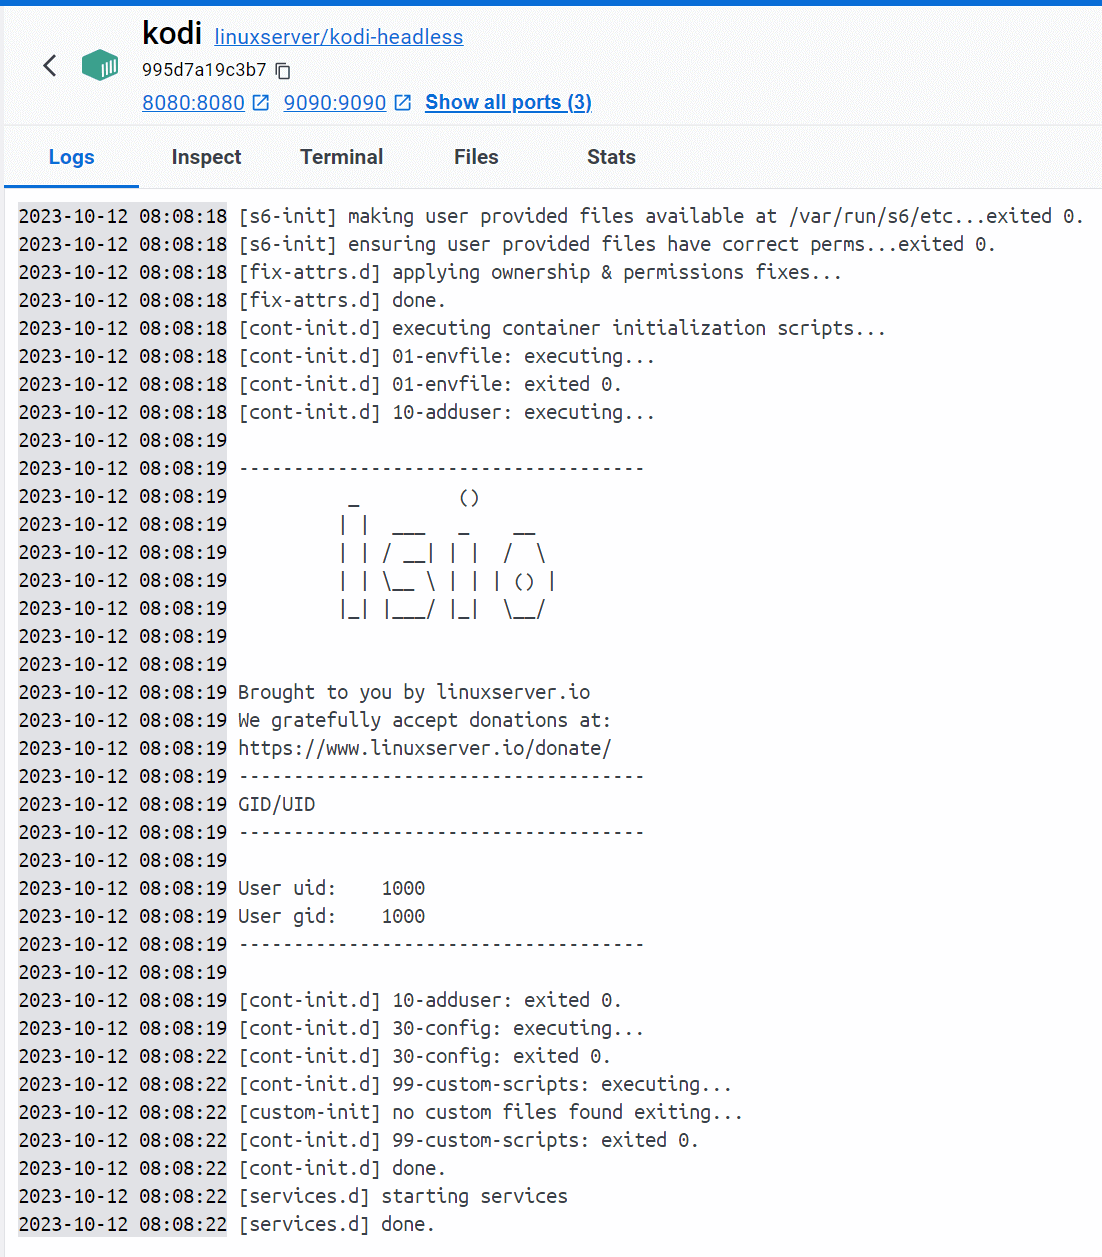
And if you check Docker Kodi logs, everything should just work fine:
To access your Kodi Docker container, open port 8080 on your host, for example, http://localhost:8080/ if you are running Kodi and Docker on localhost:
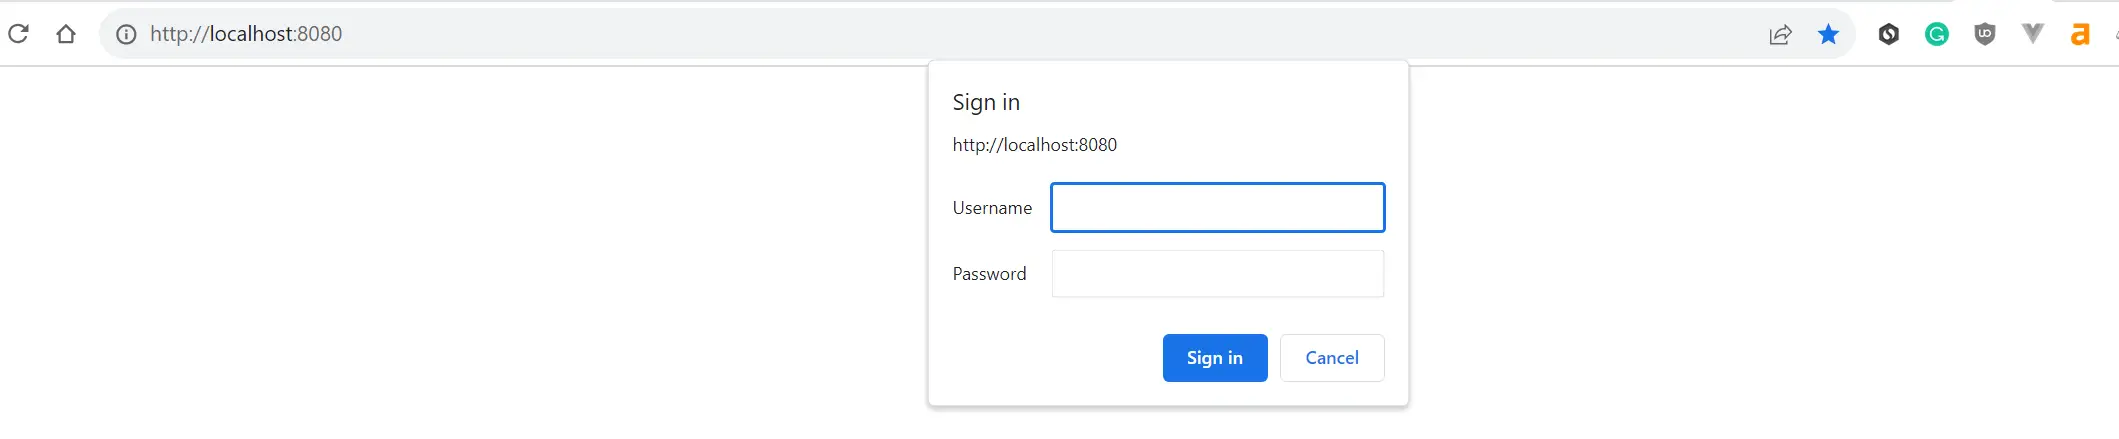
To access Kodi, you need:
kodias username.kodias password.
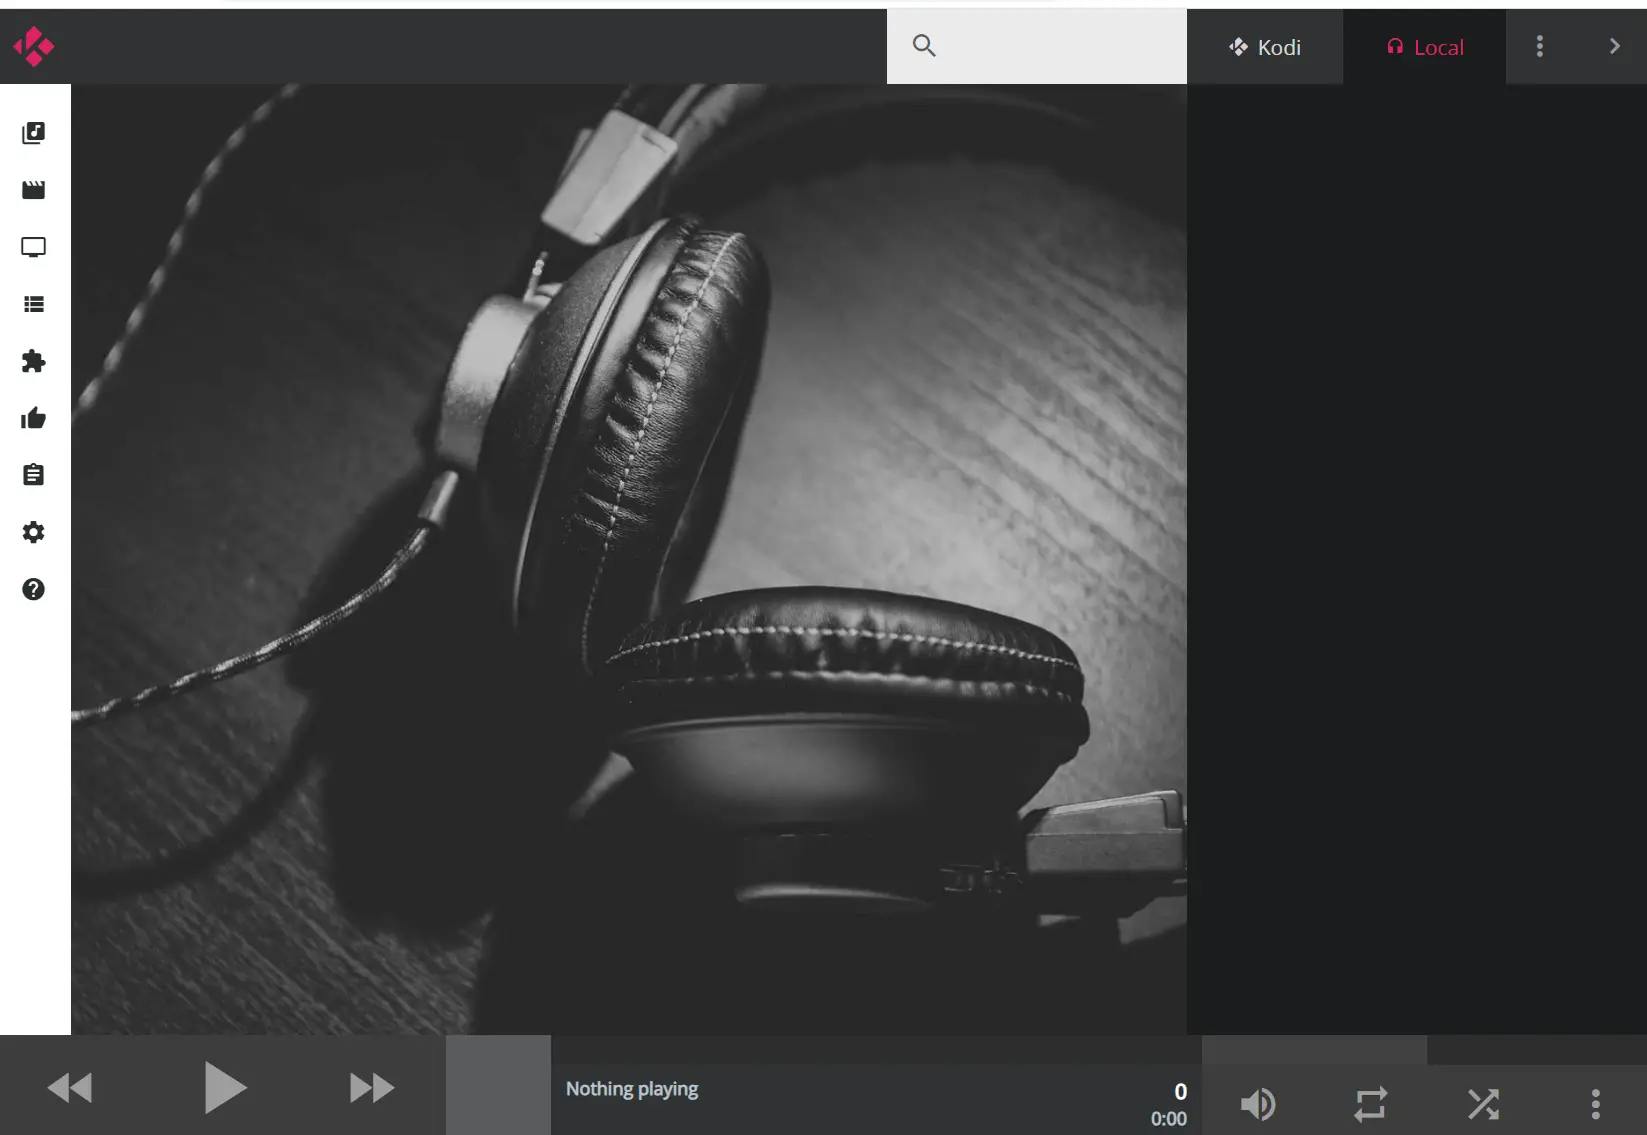
You should have your Headless Kodi running with Docker as follows:
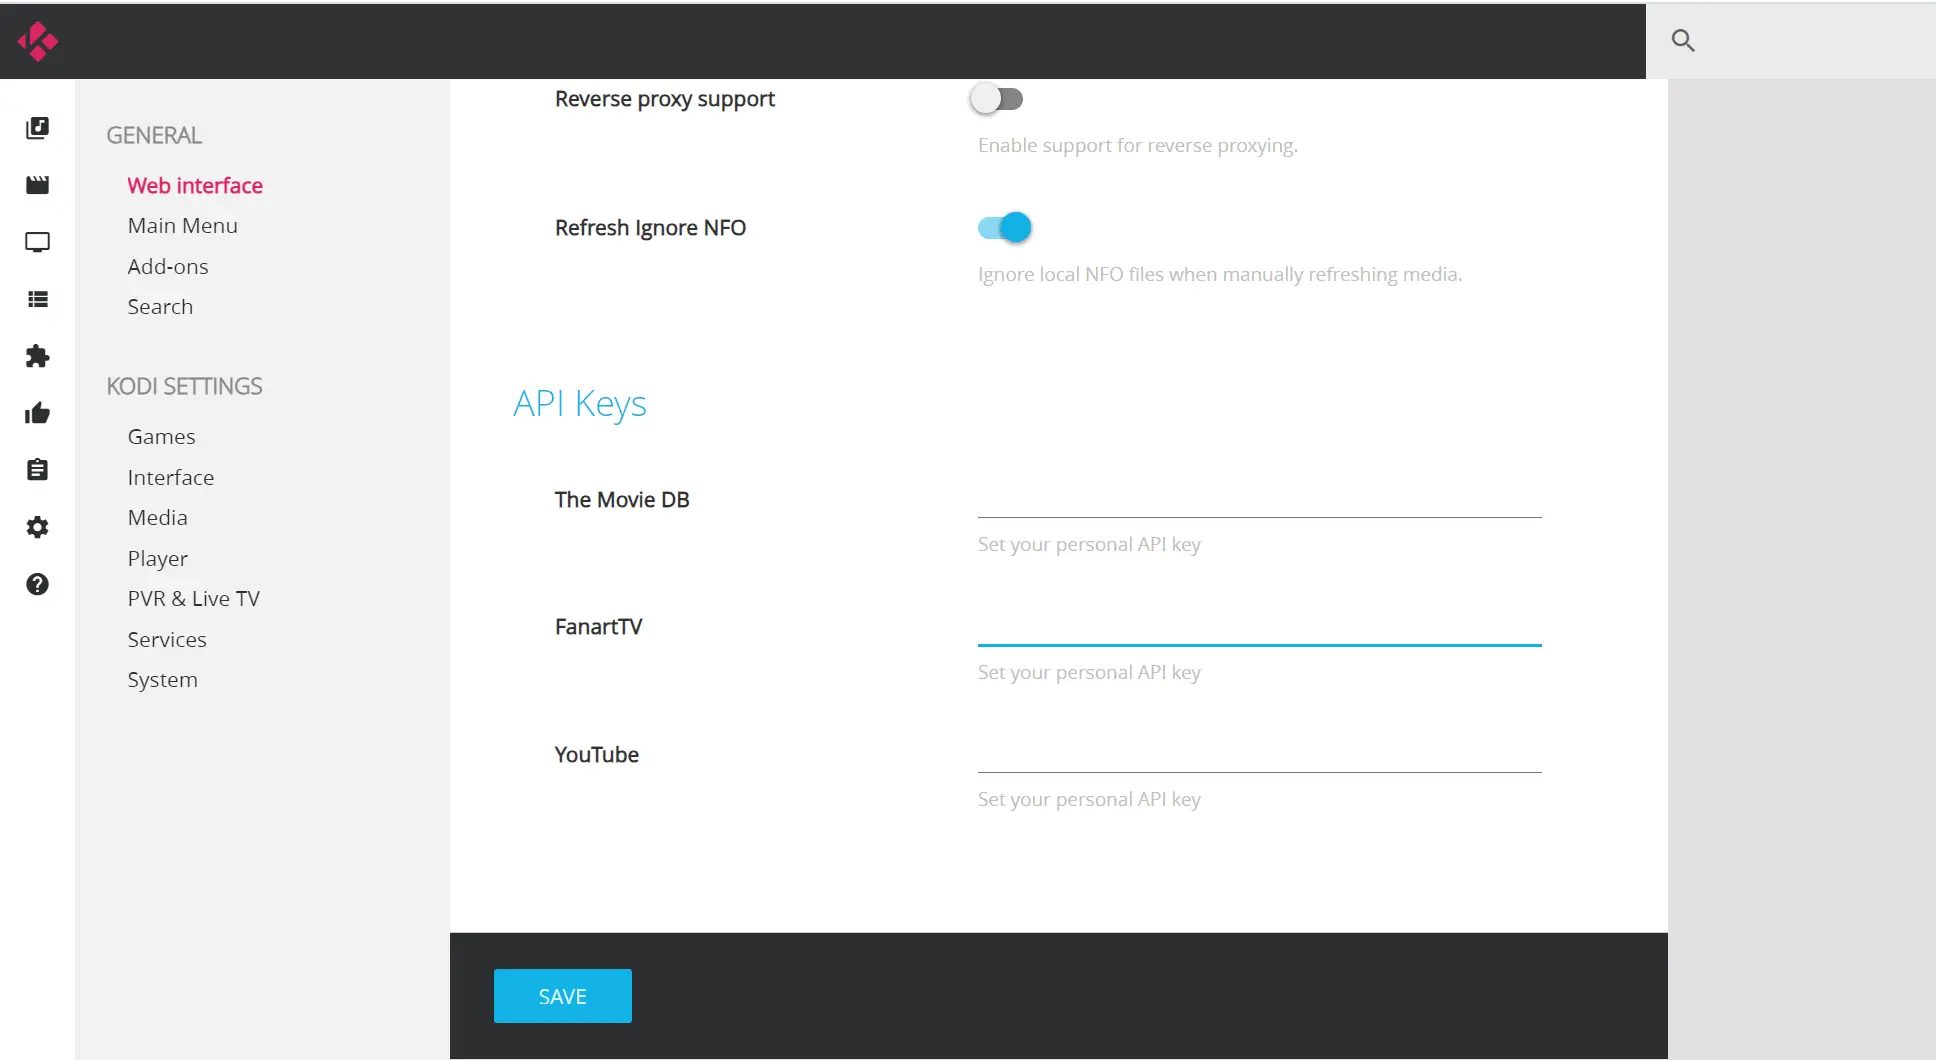
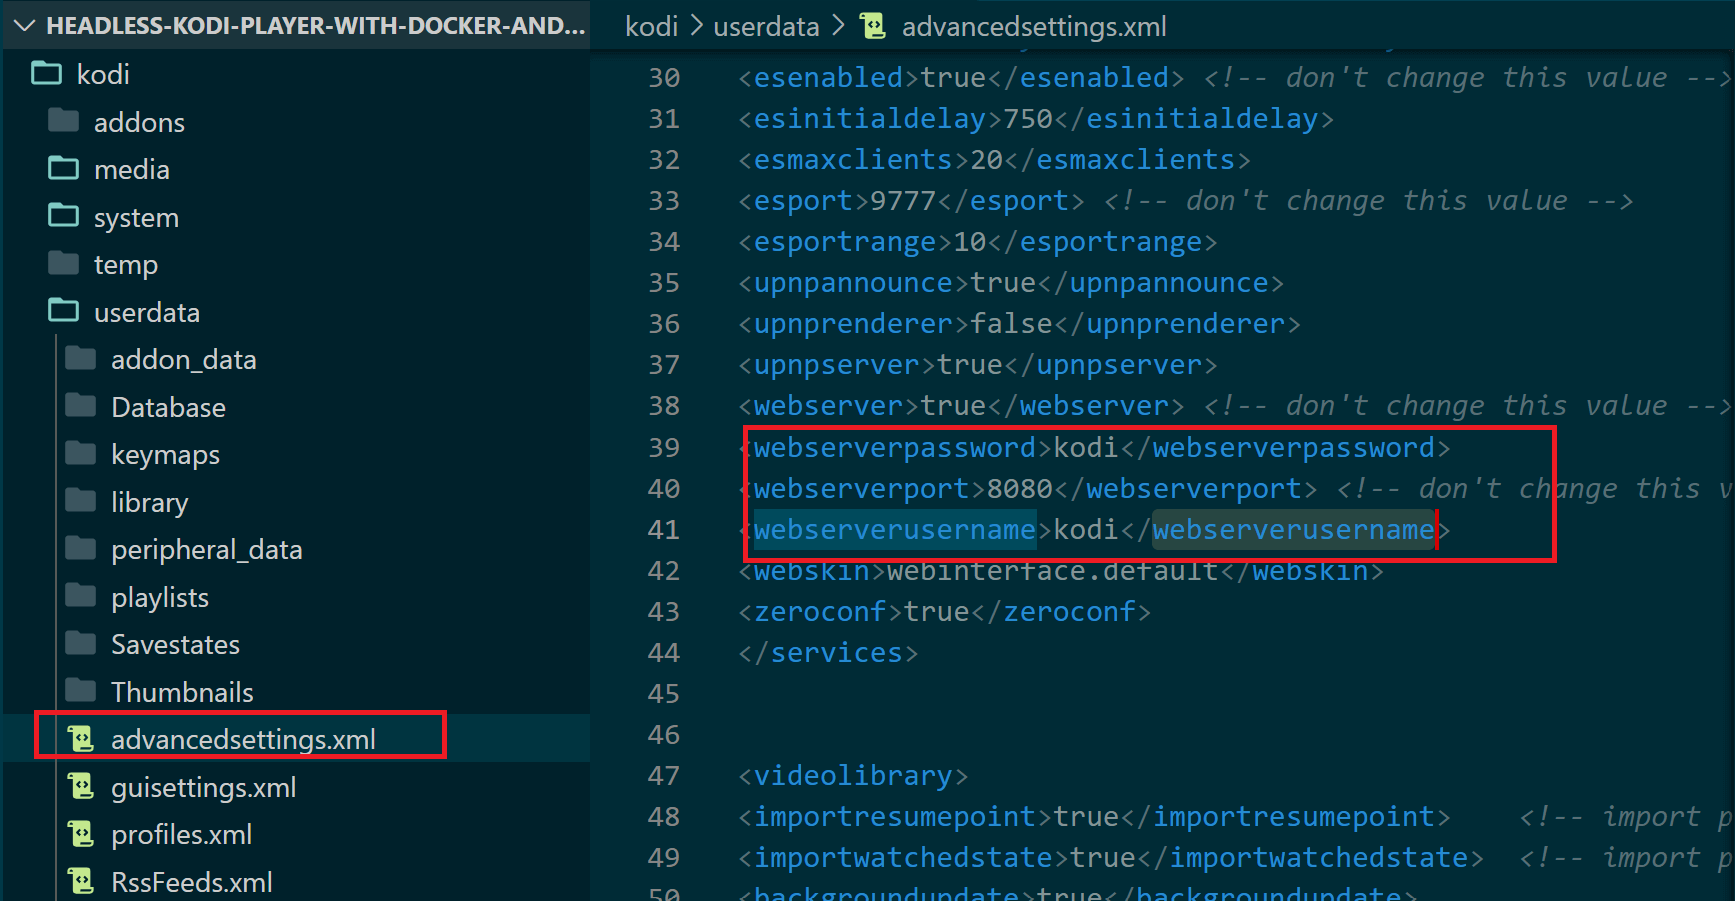
If you are running Kodi and Docker on production, changing the default login details is advisable. These credentials are stored on the advancedsettings.xml file. To access it, change the directory to:
cd kodi/userdata
Then open your advancedsettings.xml file and edit the webserverpassword and webserverusername files as follows:
You will need to restart your Kodi container for the change to work, and if you want to add it to Home Assistant, edit your configuration.yaml media player list:
media_player:
  - platform: kodi
    name: 'kodi'
    # The host where Kodi is running
    host: 172.31.56.190
This way, you can now navigate and configure your HASS Media players and add Kodi.
Shared KODI Database: Adding a Database Server to Manage Kodi
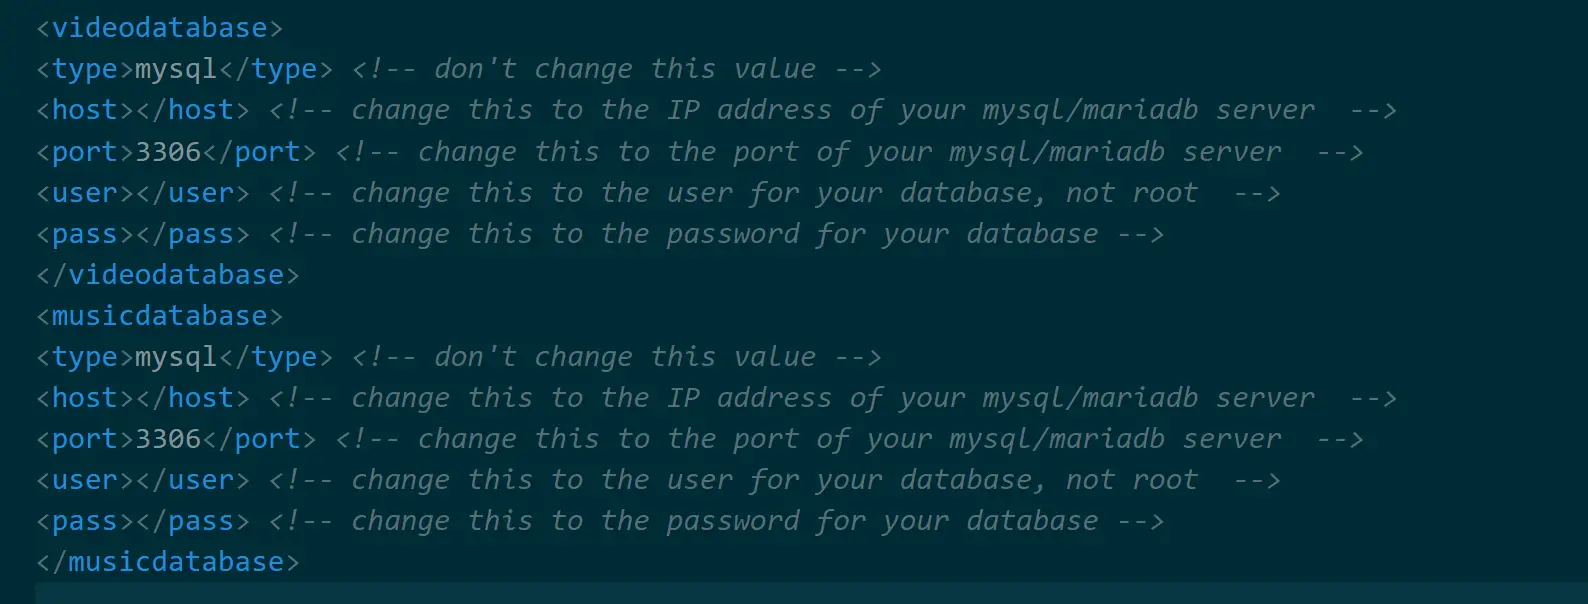
By default, Kodi has support for MySQL. If you check your kodi/userdata/advancedsettings.xml file, Kodi has musicdatabase and videodatabase set as follows:
To add your database, pull your MySQL database using the following docker-compose.yml file:
version: '3.7'

services:
  kodi-mysql:  # service to kodi-mysql
    image: mysql:latest  # Use the official MySQL image
    container_name: kodi-mysql
    environment:
      - MYSQL_ROOT_PASSWORD=kodi
      - MYSQL_USER=root
      # Set the name of your Kodi database
      - MYSQL_DATABASE=my_kodi_db
      - MYSQL_PASSWORD=kodi
    volumes:
    # MySQL data directory
      - ./mysql:/var/lib/mysql
    ports:
      - 3306:3306
    restart: unless-stopped

  kodi-headless:
    image: linuxserver/kodi-headless
    container_name: kodi-headless
    environment:
      - PUID=1000
      - PGID=1000
      - MYSQL_DATABASE= my_kodi_db
      # Update to the new MySQL service name
      - MYSQL_HOST=kodi-mysql
      - MYSQL_USER=root
      - MYSQL_PASSWORD=kodi
      - TZ=America/Chicago
    volumes:
      - ./kodi/:/config/.kodi
    ports:
      - 8080:8080
      - 9090:9090
      - 9777:9777/udp
      # Update to the new MySQL service name
    depends_on:
      - kodi-mysql
    restart: unless-stopped
The above container will add the Kodi MySQL environment to your Docker container. You can also update these values on your kodi/userdata/advancedsettings.xml file.
For example:
<videodatabase>
<type>mysql</type> <!-- remains the same -->
<host></host> <!-- add your P address of your mysql/mariadb server -->
<port>3306</port> <!-- The port of your mysql server -->
<user></user> <!-- Add your database user here, not root -->
<pass></pass> <!-- add database password so Kodi an access it -->
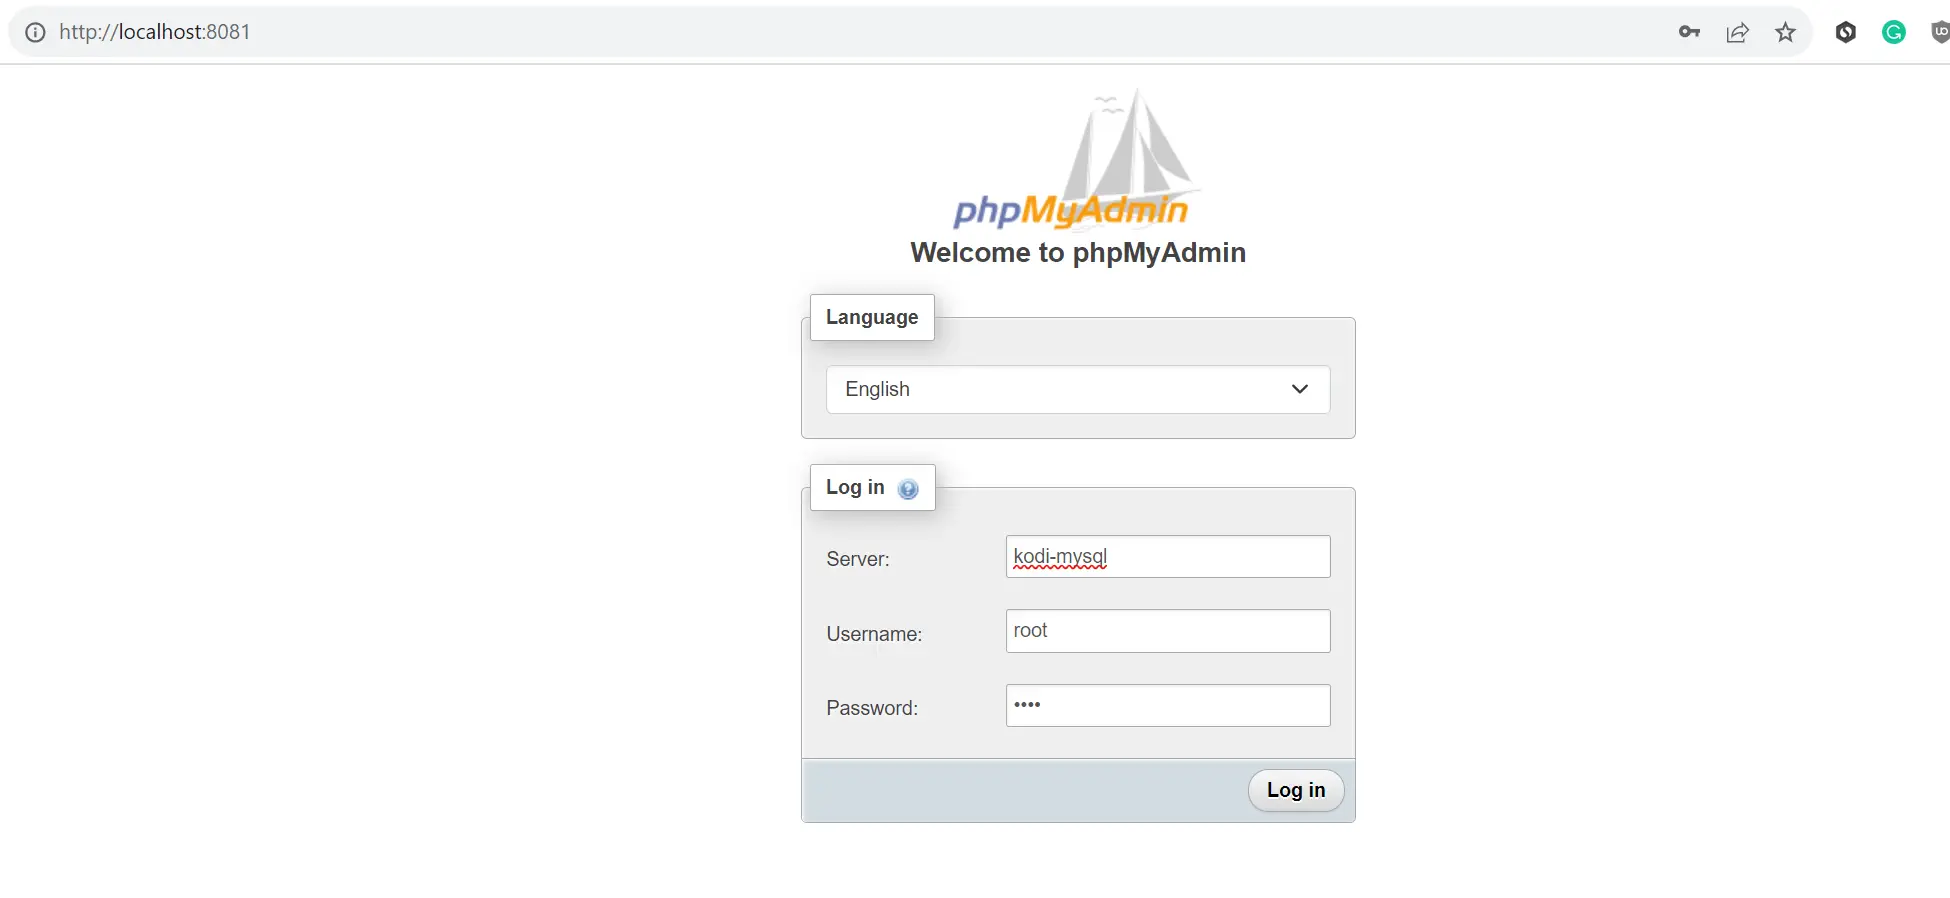
You can also use GUI to access your database:
  phpmyadmin:
    image: phpmyadmin/phpmyadmin
    container_name: phpmyadmin
    environment:
      - PMA_HOST=kodi-mysql
    depends_on:
      - kodi-mysql
    ports:
      - 8081:80
    restart: unless-stopped
Related: Docker - Connect Postgres dpage pgAdmin4 With Docker Compose
Related: Run Adminer with Docker Compose for MySQL and Postgres Container
Run Dockerfile for Kodi
If you want to add more elements to your Kodi Player, such as audio and video within your container, Dockerfile is the way to go. Below is a simple sample
# Base Image
FROM ubuntu:latest

# Set environment variables
ENV DEBIAN_FRONTEND=noninteractive

# Update and install packages
RUN apt-get update && apt-get install -y \
    kodi \
    pulseaudio \
    xorg

# Create a non-root user
RUN useradd -m -s /bin/bash kodi

# Allow the user to access audio and X server
RUN usermod -aG audio,video kodi
RUN echo "xhost +local:kodi" >> /etc/environment

USER kodi

# Start Kodi
CMD ["/usr/bin/kodi"]
This example installs Kodi, Pulse Audio for audio support, and Xorg for graphical display. So, if you are running Kodi on a Linux host, you’ll need an X11 server for graphics display.
To dig deeper, check this Dockerfile sample and learn more.
Conclusion
Along this Kodi Docker setup guide, you learned the following:
- How to use Docker Compose container and run a Headless Kodi Player.
- use a Dockerfile and Docker Compose to run Kodi.
- Add a database server to manage the Kodi setup; you will add a MySQL database.
Written By:
Joseph Chege
More Related Articles:
-

Configure and Deploy Wazuh SIEM with Docker Compose Container
Oct 11, 2023
-

Dockerize PHP CodeIgniter 4|3 App with Docker Compose
Apr 19, 2024
-
Caddy 2 Reverse Proxy Server with Docker and Docker Compose Example
Mar 23, 2024
-
Install jc21 Nginx Proxy Manager w/ Docker Compose/MariaDB Aria Container
Mar 5, 2024