How to Perform Logging with Sequelize ORM |Enable|Disable
Posted February 3, 2024

Sequelize support logging. If you add logging with Sequelize ORM, you get the output of the SQL queries as they are being executed within your application. This way, you can debug Sequelize integrations.
Sequelize enables logging globally for all queries. Still, you can add logging selectively for specific queries. In this guide, you will learn how to enable or disable logging with Sequelize. You will additionally learn how to create Sequelize custom logging with Winston.
Ready? Dive in and learn how to Perform Logging with Sequelize ORM.
How to Enable Logging in Sequelize: Global Logging
To enable logging in Sequelize, you only need to add a logging option when initializing a Sequelize instance. The basic example is to set a logging option to the console. This tells Sequelize to log the queries to the console.
Here’s an example:
const { Sequelize } = require('sequelize');

const sequelize = new Sequelize('database', 'username', 'password', {
  host: 'localhost',
  dialect: 'mysql',
   // This line enables logging
  logging: console.log
});
This way, Sequelize will send the log to the console as follows:
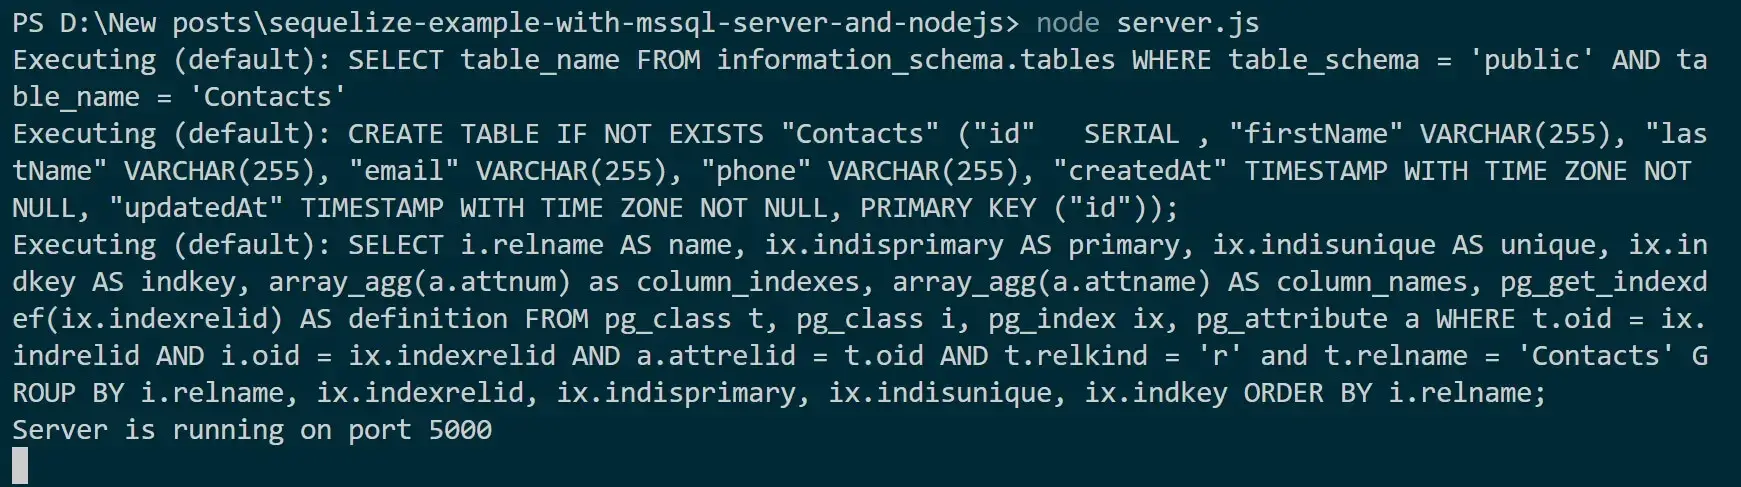
At the same time, if you fetch, add, delete, or update with Sequelize within your App, Sequelize will still send logs to the console as follows:

Logging Query Execution Time
Each query takes a given amount of time to get executed. This means when Sequelize sends a request your app will wait until the whole query transaction is done. Sequelize uses a benchmark option to log the execution time of queries as such:
const sequelize = new Sequelize('database', 'username', 'password', {
  host: 'localhost',
  dialect: 'mysql',
  //automatically log the time taken for each Query
  benchmark: true,
  logging: (query, options) => {
    console.log(`Query executed in ${options.benchmark}ms: ${query}`);
  },
});
Logging Sequelize SQL and Parameters
If you want to log SQL queries and their parameters use logQueryParameters as follows:
const sequelize = new Sequelize('database', 'username', 'password', {
  host: 'localhost',
  dialect: 'mysql',
  logging: (query, options) => {
    if (options.logQueryParameters) {
      console.log('Query:', options.sql);
      console.log('Parameters:', options.bind);
    } else {
      console.log('Query:', query);
    }
  },
});
The logQueryParameters is set to false by default. When set to true, Sequelize will log the SQL query and parameters as such.
This options type will give Sequelize power to filter queries based on your liking Logging. Let’s say you want Errors Only. Sequelize logging function will check for errors as follows:
const sequelize = new Sequelize('database', 'username', 'password', {
  host: 'localhost',
  dialect: 'mysql',
  logging: (query, options) => {
    if (options.type === 'ERROR') {
      console.error(`Error executing query: ${query}`);
    }
  },
});
How to Create Sequelize Custom Loggers
Let’s say you want to have your logs created from a Custom Logger. Well, it’s very simple with Sequelize. You just need to create a function describing how you want Sequelize to log your queries.
Take an example you want log queries and time taken. You will create a function with logs login then pass the function to the Sequelize connection options with logging as follows:
const customLogger = (query, time) => {
  // Custom logging logic
  // e.g., log to console
  console.log(`Executing query: ${query}`);
  console.log(`Time taken: ${time}ms`);
};

const sequelize = new Sequelize('database', 'username', 'password', {
  host: 'localhost',
  dialect: 'mysql',
  logging: customLogger,
});
Creating Custom Logger with Sequelize and Winston
Now, you want to go even deeper and create loggers that extend what Sequelize provides. Winston is a greater choice here.
Related: Nest.js Logging with Winston, LoggerService, and Best Practices
Winston will create Winston complex logging that you can then integrate with Sequelize for more advanced logging.
You first need to install Winston:
npm install winston
Add Winston to your app:
const winston = require('winston');
Create a Winston logger instance
const logger = winston.createLogger({
  transports: [
    new winston.transports.Console(),
    new winston.transports.File({ filename: 'sequelize.log' }),
  ],
});
This way, you will have combined.log as the file to save logs. You then need to add Winston to Sequelize to have a customized logger. This is how you will initialize Sequelize with the custom logger:
const sequelize = new Sequelize('database', 'username', 'password', {
  host: 'localhost',
  dialect: 'mysql',
  logging: (query, options) => {
    logger.info(`${query} [${options.modelName}]`);
  },
});
Disabling Sequelize Logging
If you want to add Global Logging to Sequelize, you just need to set logging to false as follows:
const sequelize = new Sequelize('database', 'username', 'password', {
  host: 'localhost',
  dialect: 'mysql',
  logging: false,
});
This will tell Sequelize to disable logging and prevent Sequelize from logging any queries.
Conclusion
Sequelize enables logging globally for all queries. In this guide, you have learned how to enable or disable logging with Sequelize.
Written By: