How to Install and Run Node-Red on Raspberry Pi StepByStep
Posted February 19, 2024

If you are looking to Install and Run Node-Red on your Raspberry Pi, this guide is for you. Node-Red builds event-driven apps without writing traditional code. Once you get Node-Red installed and working on Raspberry Pi, you will be able to automate tasks, connect devices, and prototype IoT projects.
This Node-Red setup works for Raspberry Pi 2, 3, 4, 5, and zero. You will learn the necessary steps to get Node-Red running on Raspberry Pi. You will learn:
- What you need to install Node-RED on Raspberry Pi.
- The correct steps are installing, running, and accessing a Node-Red server using Raspberry.
- How to use Raspberry Pi and create Node-Red as a service. This way, you will be able to AutoStart Node Red with Raspberry Pi and PM2.
- How to install Node-Red on both Raspberry 32 and 64-bit OS,
Related: How to Install|Run Node-RED on Linux Ubuntu 20.04|22.04 LTS
Ready? Let’s now dive, Install, and Run Node-Red on Raspberry Pi Step-by-Step.
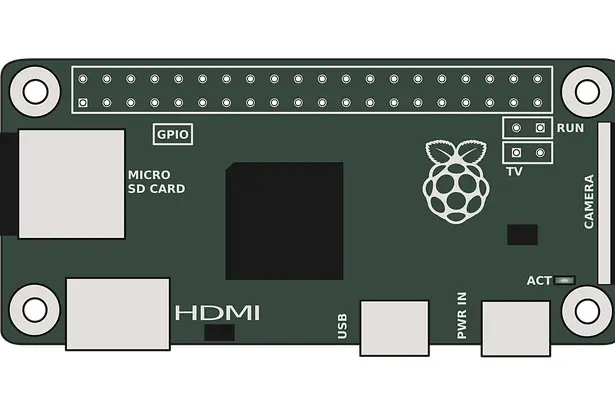
Node-RED Raspberry Pi Requirements
To install and run Node-RED on a Raspberry Pi, ensure you have:
- Raspberry Pi board and a running Raspberry Pi OS.
- Node-Red is installed by default on the Raspberry Pi OS (32-bit). You only need to run it using the
node-red-startcommand. - If you are using Raspberry Pi OS (64-bit), Node-Red is not installed by default. You have to install it.
- Node-RED requires Node.js and npm to be installed on Raspberry. Ensure you have Node.js version
>=14.16'.
Updating Raspberry Pi Packages
Before you install Node.js, make sure you have updated your Raspberry packages. Use these commands:
- Run the following command to update the package list from the repositories:
sudo apt update
Upgrade the installed packages to their latest versions:
sudo apt upgrade
Ensure you have Npm and Node.js binary ready:
sudo apt install build-essential git curl
In this guide, you use two approaches to get Node-Red running on Raspberry PI. Let’s start with the easiest one.
Running Node-Red Raspberry Pi on 32-bit OS
As stated earlier, Node-Red is installed by default on the Raspberry Pi OS (32-bit). Now you only need to run the Node-Red command to ensure the package are up to date using the following command:
bash <(curl -sL https://raw.githubusercontent.com/node-red/linux-installers/master/deb/update-nodejs-and-nodered)
Make sure you type y to customize the settings:
This should Update the existing Node-red on Raspberry Pi (32-bit) to the latest version. Use the following command to start the server:
- Locally:
node-red
- Use the following command to let Node-Red work with the limited memory of the Raspberry Pi:
node-red-pi --max-old-space-size=256
Now open http://localhost:1880 to access the Node-Red locally on Raspberry (or use Raspberry Pi IP address):
- Running as a service and running in the background
node-red-start
To access the running Node-Red instance:
- Check the Raspberry PI OS Host IP:
hostname -I
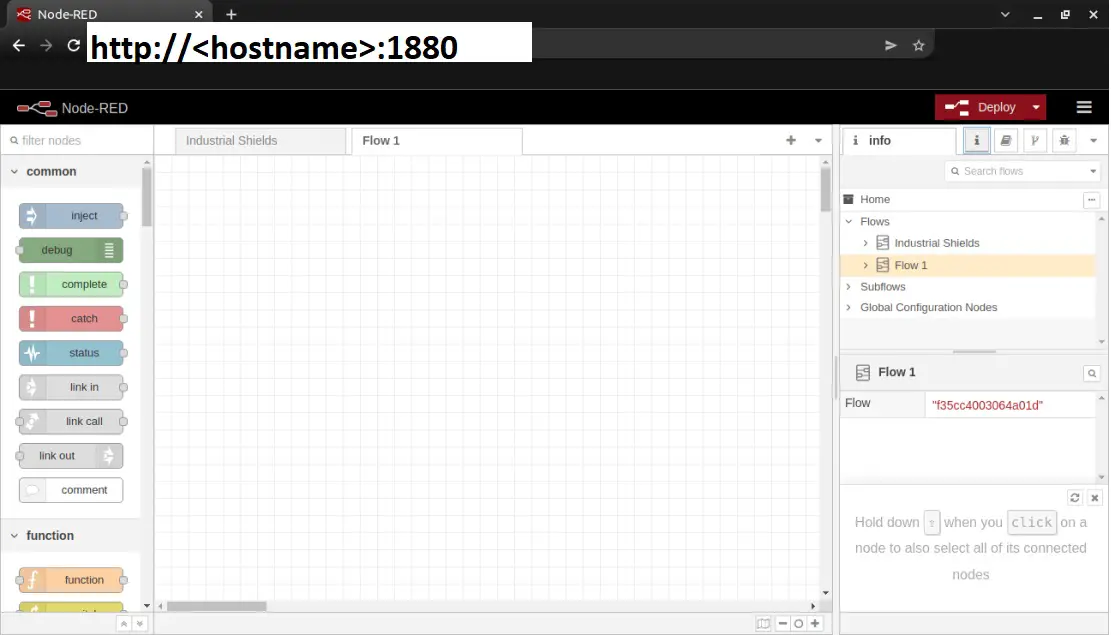
- Open
http://<hostname>:1880on the browser. The hostname can be the Raspberry Pi IP address.
Installing and Running Node-Red Raspberry Pi 64-bit OS
On Raspberry Pi 64-bit, you must install Node-Red from scratch.
- First, open an SH connection with your Raspberry Pi. Run the following commands to update the package
sudo apt update
sudo apt upgrade
sudo apt install build-essential git curl
- Next, use the following command to install Node-Red:
bash <(curl -sL https://raw.githubusercontent.com/node-red/linux-installers/master/deb/update-nodejs-and-nodered)
This should:
- Install the Node.js 16 LTS if Node.js runtime does not exist.
- Set Node-Red as a Raspberry service.
- Get the latest and updated Raspberry Node-Red. Raspberry will use NPM to do so.
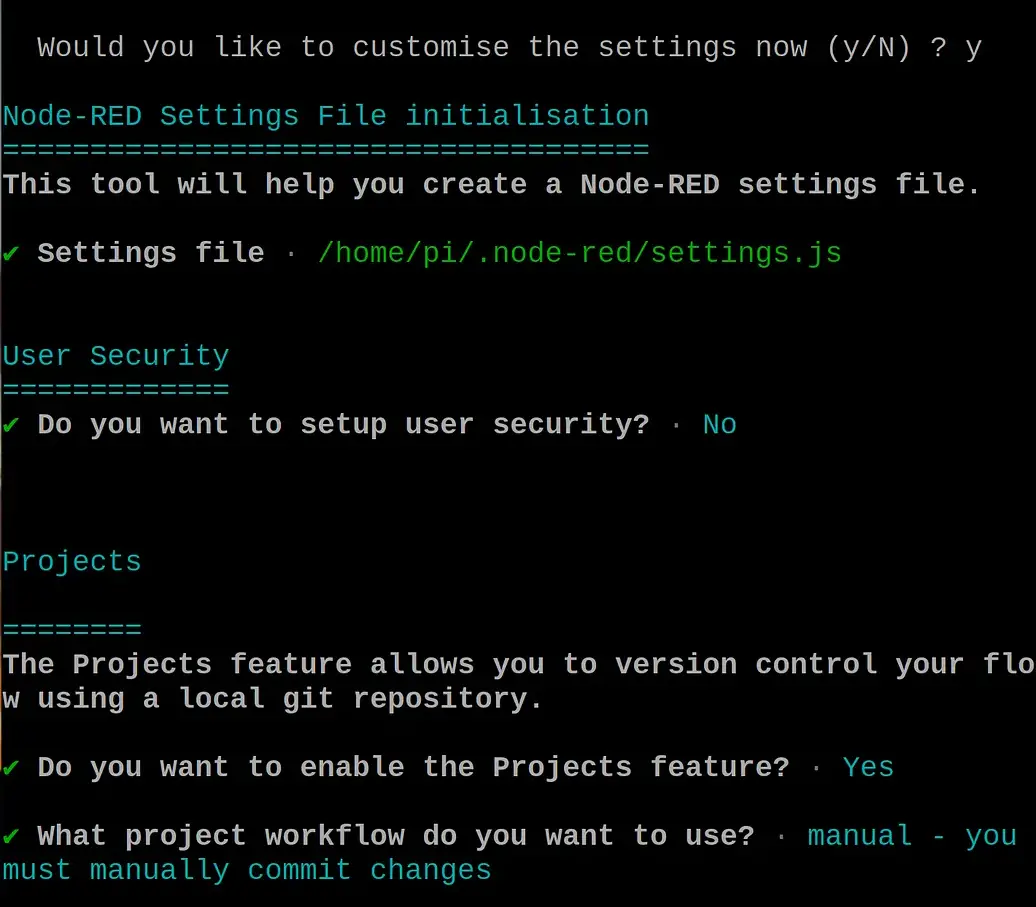
At this point, you can run the node-red or node-red-start command and access the Node-Red through the Raspberry hostname. However, you can choose to configure initial options and settings before running the Node-Red server. This way, you will configure the server with admin settings. Run the following command:
node-red admin init
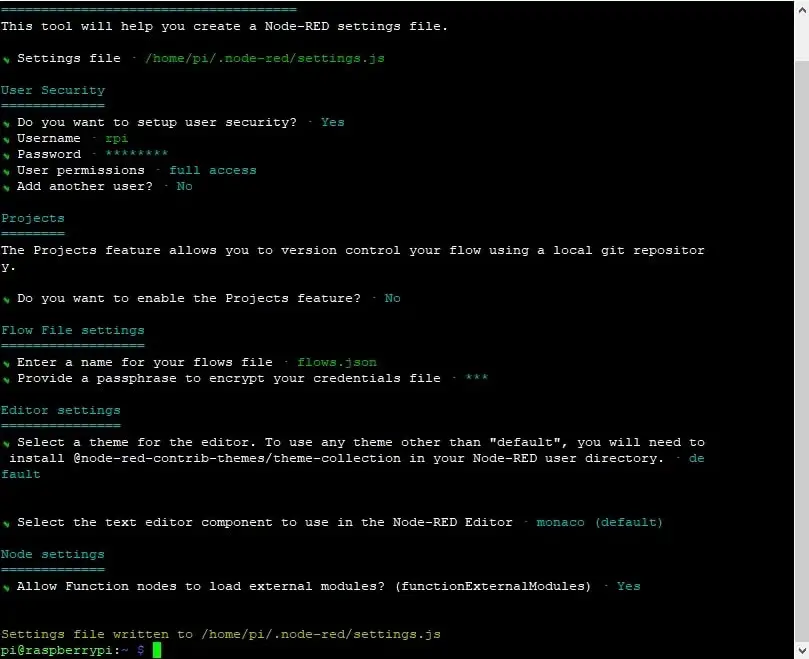
In this case:
- Hit Enter to create the
/home/pi/.node-red/settings.jsNode-Red Raspberry config file. - Set up user security and add username and password.
- Do you want to enable the Projects feature? No.
- Allow Function nodes to load external modules? Yes.
Now run the following command to start the server:
node-red-start
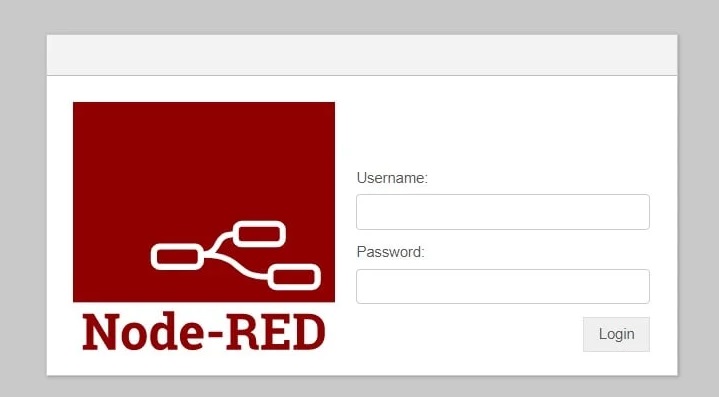
Check Raspberry Pi IP address with hostname -I and http://<hostname>:1880 to access Node-Red. This time, you will provide the username and password added in the above step:
AutoStart Node-Red with Raspberry Pi and PM2
If you stop the above Node-RED server, you will need to run node-red to start it again. What if you want Node-RED to start automatically when your Raspberry Pi boots up? You must ensure Node-Red runs in the background.
The best is to use the PM2 process manager for Node.js. It will manage Node-RED as a background process. Every time Raspberry reboots, PM2 will AutoStart the Node-Red server. In this case, PM2 will ensure Node-RED restarts automatically if it crashes or if the Raspberry Pi reboots.
- First, install pm2 globally
sudo npm install -g pm2

- Run Node-RED using PM2 instead of NPM:
pm2 start `which node-red` -- -v

- Save the above PM2 process list so it automatically starts Node-Red on Raspberry boot:
pm2 save
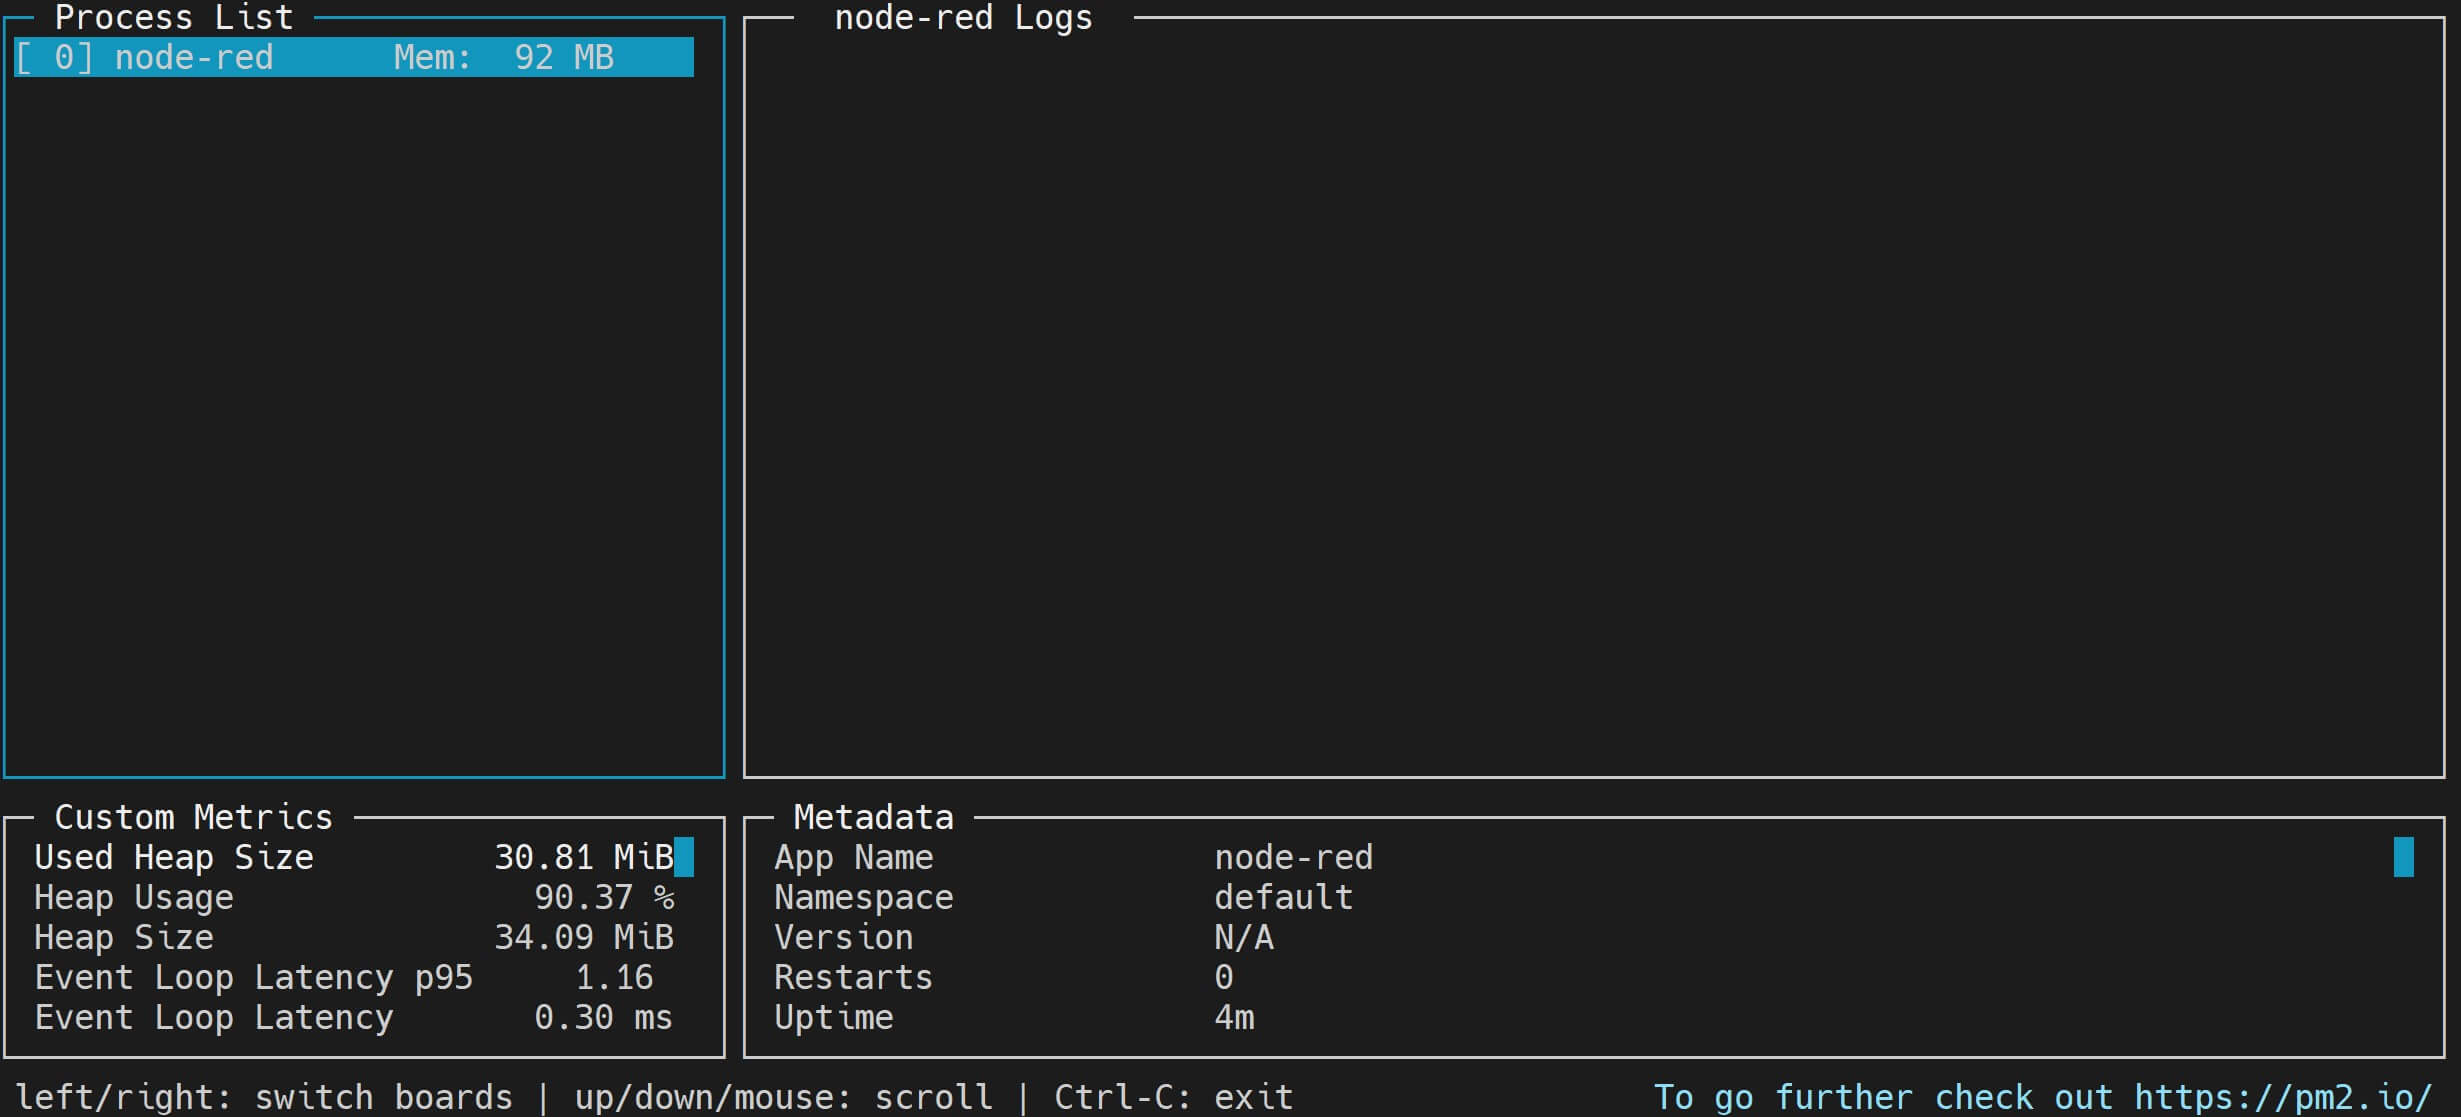
- If you’ve started Node-RED using PM2, monitor its process using the
pm2 monit:
pm2 monit
This command will open the PM2 monitoring interface, with Node-RED in the list of processes managed by PM2:
Changing Raspberry Node-RED Port
By default, Node-RED listens on port 1880. If you want to change this Node-RED configuration:
- Open the Node-RED settings file in a text editor:
nano ~/.node-red/settings.js
#or
nano ./home/pi/.node-red/settings.js
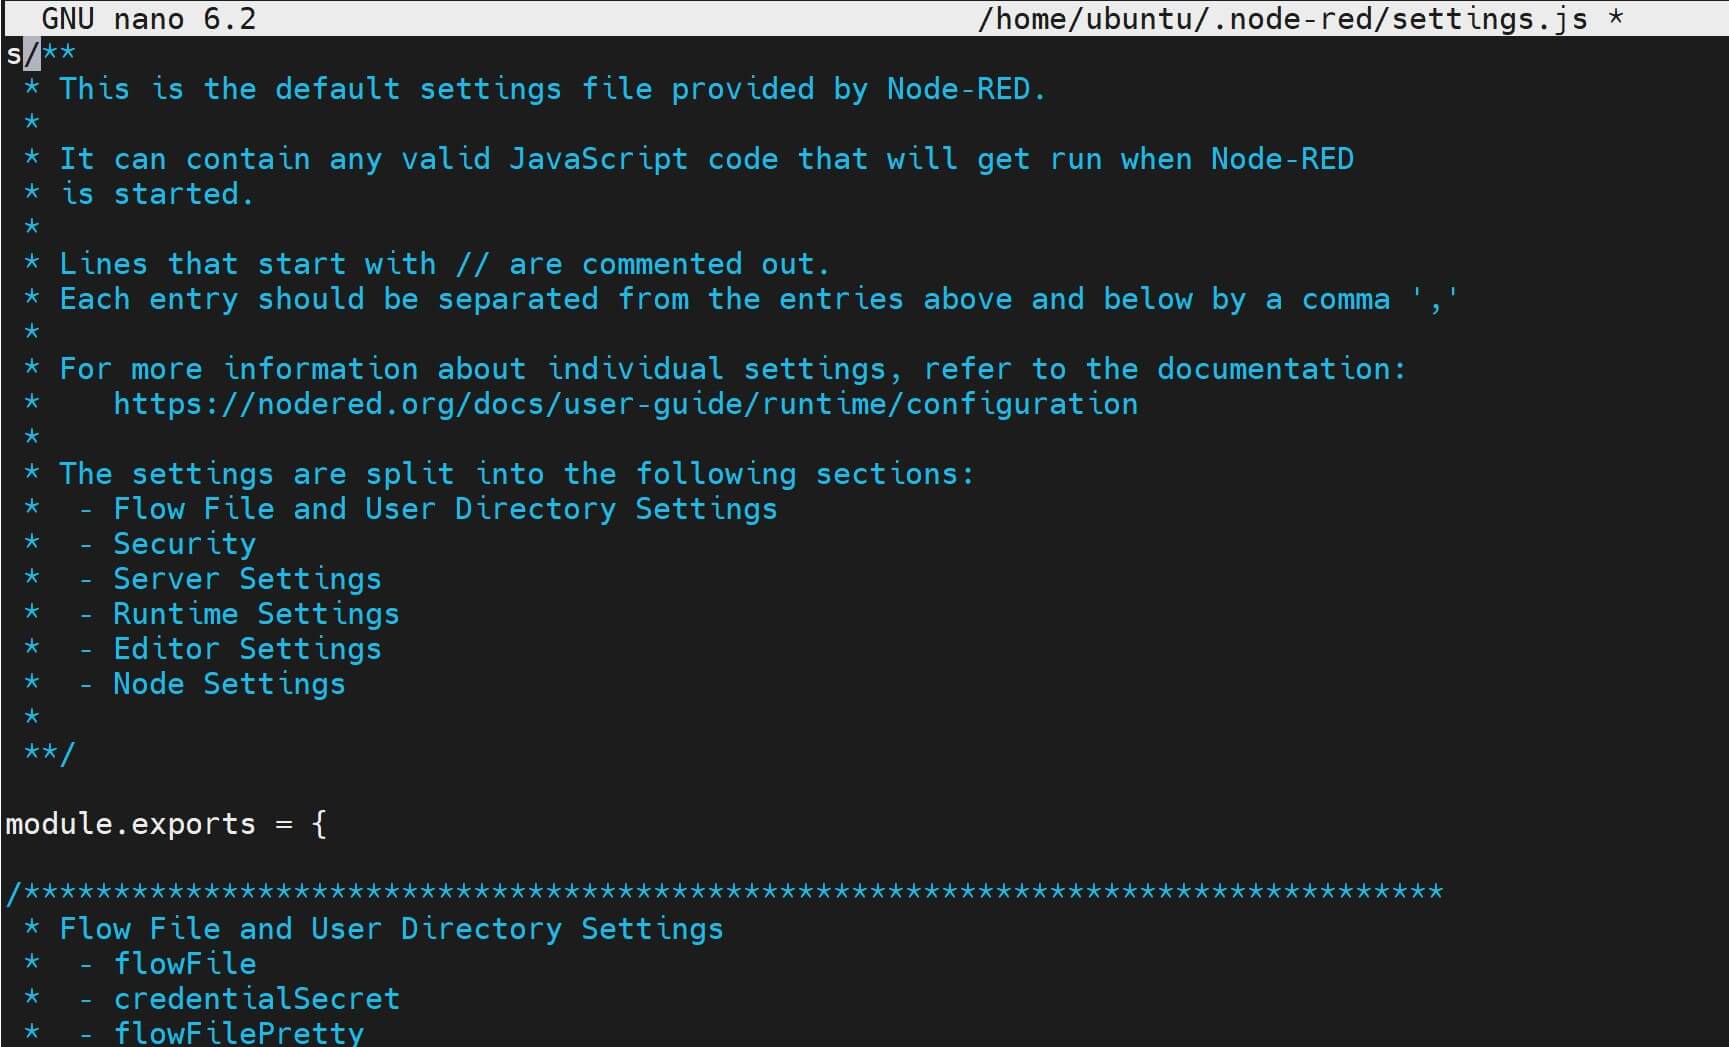
- Check the following section in this settings file:
uiPort: process.env.PORT || 1880,
- Change the port number (1880 in this case). For example, port 1881:
uiPort: process.env.PORT || 1881,
If your settings file has the following section instead:
//uiPort: 1880,
Uncomment it and change the port number:
uiPort: 1881,
Save your file (Ctrl + O, then Enter. Exit with Ctrl + X). Rerun your Node-RED server. Node-RED should be running on the added new port.
Step 1: Installing Node.js on Raspberry Pi for Node-Red
What if you want to install everything from scratch using Node.js? Let’s learn the process:
As a Requirement, you must use Node.js >=14.16' to run Node-Red with Raspberry. Check the following steps to get Node.js and NPM ready:
- First, install these packages:
sudo apt install -y ca-certificates curl gnupg
- Run the following command to Enable the NodeSource Repository
sudo curl -fsSL https://deb.nodesource.com/setup_18.x | bash -

Note that
18is the Node.js version that will get installed. Change that if you want the latest version.
- Now, use the following command to install Node.js on your Raspberry Pi system:
sudo apt install nodejs
sudo apt-get install nodejs
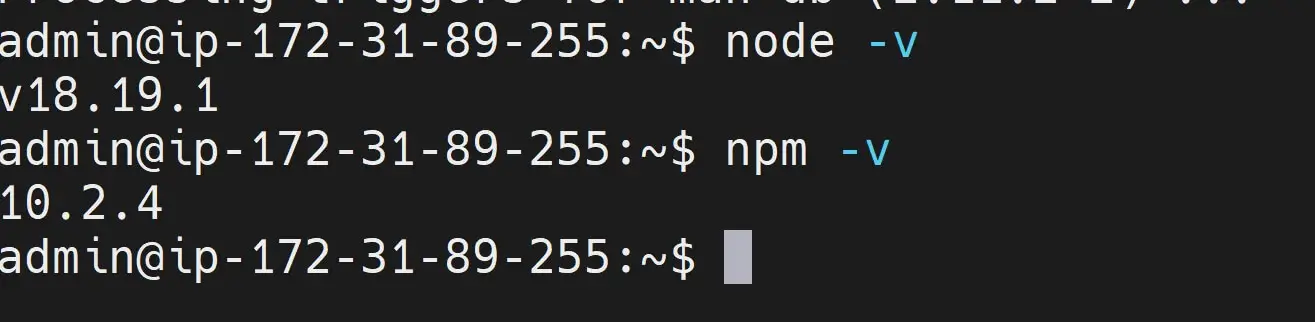
- Confirm if Raspberry has Node.js and NPM successfully installed:
nodejs --version
npm --version
Step 2: Installing Node-RED on Raspberry Pi
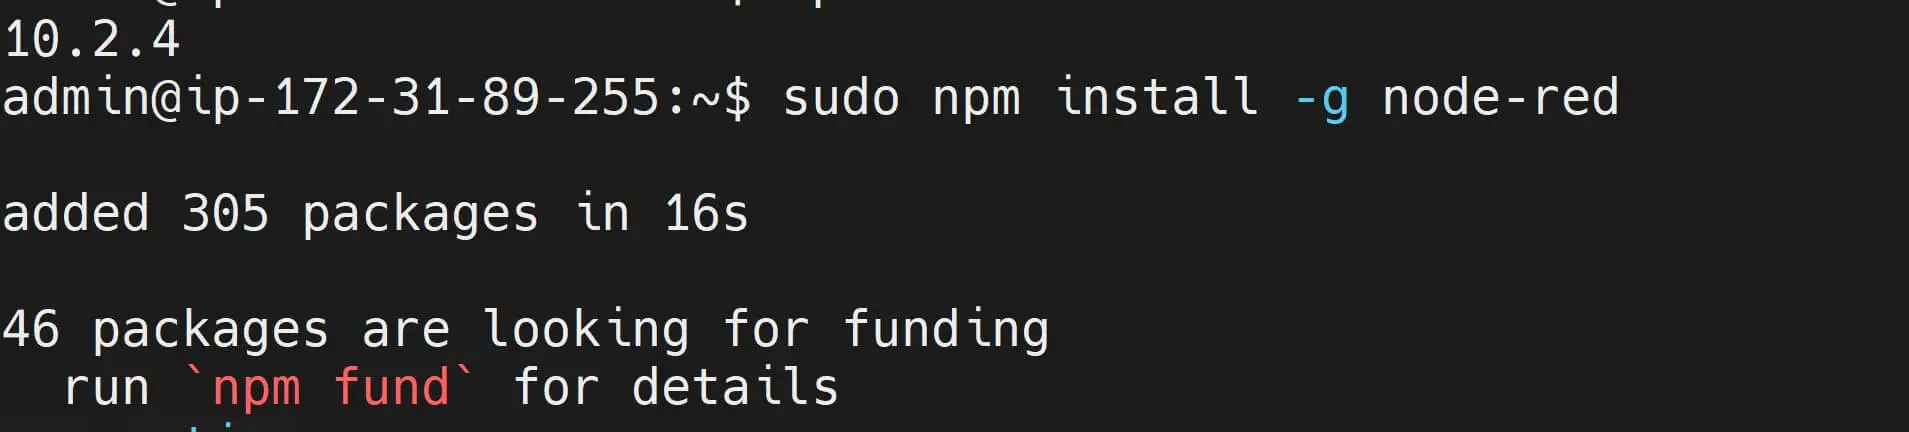
Now, Node.js is ready. Node-RED will run on top of the installed Node.js runtime. This means to get Node-RED on Raspberry Pi, you will use NPM as follows:
sudo npm install -g node-red
For some reason, you can also add a --unsafe-perm flag to override installation permissions for Raspberry Pi and Node-RED.
sudo npm install -g --unsafe-perm node-red
Based on these commands, Raspberry Pi will use Node.js and access node-red from the NPM registry. It will get Node-Red installed globally on your machine.
Step 3: Running Node-RED on Raspberry Pi
You need one command to run Node-Red on your Raspberry. Once installed, Node-RED will get started once you run the node-red:
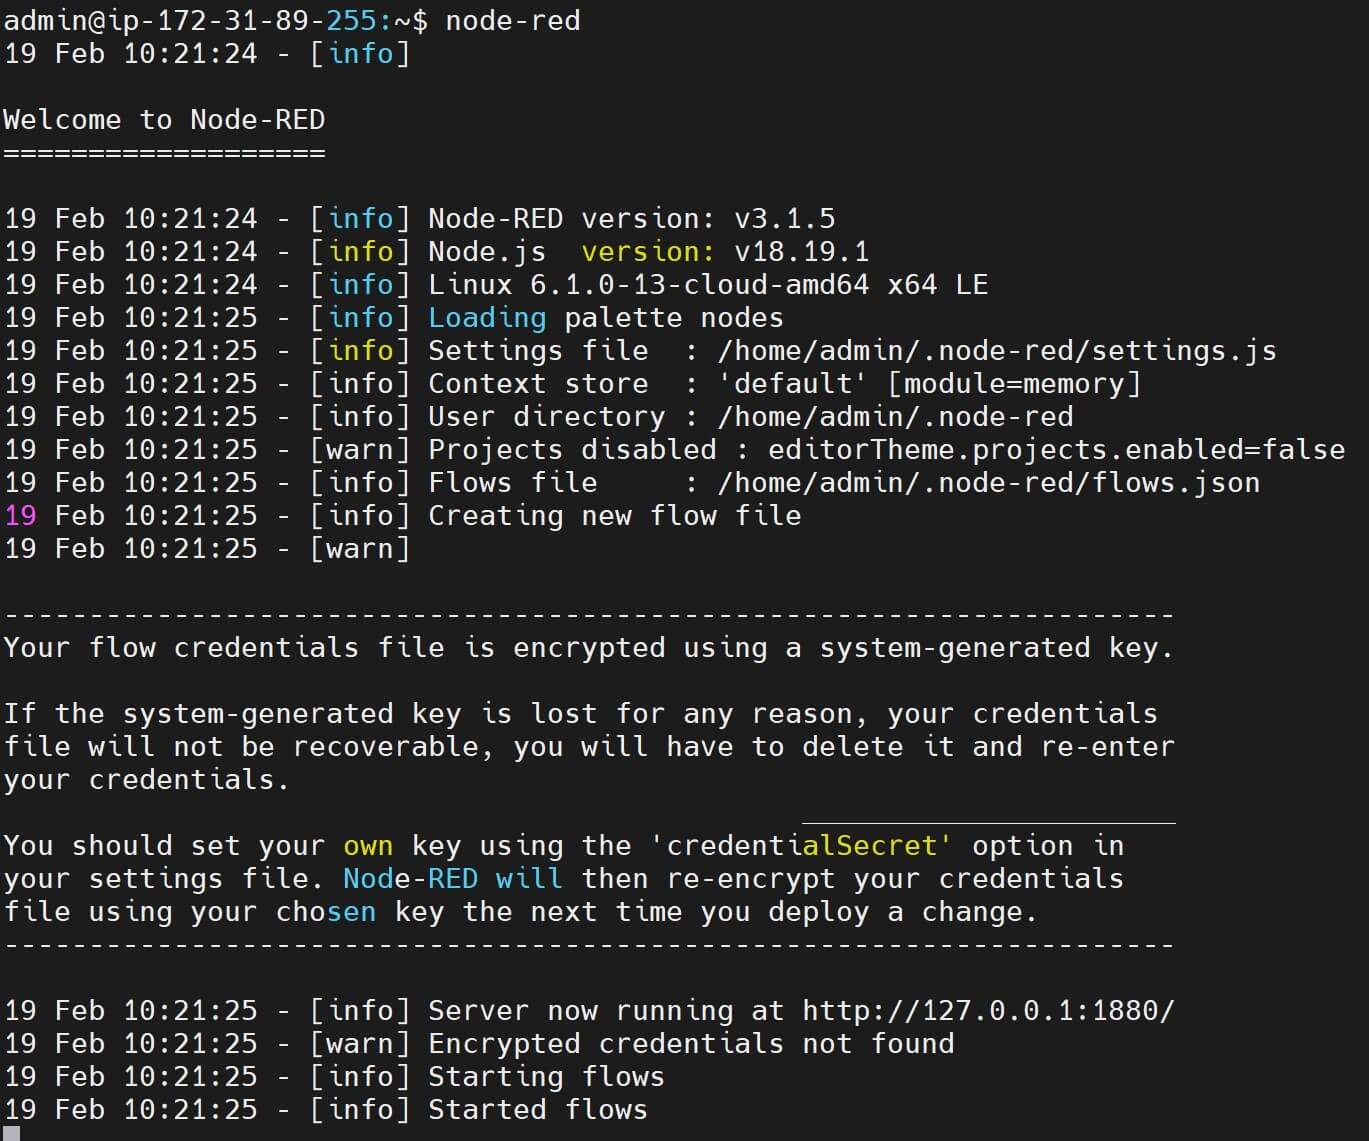
node-red
node-red initializes the Node-RED server and starts it running. You’ll see log output indicating that Node-RED has started and is listening for incoming connections as follows.
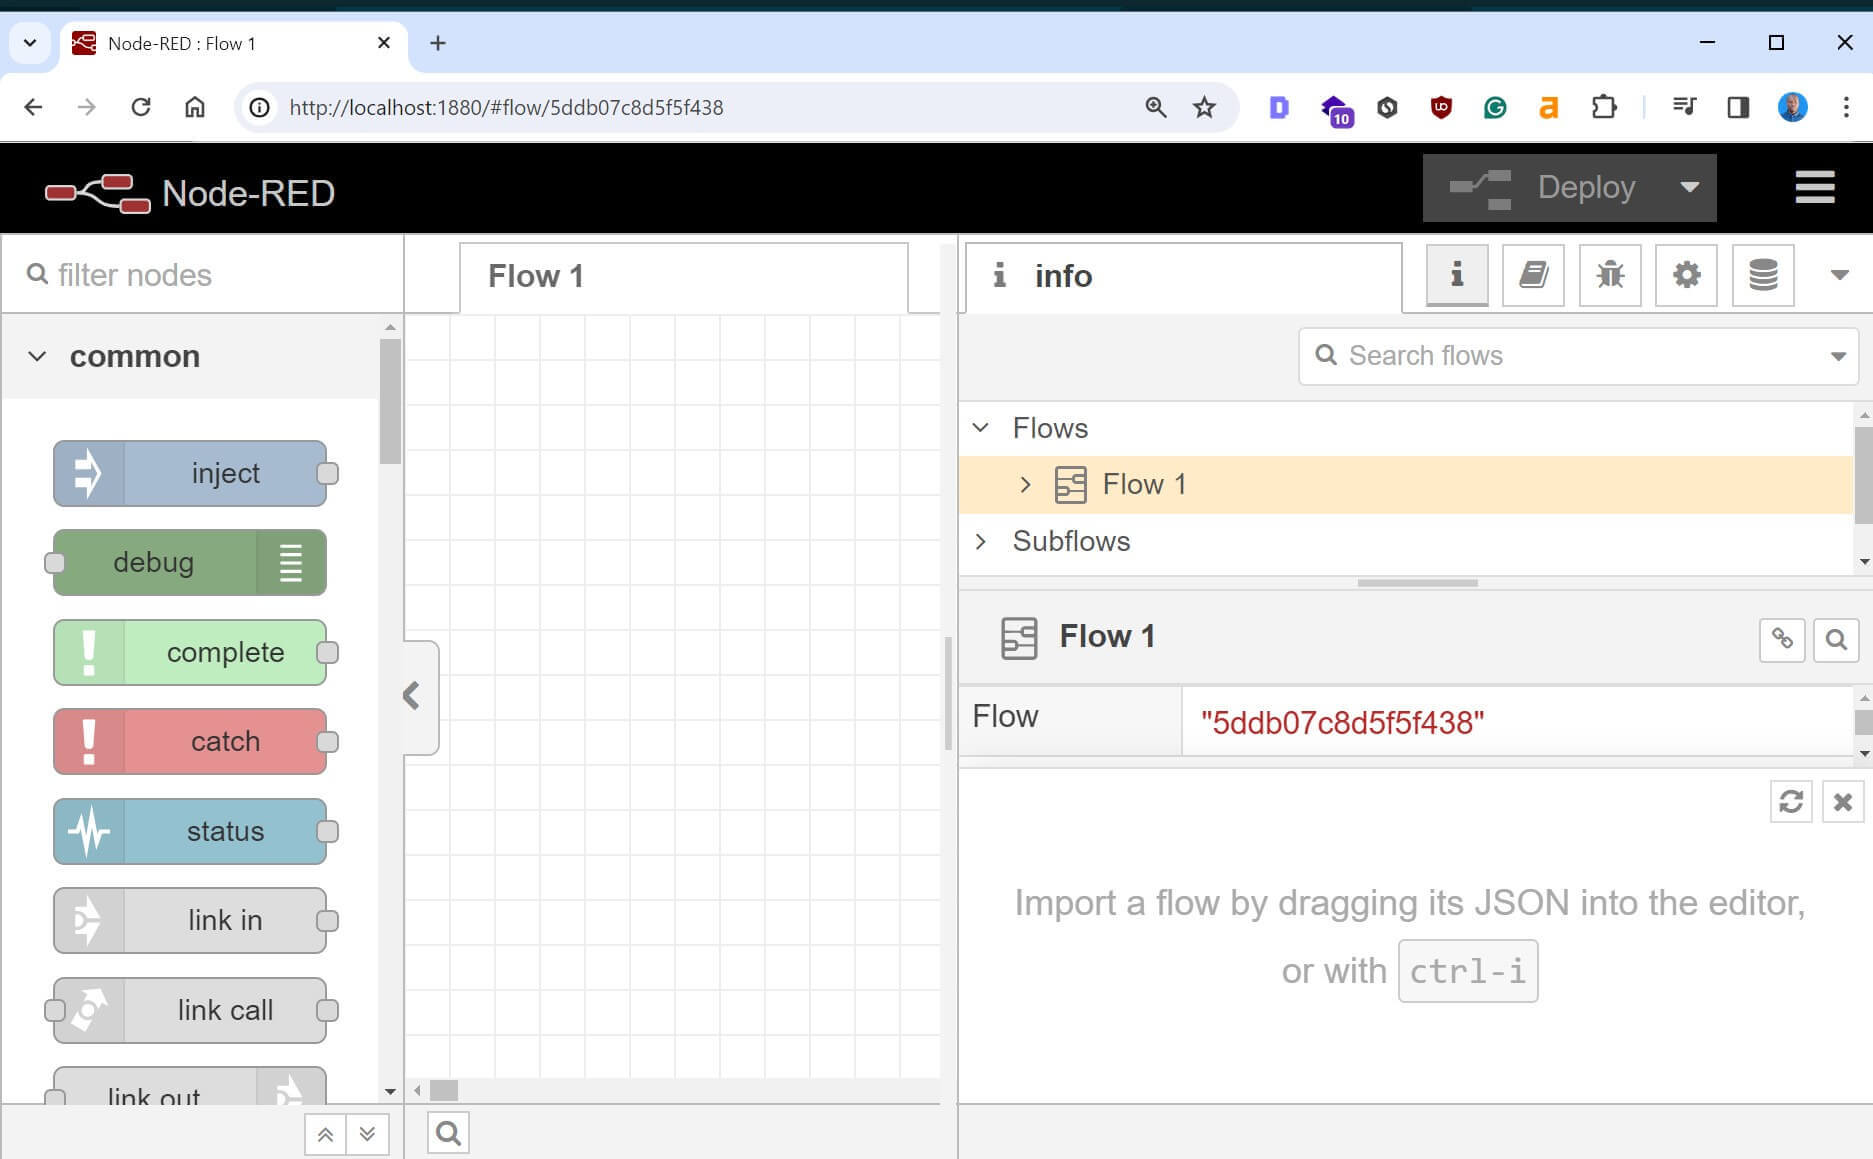
Step 4: Accessing Node-RED Editor on Raspberry
Node-RED is running. By default, Node-RED listens on port 1880. So, you open a web browser on your Raspberry Pi or any other device connected to the same network and go to Raspberry Pi IP address:1880/. Here is your first Node-RED editor.
You now go ahead and start building your flows visually.
Conclusion
You should now have a Node-Red server installed and running on your Raspberry Pi. You have learned:
- What you need to install Node-Red on Raspberry Pi.
- The correct steps are installing, running, and accessing a Node-Red server using Raspberry.
- AutoStart Node Red with Raspberry Pi and PM2.
Written By: