Boost WP Speed with Redis Object Cache Plugin for WordPress
Posted September 22, 2023

Learn how to Install and Configure WordPress Redis Object Cache Plugin. Dive in and take your WordPress performance to new heights using Wp Redis Caching
What Made Me Desired WP Redis Cache
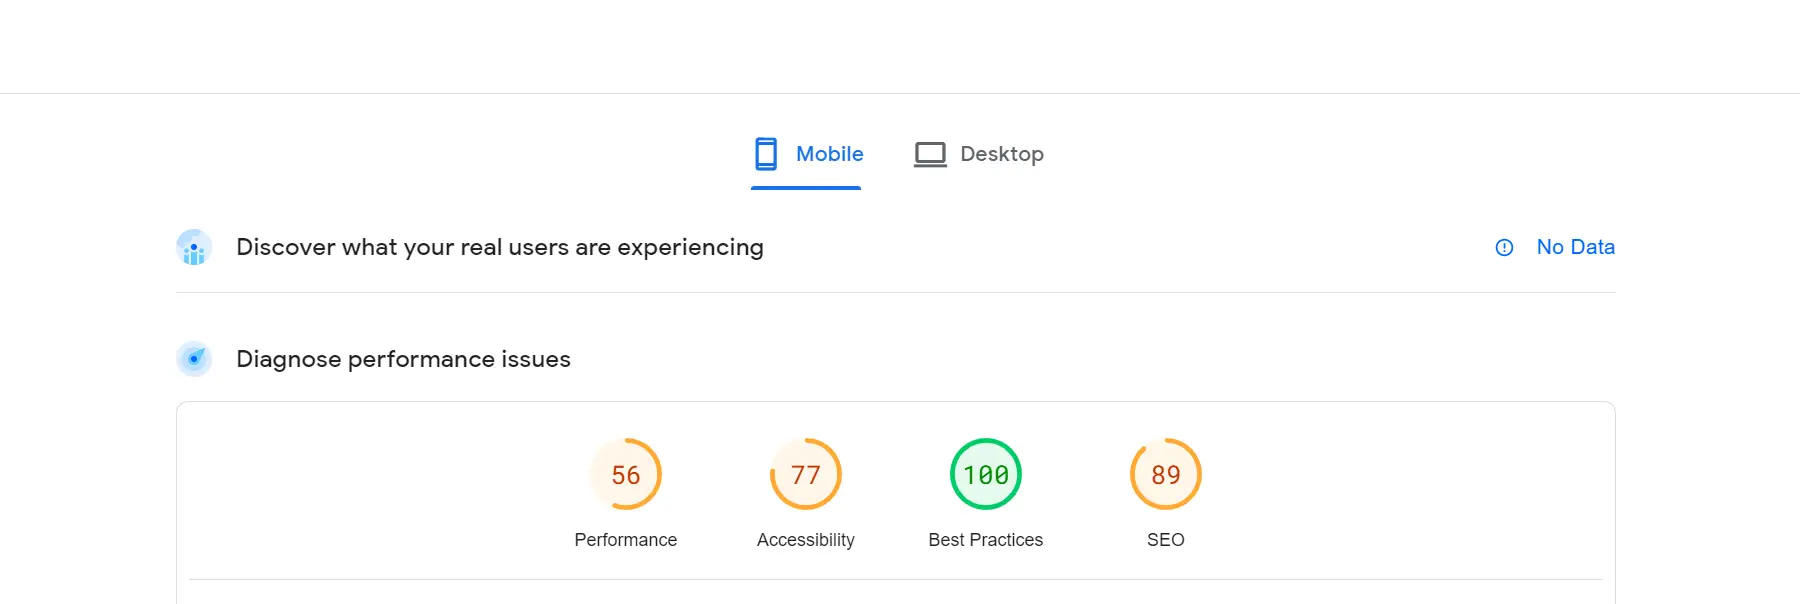
My site needed to be faster. It is just a simple site with a few posts. But the performance was getting affected. When using PageSpeed Insights, I get the following results:
WordPress Performance on Mobile

WordPress Performance on Desktop:

With a few posts, this performance can get even worse if running a robust eCommerce engine.
With such results, I decided to dig deeper and boost my WordPress site using Redis Object Cache Plugin, hoping the site would deliver the content to the client faster.
Dive in with me and learn how you can use this strategy to get peak speed performance.
Why speed matters with WordPress Redis Object Caching
Speed is critical to WordPress. You might have heard of Core Web Vitals, which measure how fast your pages.
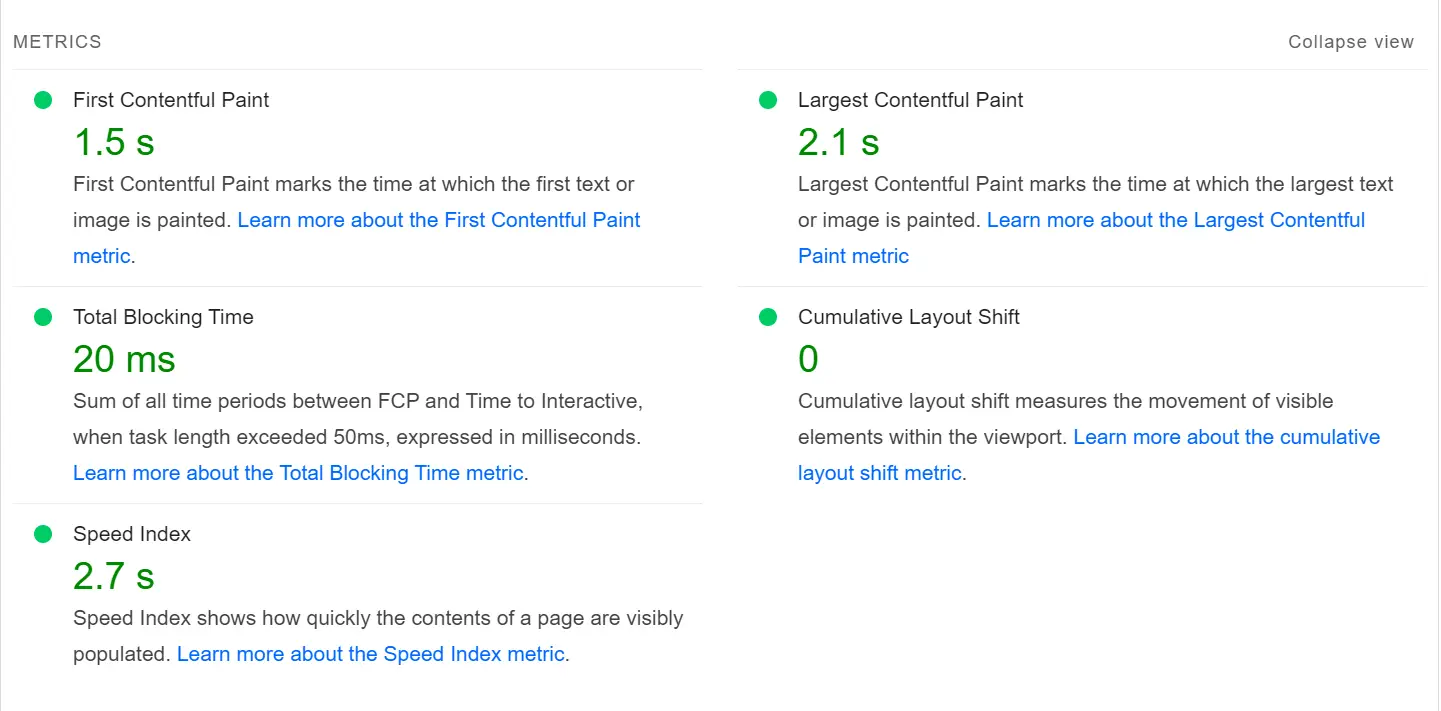
These stats are important to any site. They affect your SEO at large. Therefore, you need the right numbers to conquer SEO strategies and impress your website visitors.
Prerequisites
This guide assumes:
- You have a running WordPress website.
- You will be required to run commands on your terminal. Ensure you can access it on an SSH terminal using SSH clients such as Putty and MobaXterm.
This guide teaches you how to Host WordPress on AWS EC2 Ubuntu AMI with SSL Domain Name
- Ensure you have a backup copy of your WordPress, as these changes will be added to your live site.
Installing Redis for WordPress
Ensuring you have access to your terminal, run the following command to install Redis:
sudo apt install redis-server
Confirm that Redis is running:
sudo systemctl status redis

And you are now good to go. If you check the server, you have no cache so far:
redis-cli
keys *

Configuring Redis Object Cache on WordPress
Redis will connect to WordPress using the Redis Object Cache. So, you need the plugin installed.
However, you will also add a Query Monitor plugin to get a clear performance boost to your site. This plugin will let us know how many queries the site is making once we have Redis ready.
First, Install Query Monitor to check the queries a home page sends to your WordPress database:

Install and Activate plugin, and head to your site home page or any page of your choice:

This page is making 20 Database Queries. And the numbers don’t change even when you refresh the page.
The Page Generation Time takes about 1.0333s and 3.4% of the 30s limit, which is not bad, and we can improve it with Redis.
Now Install and activate the Redis Object Cache plugin:
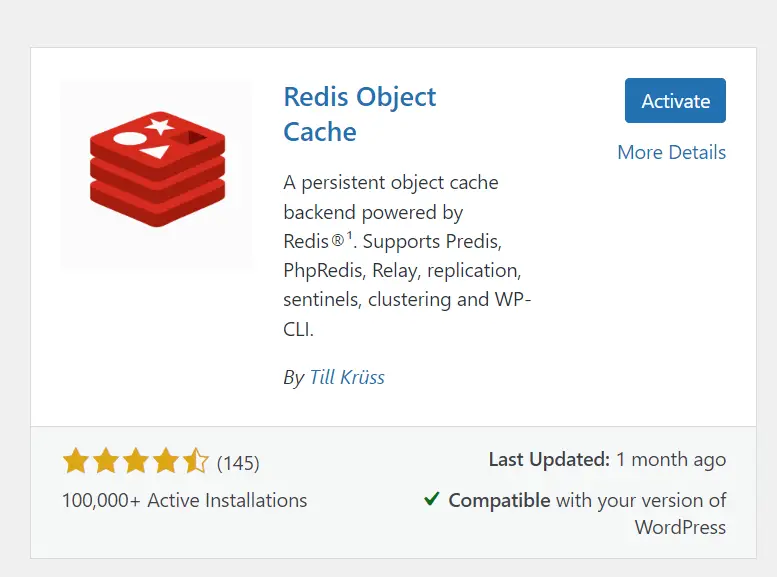
Once installed, enable your plugin and make it ready to accept cache data:

Redis will be ready and connected.
Note this: it will set the default configuration used during Redis installation (from the server):

Go ahead and test different pages and check how many Query lookups your slow pages are making to the database.

Here, I have some pages recording 0 database Queries, meaning Redis saves the first-page visit and serve them when other user requests the page:


If you want to dig deeper and check how your Persistent object cache plugin is using your Redis Object cache:

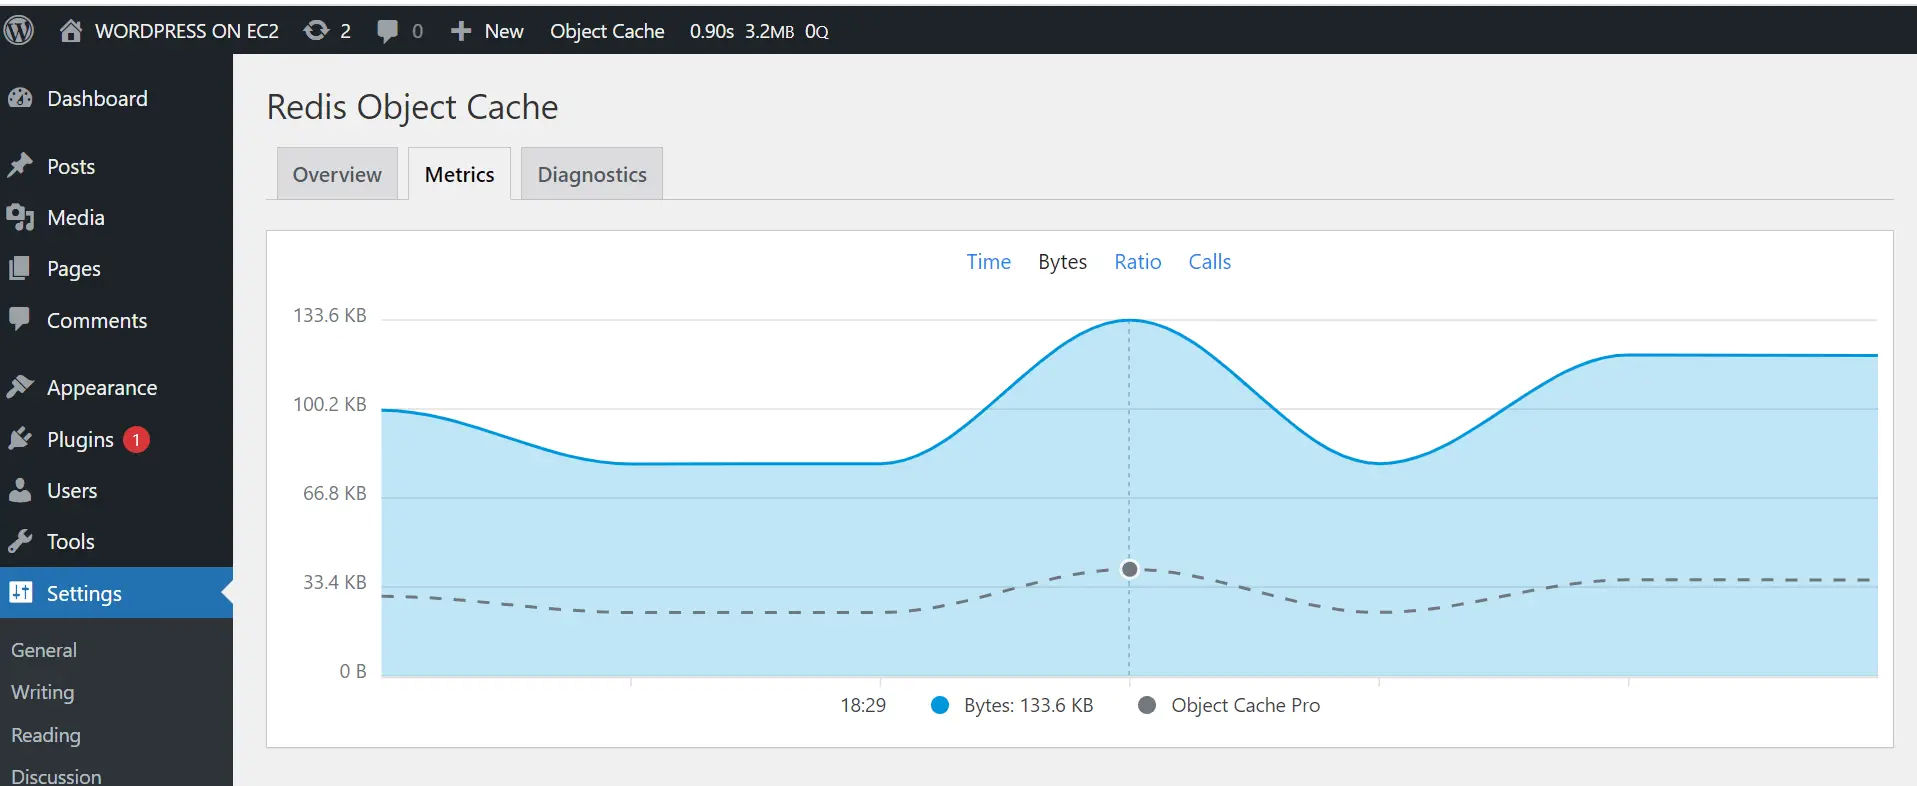
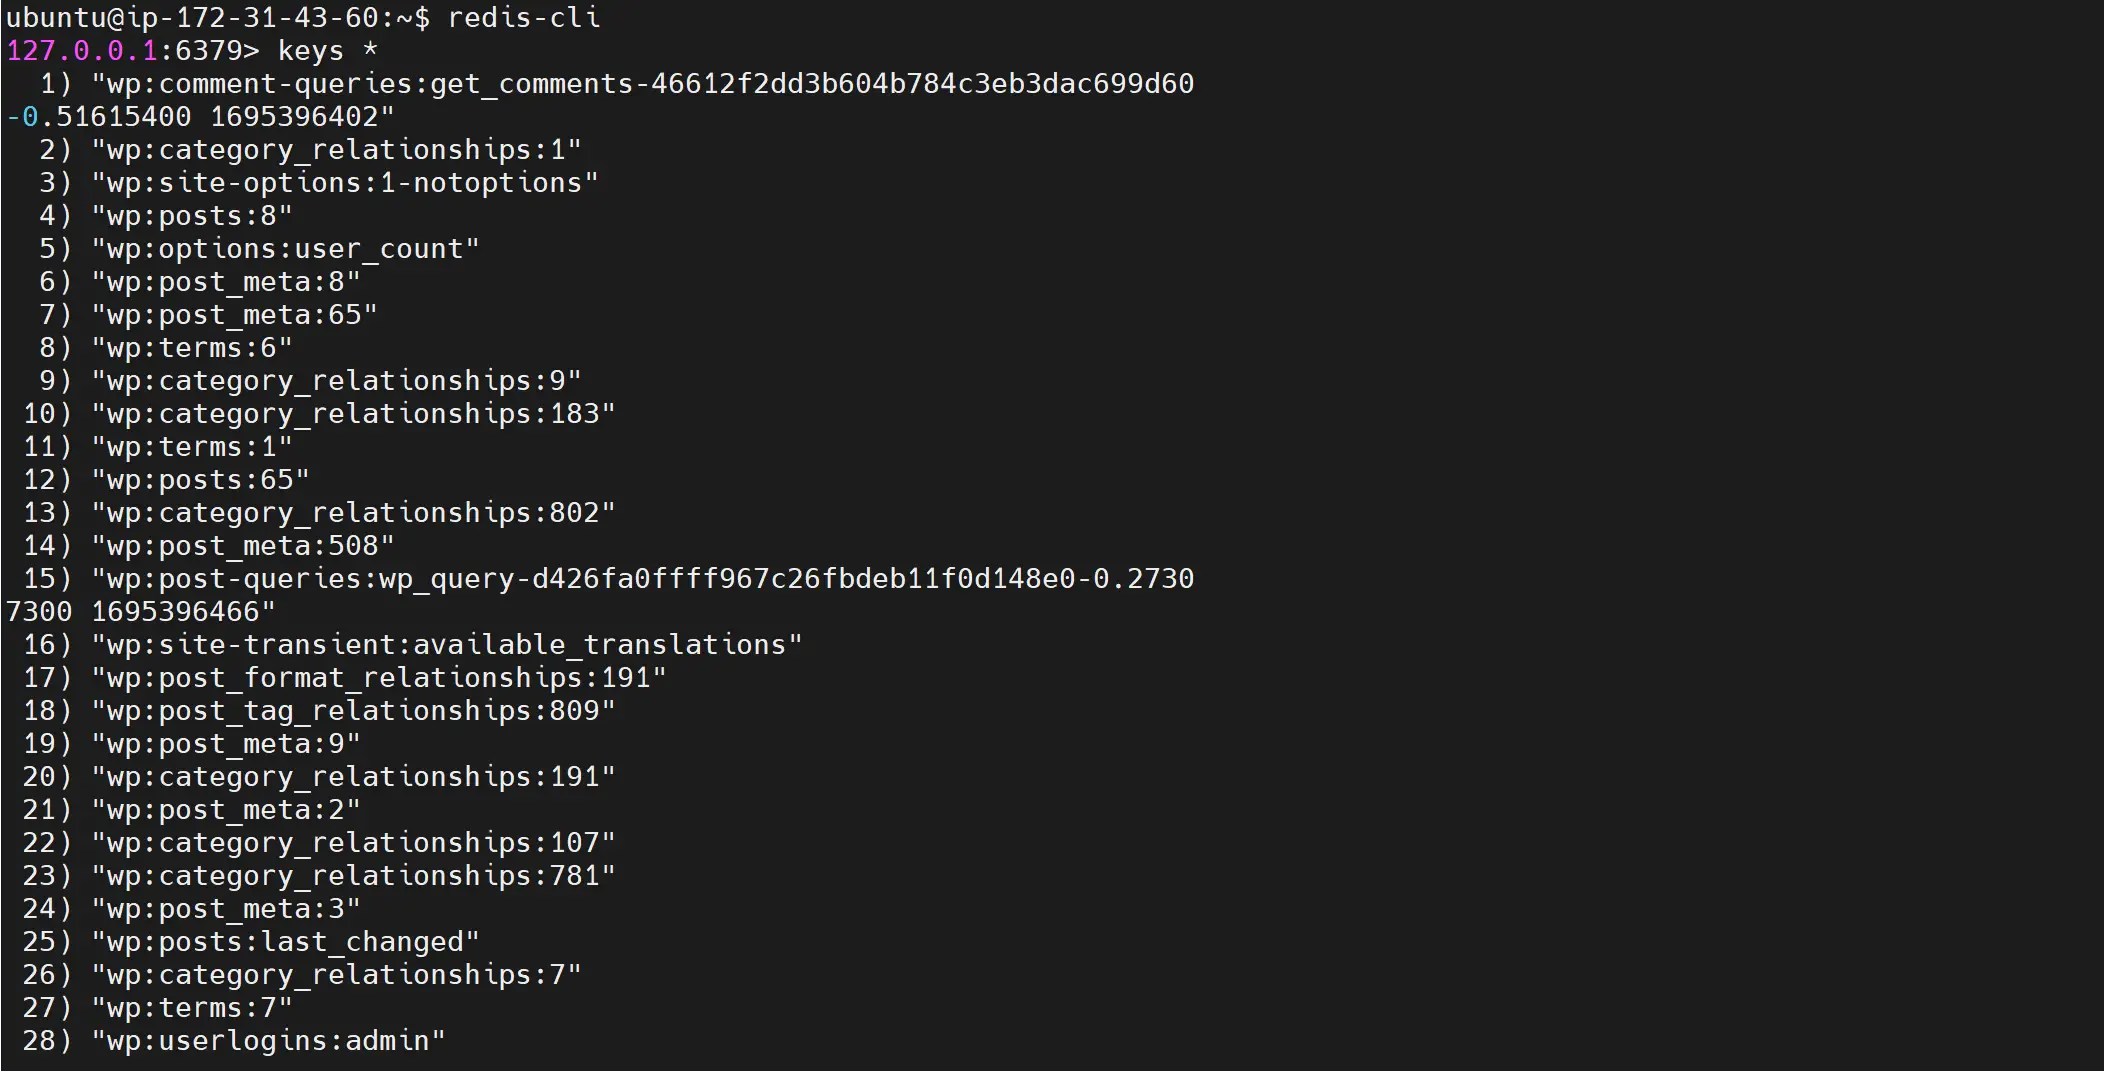
Now check your Redis server to see if you have new cache keys:
redis-cli
keys *
Did Redis Object Cache Plugin Boost WordPress?
Once Redis is ready, checking the metric, the site has some minor improvements:
Performance on Mobile using WP Redis Object Cache
 Performance on Desktop with Redis Cache:

The performance changes won’t reflect the same time you are setting Redis.
Giving a few data and still using other simple and effective WordPress optimization techniques, here are the new performance stats:


Conclusion
I hope you learned something helpful.
However, using WordPress with Redis object cache might demand additional resources such as CPU usage and storage to save new cache keys.
If you have any questions regarding this post or related to WordPress, leave a comment, and we will address it ASAP.


