Seeding Databases with TypeORM Seeder, Nest.js and Faker.js
Posted December 7, 2023

TypeORM uses database Seeding to populate your tables with initial data during development. Seeding will create and insert records into the database tables directly while using code within your app.
Dive into this step-by-step guide and learn seeding a database using TypeORM Seeder in Nest.js. You will learn:
- How to seed a Database table using TypeORM Seeder with hard-coded data.
- Using TypeORM to seed the database with unlimited Faker.js seeder.
- How to seed TypeORM relationship featuring OneToMany and ManyToOne.
- All these TypeORM Seeding steps should work on PostgreSQL, MySQL, OracleDB, MariaDB and SQLite.
Why Seed a Database with TypeORM?
- During development, you need sample data mimicking how your app works.
- Testing phase to write tests against a consistent dataset.
- Initial state setup to ensure the database starts with the required data
When should you use TypeORM Seeder and Seed a Database?
Make sure you run the TypeORM database seeding:
- To seed the database when the application starts.
- Before running tests, ensure consistent test results.
How to Seed a Database in TypeORM with Nest.js
Before using TypeORM to run Database seeding, ensure you have a working NestJS TypeORM application.
If not, create a simple NestJS app:
npm i -g @nestjs/cli
nest new nestjs-app
You will need to install your packages as follows (based on the database to choose)
cd nestjs-app
# I will use PostgreSQL. Install mysql2 if you are on MySQL
npm install --save @nestjs/typeorm typeorm pg
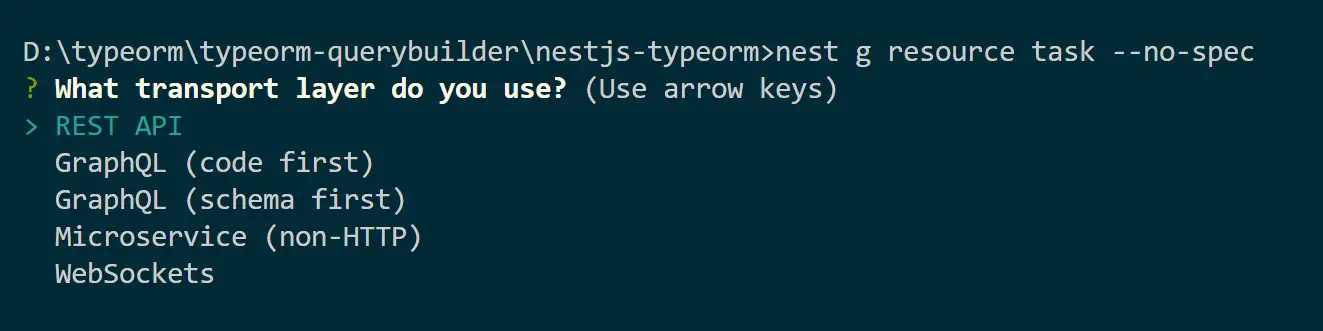
Now create the Module, Provider, and Controller for Seeder using the following command as a resource:
nest g resource post --no-spec
Creating a TypeORM Seeding Entity
TypeORM will refer to an entity to create your table and type-check the seeding data. In your entity file, create a Post entity as follows:
Now, create your entity:
import { Entity, Column, PrimaryGeneratedColumn, ManyToOne } from 'typeorm';

export enum PostStatus {
  DRAFT = 'draft',
  PUBLISH = 'publish',
}

@Entity()
export class Post {
  @PrimaryGeneratedColumn()
  id: number;

  @Column()
  title: string;

  @Column()
  content: string;

  @Column({ default: PostStatus.DRAFT })
  status: PostStatus;
}
TypeORM will refer to and create a table post with the relevant attributes before seeding it with test data.
Update the PostModule (post.module.ts file) so TypeORM can load this entity:
import { Module } from '@nestjs/common';
import { PostService } from './post.service';
import { PostController } from './post.controller';
import { TypeOrmModule } from '@nestjs/typeorm';
import { Post } from './entities/post.entity';

@Module({
  imports: [TypeOrmModule.forFeature([Post])],
  controllers: [PostController],
  providers: [PostService],
})
export class PostModule {}
Creating the TypeOrmModule Seeding Options
TypeORM needs access to your database to create the table and run the seeding set. Use TypeOrmModule in your AppModule (app.module.ts) as follows:
import { Module } from '@nestjs/common';
import { AppController } from './app.controller';
import { AppService } from './app.service';
import { PostModule } from './post/post.module';
import { TypeOrmModule } from '@nestjs/typeorm';

@Module({
  imports: [TypeOrmModule.forRoot({
    type: 'postgres',
    host: 'localhost',
    port: 5432,
    username: 'postgres',
    password: 'pass',
    database: 'blog',
    synchronize: true,
    entities: [__dirname + '/**/*.entity{.ts,.js}'],
  }),
  PostModule],
  controllers: [AppController],
  providers: [AppService],
})
export class AppModule {}
Update the above parameters based on the database you are using and make sure you create the database blog at this point.
Creating a TypeORM Database Seeder Provider
NestJS uses Provider to abstract the logic of your app. Here, you will create the seeding data before deciding when TypeORM will seed.
Now navigate to your post.service.ts file and create a seedData() method as follows
- Ensure you have the correct imports:
import { Injectable, Logger } from '@nestjs/common';
import { InjectRepository } from '@nestjs/typeorm';
import { Repository } from 'typeorm';
import { Post, PostStatus } from './entities/post.entity';
- Create a TypeORM Repository:
@Injectable()
export class PostService {
  constructor(
    @InjectRepository(Post)
    private postRepository: Repository<Post>,
  ) {}
}
- Inside this Repository, add
seedDa()method as follows:
  async seedData(): Promise<void> {
    const postData: Partial<Post>[] = [
      { title: 'Post 1', content: 'Content for Post 1', status: PostStatus.DRAFT },
      { title: 'Post 2', content: 'Content for Post 2', status: PostStatus.PUBLISH },
      { title: 'Post 3', content: 'Content for Post 3', status: PostStatus.PUBLISH },
      { title: 'Post 4', content: 'Content for Post 4', status: PostStatus.DRAFT },
    ];

    try {
      await this.postRepository.save(postData);
      Logger.log('Data seeded successfully');
    } catch (error) {
      Logger.error(`Error seeding data: ${error.message}`, error.stack);
    }
  }
Each { title: 'Post 1', content: 'Content for Post 1', status: PostStatus.DRAFT }, represents a record that TypeORM will seed to the database.
Note: This code is type-checked against your entity. This way, you won’t seed the wrong data format that will compromise your database.
TypeORM and NestJS will check and ensure the property title, content, and status matches your Entity. At the same time, the data they represent must have the exact data types. For example, you have a status: PostStatus; status as with a PostStatus Enum; therefore, all status properties must represent a PostStatus.
Executing TypeORM Database Seeding with Controller
All you need is to call this seedData method. You will use a controller. Go to your post.controller.ts file and run it as follows:
import { Controller, Get} from '@nestjs/common';
import { PostService } from './post.service';

@Controller('post')
export class PostController {
  constructor(private readonly postService: PostService) {}

  @Get('seed')
  async  seedData(): Promise<string> {
    await this.postService.seedData();
    return 'Database seeded successfully!';
  }
}
If you send a GET request to http://localhost:3000/post/seed, TypeORM will seed your database. But first, run your app so that TypeORM can create and structure your table attributes:
npm run start:dev
Now send a GET request to http://localhost:3000/post/seed:
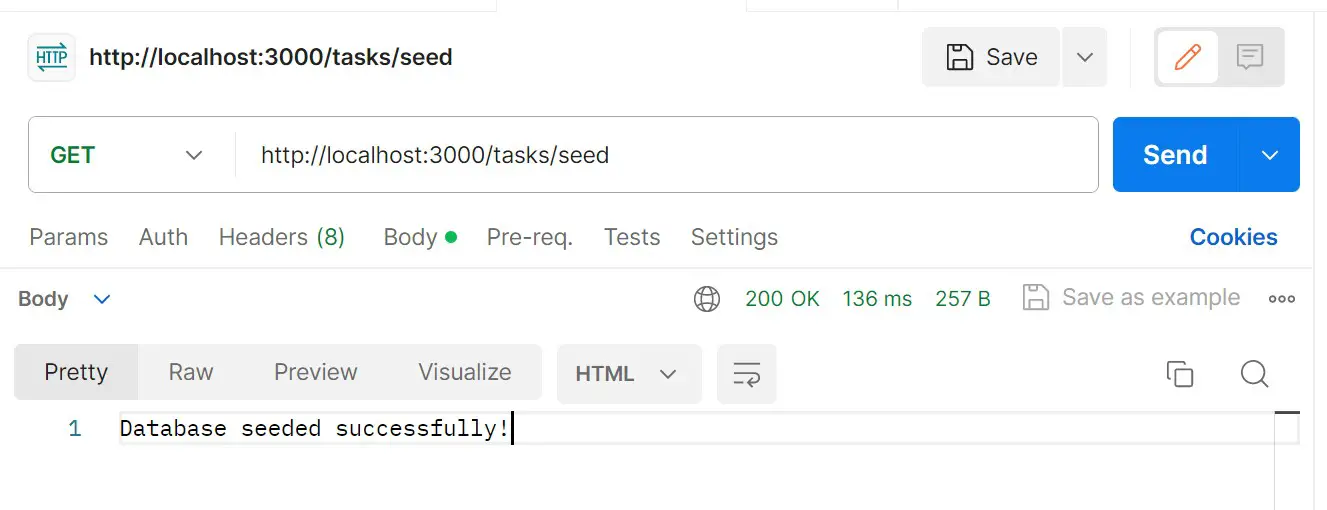
Go and check your database table now:
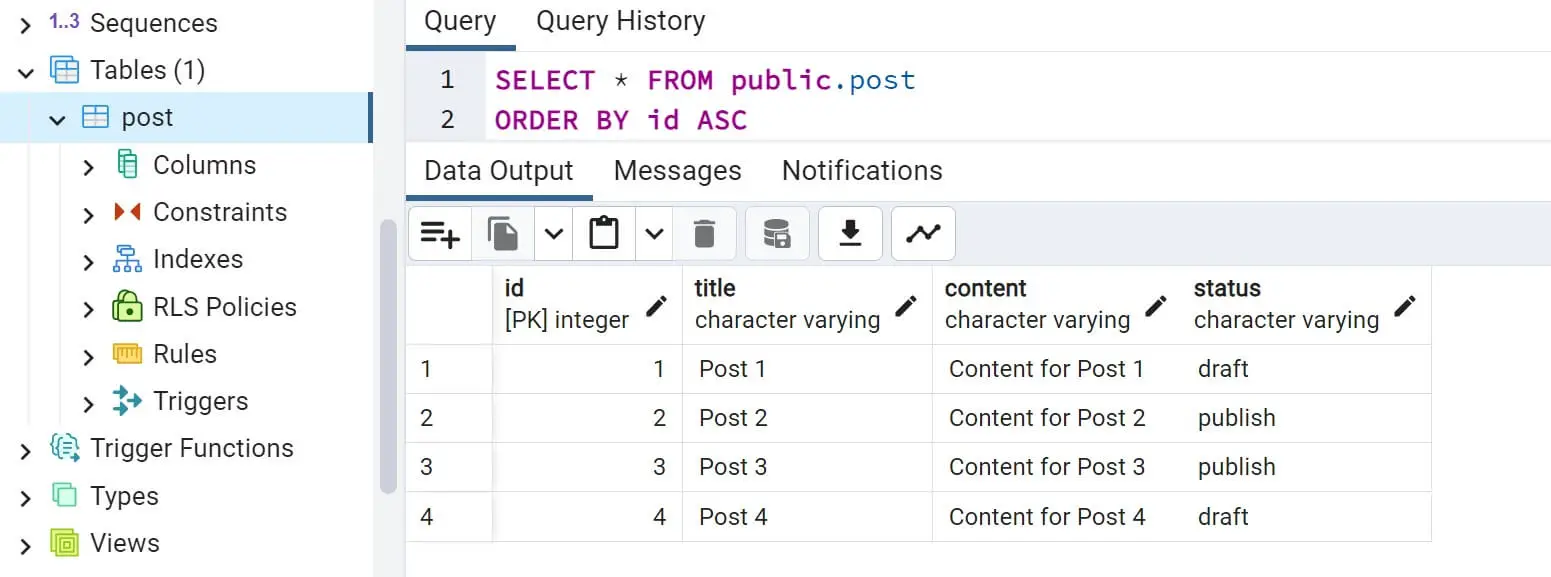
And TypeORM has seeded your database successfully!
How to Seed Databases with Faker.js and TypeORM Seeder
Up to this point, you have manually created the data you want TypeORM to seed. This process is not efficient if you need a huge list of seeding data. The solution is to use Faker.js
Faker.js will use TypeORM to generate and seed a database with fake (but reasonable) data. It will get your TypeORM Repository, access the database, and seed data based on Faker API of your choice.
First, ensure you have Fkaer.js installed:
npm i @faker-js/faker
In your post.service.ts file, create a new method using Faker. But fast ensure you have Faker imported:
//post.service.ts
import { faker } from '@faker-js/faker';
Then create your TypeORM seeding function with Faker as follows:
//post.service.ts
  async seedDatawithFaker(): Promise<void> {
    const postData: Partial<Post>[] = [];
    const postCount = 10;

    // Generate fake data using Faker.js
    for (let i = 0; i < postCount; i++) {
      const title = faker.lorem.sentence();
      const content = faker.lorem.paragraph();
      // Alternating between draft and publish
      const status = i % 2 === 0 ? PostStatus.DRAFT : PostStatus.PUBLISH;

      postData.push({ title, content, status });
    }

    try {
      await this.postRepository.save(postData);
      Logger.log('Data seeded successfully');
    } catch (error) {
      Logger.error(`Error seeding data: ${error.message}`, error.stack);
    }
  }
In this short code example, you will be to tell TypeORM how many items you want to seed. The best this is Faker will handle data generation for you. When using post, the faker will use the lorem API to create paragraphs and sentences. Check the Faker API if you are using other data sets.
To let TypeORM seeding take place, go to post.controller.ts file and create a seeding route to seedDatawithFaker:
  @Get('seed/faker')
  async  seedDatawithFaker(): Promise<string> {
    await this.postService.seedDatawithFaker();
    return 'Database seeded successfully!';
  }
Rerun your app:
npm run start:dev
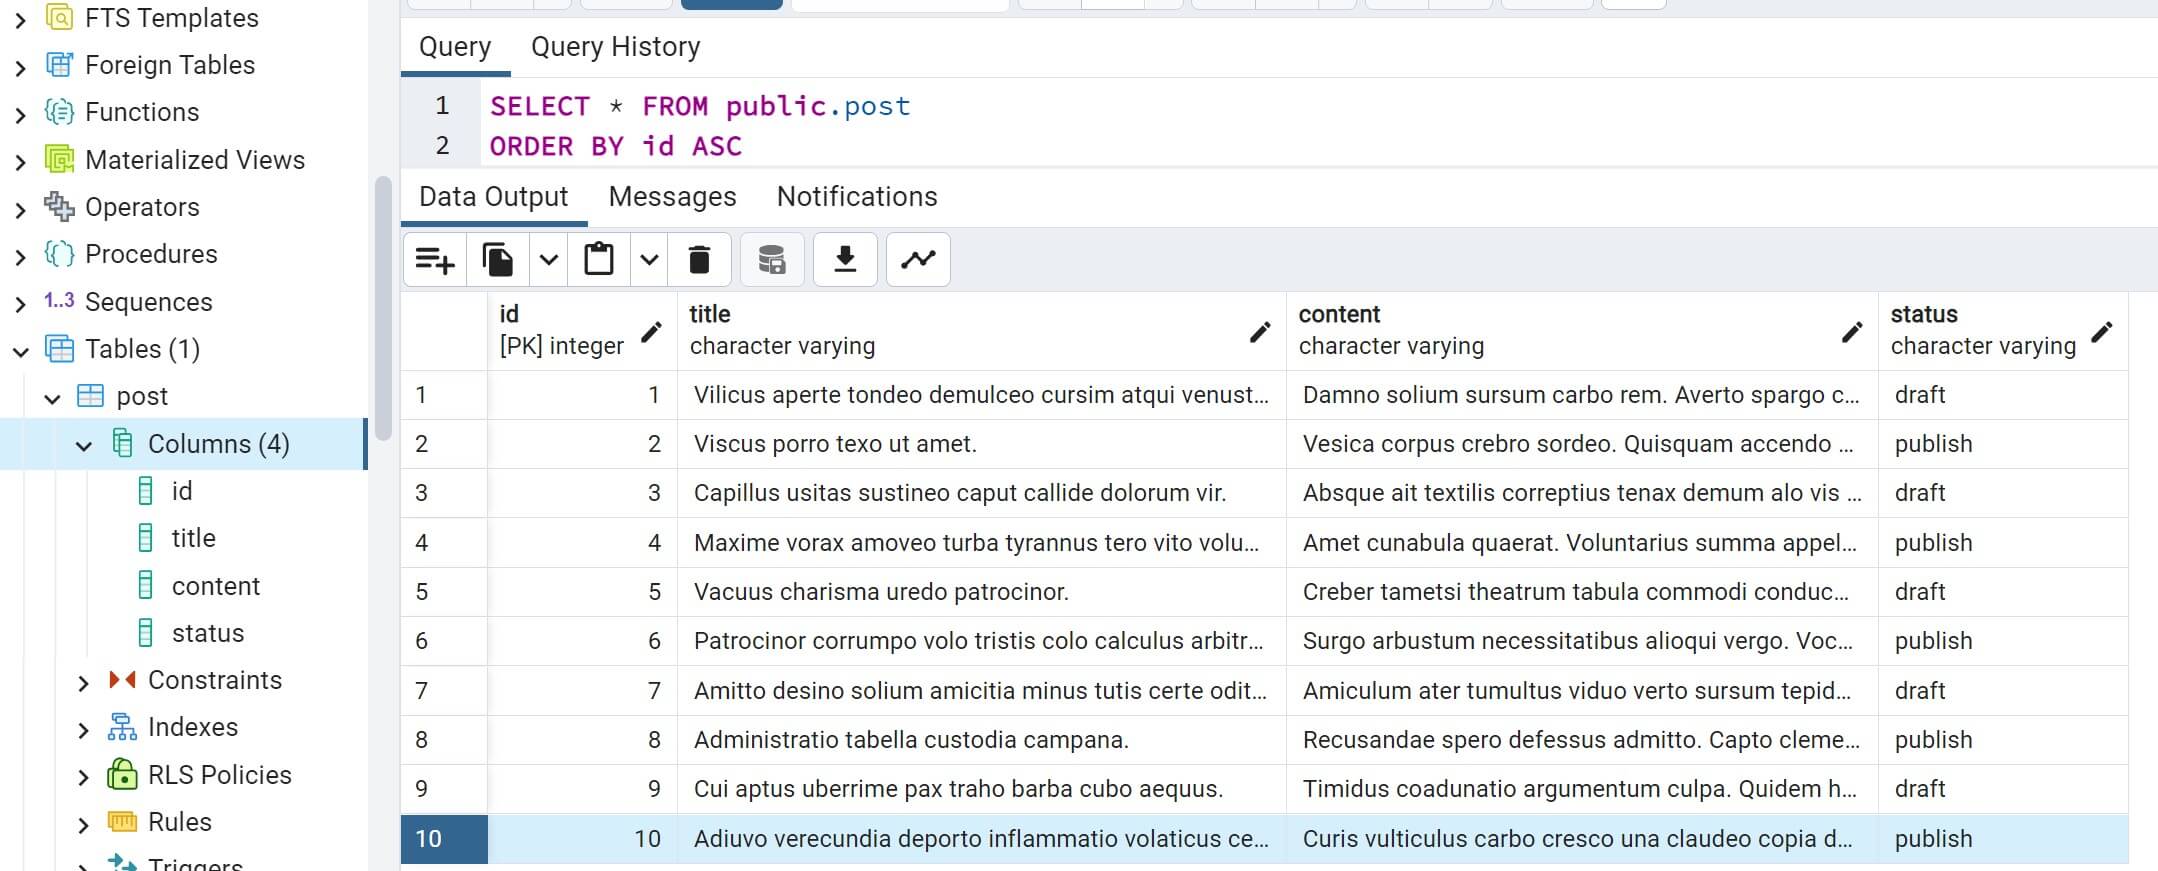
Send a GET request to http://localhost:3000/post/seed/faker. Then confirm if your database has the posts items seeded:
How to Seed TypeORM Relation Tables
TypeORM allows you to create different tables with Relationships among them such as Many to Many, Many to One, etc. I’m sure you want to have seeding data ready in this kind of setup. Let’s now create a small code example to let TypeORM seed data to related tables.
To make this setup easier to manage, you will Faker.js which will in turn seed data through TypeORM.
Now, you already have a Post table. In this case, let’s say a Post has a one-to-many relationship, with the User. This means One user can have many posts. You will have:
- User with OneToMany Post.
- Post with ManyToOne User.
Let’s first create a user module:
nest g resource user --no-spec
Now go to the src\user\entities\user.entity.ts and create a User Entity with OneToMany to Post relationship as follows:
import { Post } from 'src/post/entities/post.entity';
import { Entity, Column, PrimaryGeneratedColumn, OneToMany } from 'typeorm';


@Entity()
export class User {
  @PrimaryGeneratedColumn()
  id: number;

  @Column()
  name: string;

  @Column()
  bio: string;

  @OneToMany(() => Post, post => post.user)
  posts: Post[];
}
At the same time, go to the src\post\entities\post.entity.ts file and update Post Entity with OneToMany to the user as follows:
import { User } from 'src/user/entities/user.entity';
import { Entity, Column, PrimaryGeneratedColumn, ManyToOne } from 'typeorm';

export enum PostStatus {
  DRAFT = 'draft',
  PUBLISH = 'publish',
}

@Entity()
export class Post {
  @PrimaryGeneratedColumn()
  id: number;

  @Column()
  title: string;

  @Column()
  content: string;

  @Column({ default: PostStatus.DRAFT })
  status: PostStatus;

  @ManyToOne(() => User, user => user.posts)
  user: User;
}
To use the User entity, you must go to the src\post\post.module.ts file and update the Module with User Repository as follows:
// Other imports
import { User } from 'src/user/entities/user.entity';
imports: [TypeOrmModule.forFeature([User, Post])],
// Other lines of code
The Module setup should be ready. Go to src\post\post.service.ts and now create a method that will run both User and Post with Faker.js and seed these tables with data through TypeORM as follows:
import { Injectable } from '@nestjs/common';
import { InjectRepository } from '@nestjs/typeorm';
import { Repository } from 'typeorm';
import { Post, PostStatus } from './entities/post.entity';
import { faker } from '@faker-js/faker'; // Importing faker from Faker.js
import { User } from 'src/user/entities/user.entity';

@Injectable()
export class PostService {
  constructor(
    @InjectRepository(User)
    private readonly userRepository: Repository<User>,
    @InjectRepository(Post)
    private readonly postRepository: Repository<Post>,
  ) {}

  // seed both users and posts
  async seedRelations() {
    await this.seedUsers();
    await this.seedPost();
  }

  //seed users
  async seedUsers() {
    const users = [];
    const numUsers = 10;
    for (let i = 0; i < numUsers; i++) {
      const user = new User();
      user.name = faker.person.fullName(); // Generating a fake full name
      user.bio = faker.person.bio(); // Generating a fake bio
      users.push(user);
    }
    // Saving users to the database
    await this.userRepository.save(users);
  }

  // Seed posts
  async seedPost() {
    // Finding all users from the database
    const users = await this.userRepository.find();
    const posts = [];
    for (const user of users) {
      const numPosts = 10; // Generating 10 posts per user
      for (let i = 0; i < numPosts; i++) {
        const post = new Post();
        // Alternating between draft and publish status for each post
        const status = i % 2 === 0 ? PostStatus.DRAFT : PostStatus.PUBLISH;

        post.title = faker.lorem.words(); // Generating a fake title
        post.content = faker.lorem.paragraph(); // Generating a fake content
        post.status = status;
        post.user = user; // Assigning the user to the post
        posts.push(post);
      }
    }
    // Saving posts to the database
    await this.postRepository.save(posts);
  }
}
Here:
- Make sure you are Injecting Repositories for both User and Post.
seedUsers()generates 10 users with random full names and bios.seedPost()generates 20 posts per user with alternating draft and publish statuses. This means you have ten users each with 1o posts. You will have 100 posts generated.- Note that in
seedPost(), you have to all users from the database before Assigning the user to the post (post.user = user;). This is based on your relationship. - To run these TypeORM seeders, you must observe the relationship order. In his case, you must have users before Assigning posts. Therefore
seedRelations()will runawait this.seedUsers()and thenawait this.seedPost();in that order.
To complete you TypeORM seeding setup, go to src\post\post.controller.ts and add a GET routes to excute seedRelations() as follows:
  @Get('seed/relations')
  async seedRelations() {
    await this.postService.seedRelations();
    return { message: 'Database seeded successfully.' };
  }
Your code is complete, run the application:
npm run start:dev
Now send a GET request to http://localhost:3000/post/seed/relations:
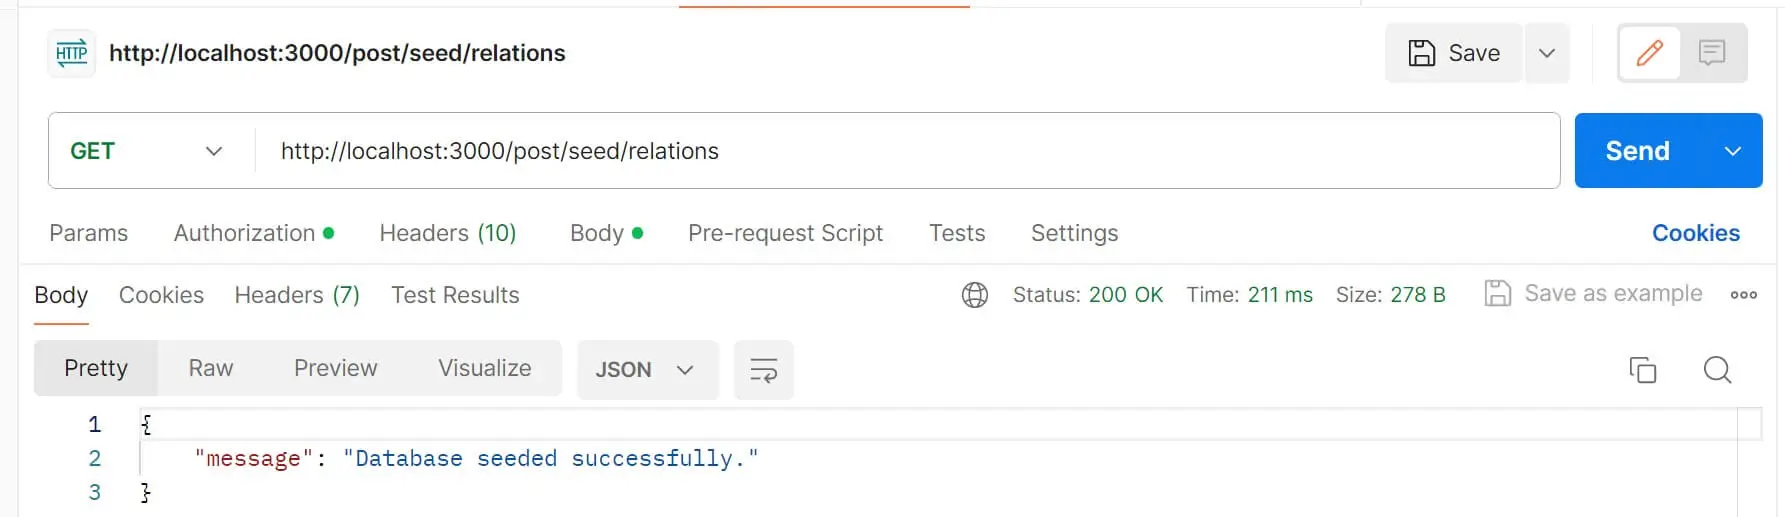
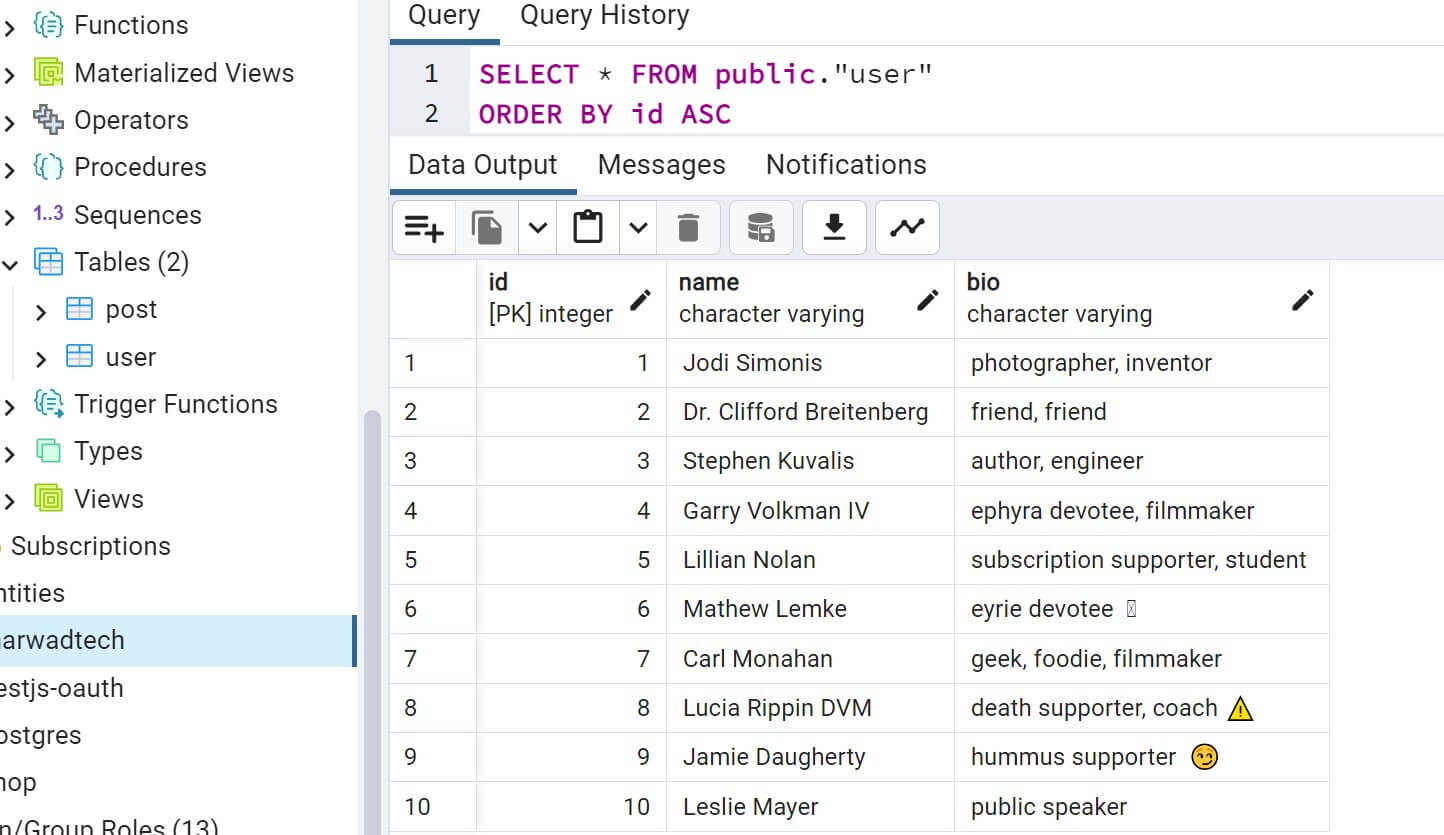
Check if TypeORM has successfully used Faker.js to seed your database relationship:
- Users:
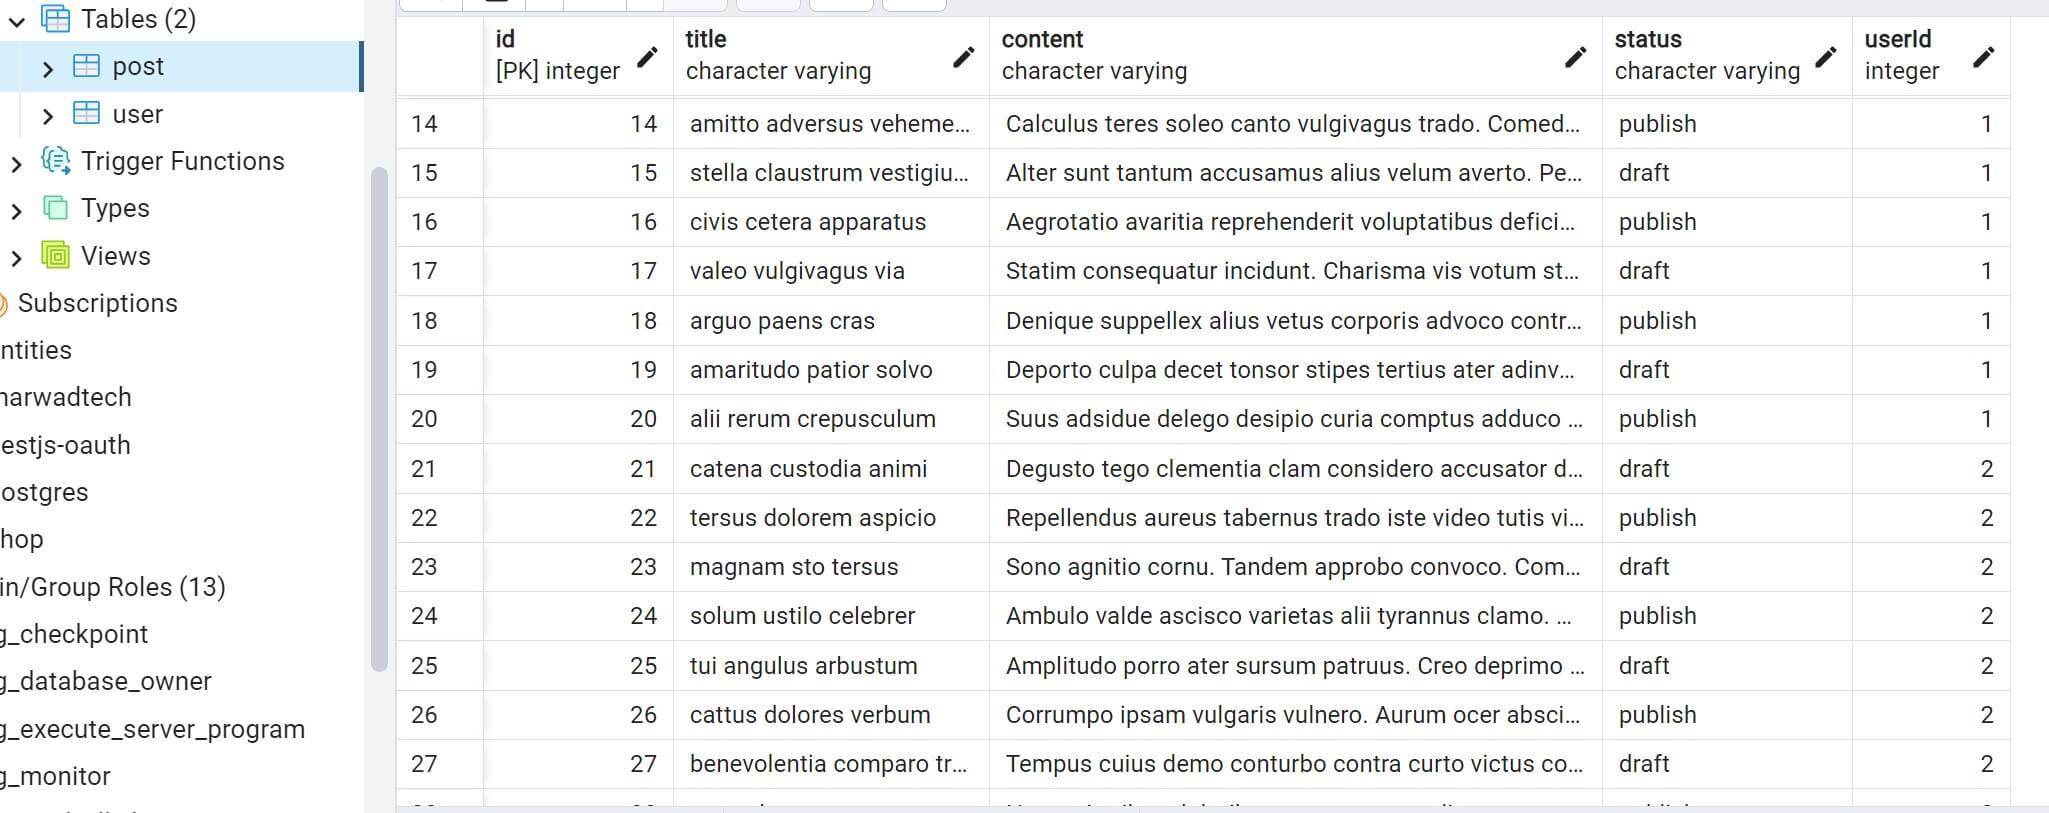
- Posts:
Conclusion
Using this simple guide, I hope you can now use Seed Database with TypeORM, Nest.js, and PostgreSQL. You can add more data to automatically seed your database and get seeded with the initial data.
Check the code used in this guide on this GitHub Repository.
Written By: