How to Create and Update TypeORM Repository with Nest.js
Posted February 2, 2024

A repository is always key if working with Nest.js alongside TypeORM. TypeORM is an Object-Relational Mapping library for TypeScript. It will create an abstraction to a database so you don’t run raw SQL queries but use TypeScript objects.
TypeORM uses entities as the blueprint for your data/table attributes representation. The data you add using POST and fetch using GET will rely on what your TypeORM entities say. This way, TypeORM will use a Repository as your entity manager.
The Repository will create methods to interact with the underlying database through your TypeORM entity. A Repository is simply used to run the TypeORM entity to perform CRUD (Create, Read, Update, Delete) operations on the database. This guide will teach you everything you need to know about TypeORM Repository with Nest.js.
Ready? Dive in and get brow how easy it is to Create and Update TypeORM Repository with Nest.js
How Repository Works with Nest.js and TypeORM
As described above, a TypeORM repository is an Entity Manager. This means it creates a higher-level interface for interacting with the database and provides a set of methods for CRUD.
Typically, TypeORM will use a Repository to abstract data access logic with a clean API for interacting with your related entities. That’s the only way TypeORM gets access to your database without Raw SQL queries. The reason is that the repository is the bridge between the application TypeORM code and the underlying database.
Once the Repository has the authority to manage the overall data access, TypeORM makes it easier to run your HPPTS method and map to the respective controller.
If you are working with Nest.js to run TypeORM, you will create repositories within Nest.js services files. Here, you will create details of how data is retrieved, adding new items, and deleting or updating them.
Key Components of TypeORM Repository
For TypeORM to execute a Repository, you must have a few components in your app:
- Entity: The TypeScript class representing a table in the database with each instance of the class corresponding to a row in the table. TypeORM uses
@Entity()to tell your Repository a class that relates to entities. You then use decorators like@PrimaryGeneratedColumn, and@Columnto polish the structure of that entity. - Repository class that extends the
Repository<Entity>class from TypeORM. This repository class will access the Entity with for example@EntityRepository(EntityClass)TypeORM decorator. - Entity Manager to create an instance of the
Entity Managerclass for managing entities and their lifecycle through the manager property for handling database CRUD operations.
Based on your Repository, you will create TypeORM Repository Methods such as:
- Finds and fetches data that match a condition.
find(options?: FindManyOptions): Promise<Entity[]>:
This example will use the repository to execute find() from TypeORM:
const users = await userRepository.find((options?): Promise<Entity | undefined>);
The same applies to finding one single entity with a given TypeORM Repository condition. Only that you will use findOne() from TypeORM:
const user = await userRepository.findOne((options?):: Promise<Entity | undefined>);
- Persist data (inserts, deletes and updates) in the database.
const savedUser = await userRepository.save(user);
update(id: string | number | Date, partialEntity: QueryDeepPartialEntity<Entity>): Promise<UpdateResult>:
To update your data, TypeORM will need your Repository to execute an update() and delete() to remove items from the database:
//Updates the entity using the partial entity data.
Example: const result = await userRepository.update(1, { username: 'new_username' });

//Deletes the entity
const result = await userRepository.delete(1);
How to Create and Update TypeORM Repository with Nest.js
To create a TypeORM Repository, you first need a working Nest.js. Make sure you have the Nest.js CLI ready then use it to get Nest.js ready
Ensure Node.js is installed using the following commands:
# Use Node.js NPM
npm install -g @nestjs/cli
# Use Nest CLI to get Nest.js
nest new typeorm-repository
Once ready, go to the created typeorm-repository:
cd typeorm-repository
You then require TypeORM dependencies installed in this TypeORM app:
npm install typeorm @nestjs/typeorm
The next thing is to create a module resource. This should create a complete Nest.js TypeORM module with all files ready.
Let’s say you are creating a Nest.js TypeORM Repository to manage Employees. Use the following command to create the Employees Repository module:
# REST API
nest g resource employees --no-spec
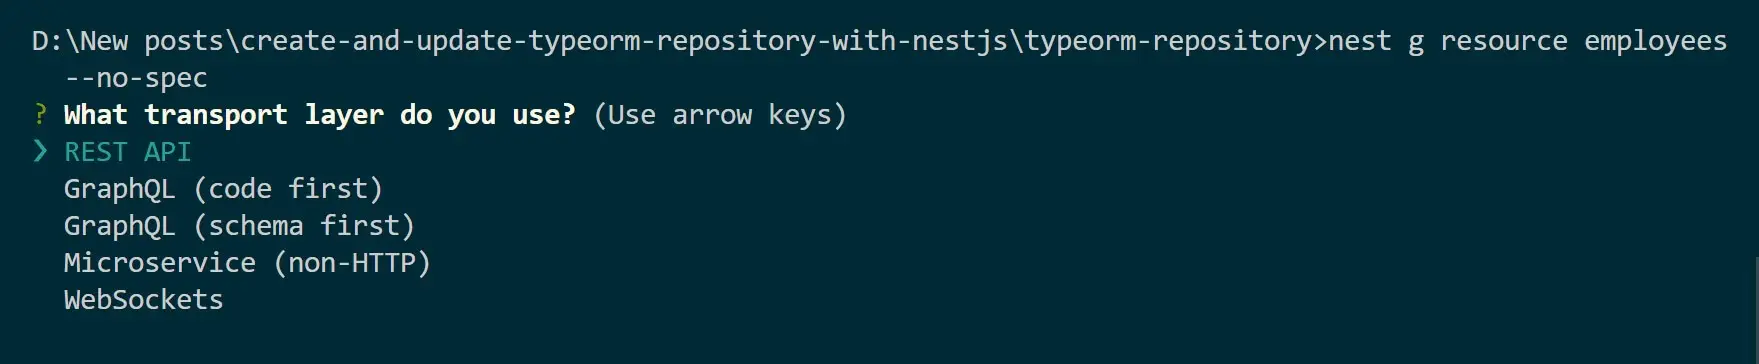
You should have a ready REST API with the Employees module ready:
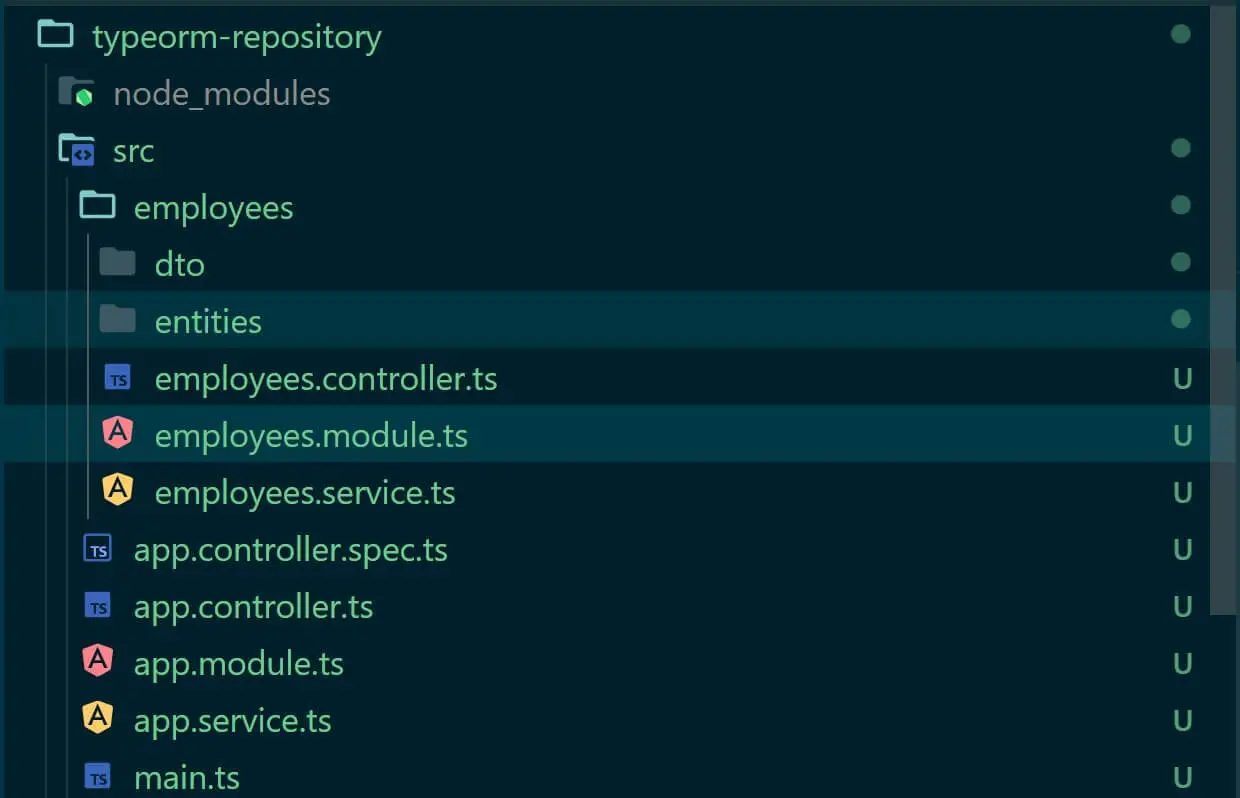
Creating TypeORM Repository Entity
Once your app is ready, the first step is to lay down Repository requirements. The most important import is the entity. You will use TypeORM to create an Entity representing a database table for Employees as follows:
Go to \src\employees\entities\employee.entity.ts and Create Employee Entity as follows:
import { Entity, Column, PrimaryGeneratedColumn } from 'typeorm';

@Entity()
export class Employee {
  @PrimaryGeneratedColumn()
  id: number;

  @Column()
  firstName: string;

  @Column()
  lastName: string;

  @Column()
  email: string;
}
Creating a TypeORM Repository with Nest.js Service
When creating your Employees module, you will have a file called src\employees\employees.service.ts. This is where TypeORM will use a repository design pattern containing API logic.
Entity is the building block of your Repository. Ensure your imports are ready as such:
import { Injectable } from '@nestjs/common';
import { InjectRepository } from '@nestjs/typeorm';
import { Repository } from 'typeorm';
import { Employee } from './entities/employee.entity';
Next, create a repository for the Employee’s entity. Note that Repositories extend the Repository class provided by TypeORM (import { Repository } from 'typeorm';). TypeORM uses a @InjectRepository(EntityRepository) decorator to inject the repository into a Nest.js service as follows:
@Injectable()
export class EmployeesService {
  constructor(
    @InjectRepository(Employee)
    private readonly employeeRepository: Repository<Employee>,
  ) {}

  async create(employee: Employee): Promise<Employee> {
    return this.employeeRepository.save(employee);
  }

}
Note How the Employee entity is used to model your Repositories, in this case, the employeeRepository. You can then create and use the TypeORM method to interact with the database while using this Repository.
For example, to add a new Employee to the database, you will use create() and save() from the TypeORM Repository as follows:
@Injectable()
export class EmployeesService {
  constructor(
    @InjectRepository(Employee)
    private readonly employeeRepository: Repository<Employee>,
  ) {}

  async create(employee: Employee): Promise<Employee> {
    return this.employeeRepository.save(employee);
  }
}
You can add more details and fetch data as well using the findAll() method:
 async findAll(): Promise<Employee[]> {
    return this.employeeRepository.find();
  }
To make this repository complete, Nest.js will allow you to add controllers and run the Repository and entity in the src\employees\employees.controller.ts file as such:
import { Controller, Get, Post, Body, Patch, Param, Delete } from '@nestjs/common';
import { EmployeesService } from './employees.service';
import { Employee } from './entities/employee.entity';

@Controller('employees')
export class EmployeesController {
  constructor(private readonly employeesService: EmployeesService) {}

  @Get()
  findAll(): Promise<Employee[]> {
    return this.employeesService.findAll();
  }

  @Post()
  create(@Body() employee: Employee): Promise<Employee> {
    return this.employeesService.create(employee);
  }
}
Updating TypeORM Repository within Nest.js
To use this Repository, you must have your database ready, for example, if you are using MySQL, you will install the MySQL package:
npm install mysql2
Proceed and update the Employee module file, src\employees\employees.module.ts to access EmployeesService and Employee entity as follows:
// ---other imports---
import { TypeOrmModule } from '@nestjs/typeorm';
import { Employee } from './entities/employee.entity';

@Module({
  imports: [TypeOrmModule.forFeature([Employee])],
  controllers: [EmployeesController],
  providers: [EmployeesService],
})
export class EmployeesModule {}
Finally create a data connection in your entry AppModule, src\app.module.ts file as follows:
// ---other imports---
import { TypeOrmModule } from '@nestjs/typeorm';
import { Employee } from './employees/entities/employee.entity';

@Module({
  imports: [TypeOrmModule.forRoot({
    type: 'mysql',
    host: '3306',
    port: 3306,
    username: 'your-user',
    password: 'your-DB-user-password',
    database: 'employee',
    entities: [Employee],
    synchronize: true,
   }),

   EmployeesModule],
  controllers: [AppController],
  providers: [AppService],
})
export class AppModule {}
And that’s all you need to run your TypeORM Repositories with Nest.js. To extend how to use Typeorm and these Repositories and your respective database, I have created the following Tutorials for you:
- TypeORM with NestJS, MySQL, and PostgreSQL database
- How to use TypeORM with MSSQL/ Microsoft SQL Server
- TypeORM with Oracle DB
- Running TypeORM with MongoDB and Nest.js Tutorial
Conclusion
TypeORM will use a Repository to abstract data access logic with a clean API for interacting with your related entities. That’s the only way TypeORM gets access to your database without Raw SQL queries. I hope you found this guide insightful.
Written By: