Installing|Running Node-Red on Windows for Windows 7|10|11
Posted February 19, 2024

This guide teaches how to Get Node-RED on Windows. You will learn all you need to install Node-RED to your Windows machine with a few steps. In the end, you will learn a few tricks you can use to elevate your installed Windows PC Node-RED server.
Introduction of Installing Node-RED on Windows
Node-RED runs on top of Node.js. Node-RED is a flow-based development tool for visual programming. This helpful tool was created by IBM IoT (Internet of Things) and automation projects.
You might want Node-RED running on your Windows machine due to its Ease of Use. It has a lower barrier of entry for developers with little or no programming experience.
Why Do You Need Node-RED Running on a Windows PC
If you are on a window and you want to create data processing pipelines, IoT applications, and automation workflows, I don’t see the reason why not to download and install Node-RED on your PC. You get:
- Rapid Prototyping of visual interface that abstracts away much of the complexity of traditional programming.
- Node-RED integrates with a wide range of devices, APIs, and services.
- It gives you pre-built nodes that are easily extended with additional nodes.
Now, let’s dive into this guide and learn the process of installing Node-RED on Windows for Windows 7|10|11 from the start.
Related: How to Install and Run Node-Red on Raspberry Pi StepByStep
Requirements for Installing Node-RED on Windows
- Node-RED will run Windows 7|10|11. Any Windows PC will work fine with this setup. Windows Server from 2008R2, either 32-bit or 64-bit versions.
- You will Node.js and NPM to install Node-RED on your Windows pc. Ensure you have a Network connection.
Step One: Setting Up Node.js On Windows
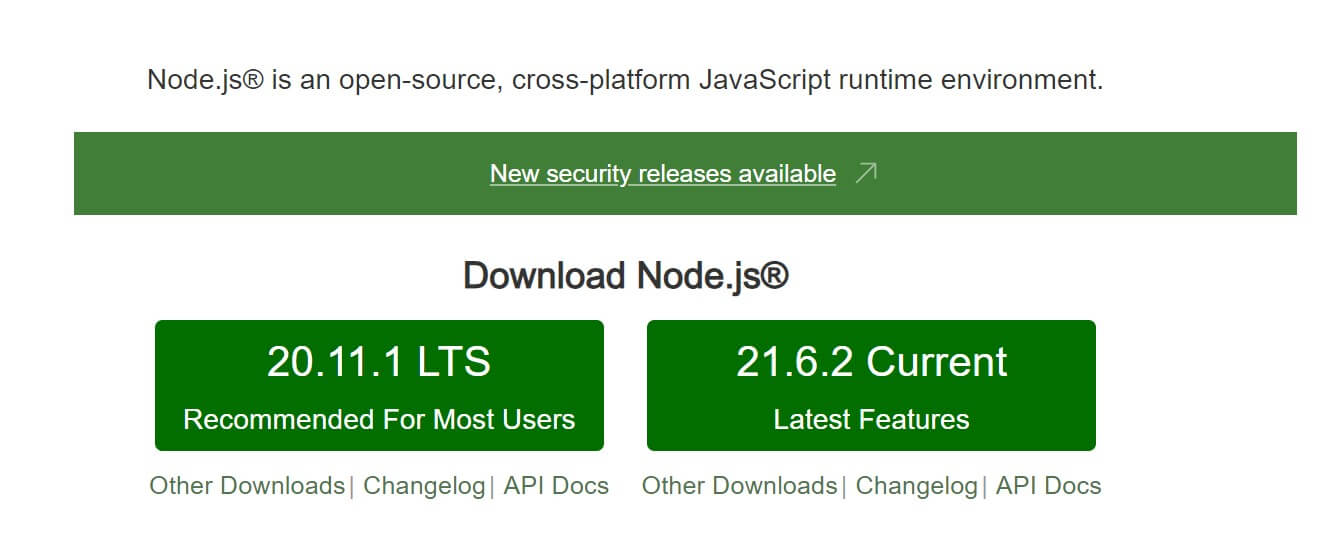
Node-RED is built on top of Node.js. This means Windows needs Node.js installed before Node-RED. Go to the official Node.js website and download Node.js as such:
Once you have Node.js installed Run the following command to ensure Node.js is installed successfully:
node --version
npm --version

Step Two: Installing Node-RED for Windows
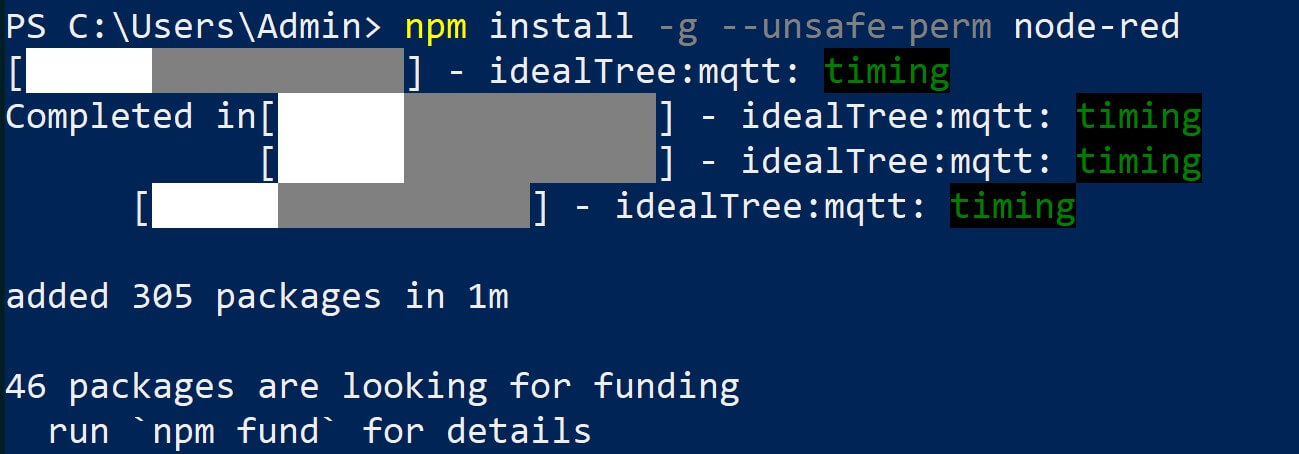
To install Node-RED, you’ll need to use npm (Node Package Manager). NPM comes with Node.js. On your Windows machine, open “cmd” in the Windows Start menu. In the command prompt, type the following command and press Enter:
npm install -g --unsafe-perm node-red
In this case:
npm installtells npm to install the node-red package on Windows.- The
-gflag tells npm to install the package globally and make it available as a command-line tool. --unsafe-permis necessary on Windows to ensure that npm has the necessary permissions to install node-red globally.
Step Three: How to Run Node-RED
Once you have Node-RED installed, you only need a command line to start it. Use the node-red command to start the Node-RED runtime as follows:
Use CMD. The command may fail on PowerShell.
node-red
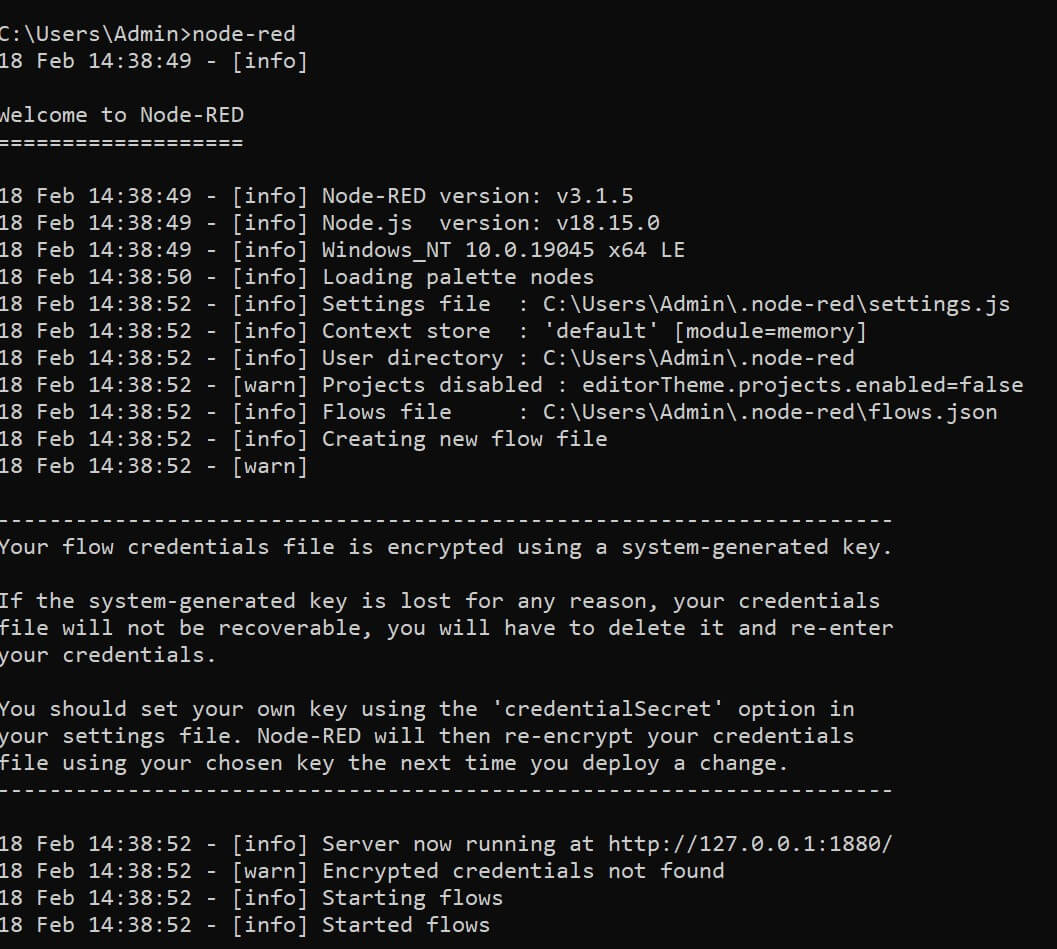
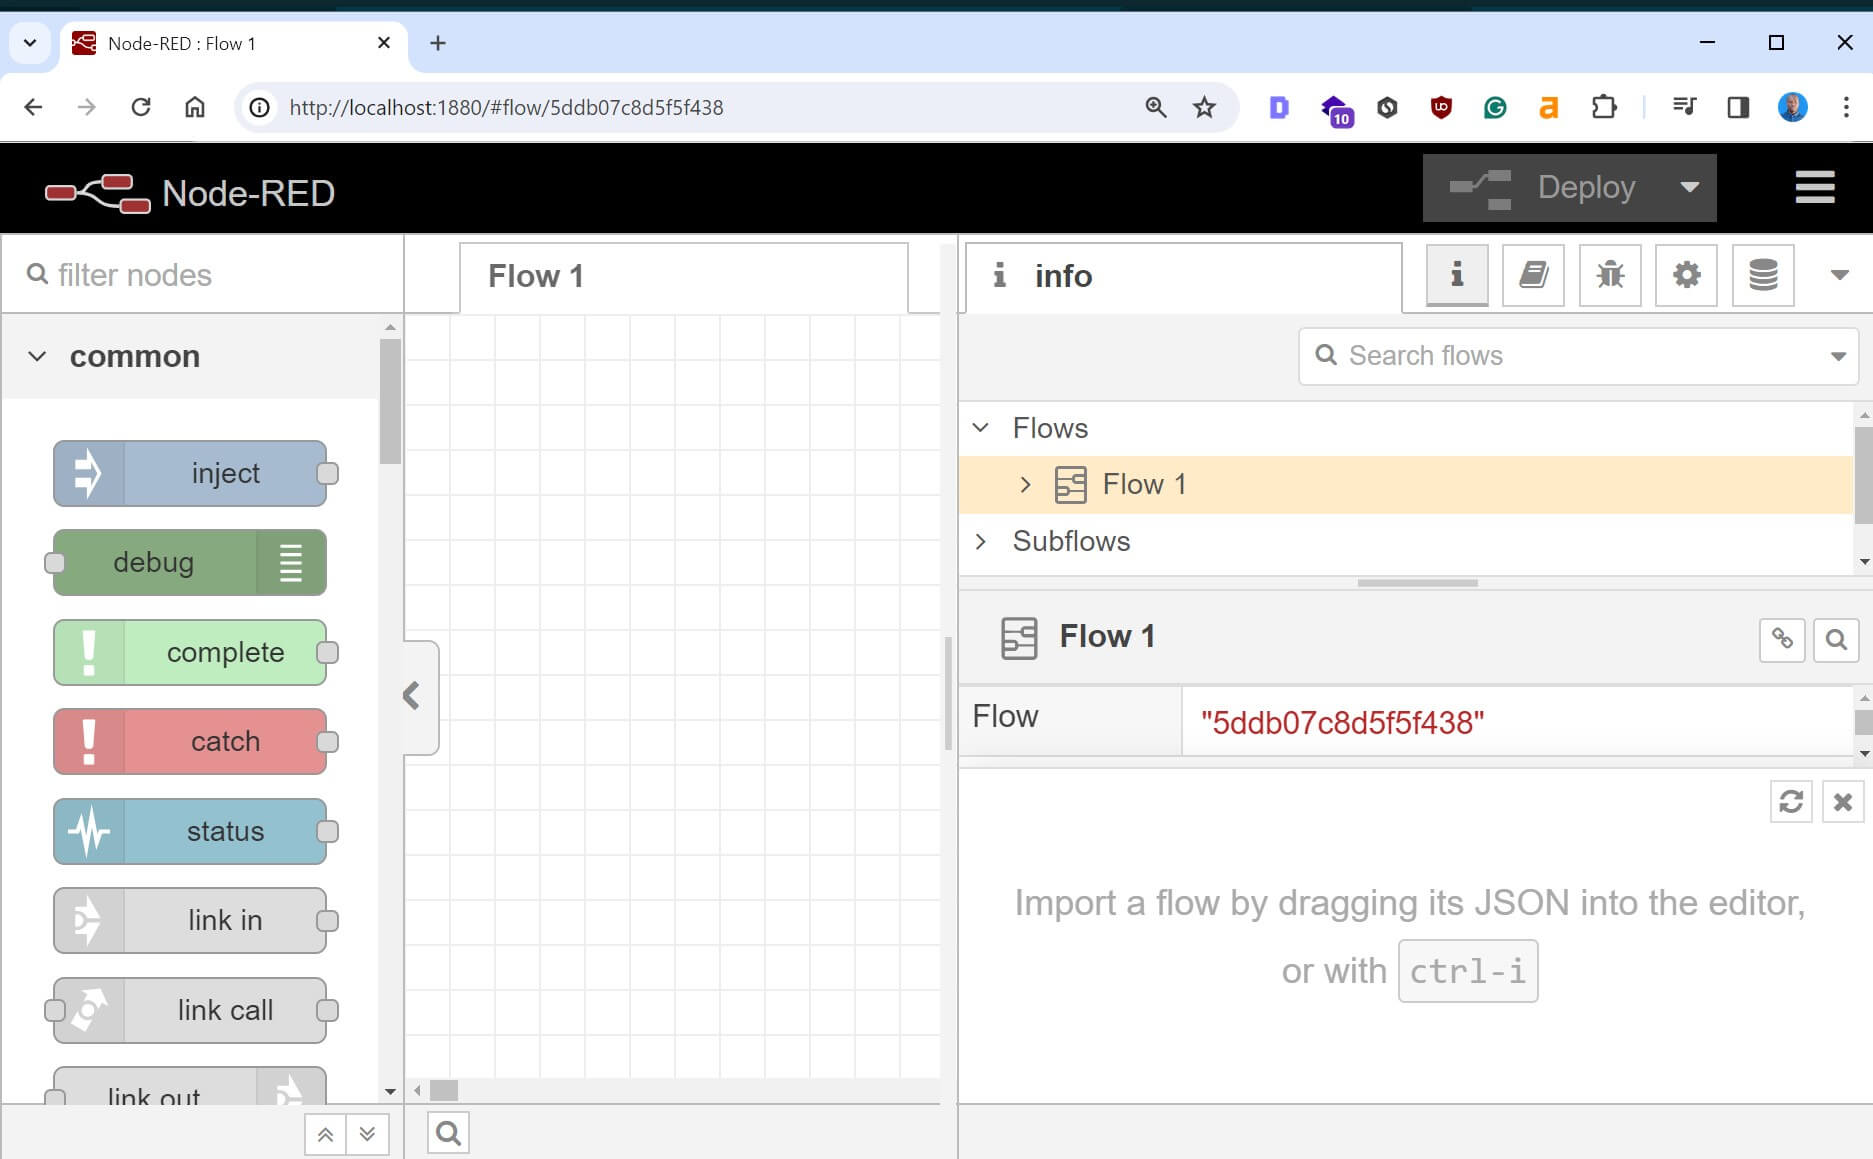
Open a web browser and navigate to http://localhost:1880. This is the default address where Node-RED’s web-based flow editor is hosted. You should see the Node-RED editor interface, indicating that Node-RED is running successfully as follows:
Setting up AutoStart Node-RED on Windows
Autostarting Node-RED ensures your Windows system boots up and automatically starts. This setup will ensure Node-RED is always running in the background. It will be ready to handle tasks without requiring you to manual manually start it.
To allow the Windows system to AutoStart Node-RED and boot time:
AutoStartlaunches automatically when a system boots up.- Windows Services ensure Node-RED starts automatically and runs in the background as a Windows service.
To set up this service:
- Install NSSM (Non-Sucking Service Manager).
- Extract the NSSM executable to a location of your choice.
- Navigate to the directory where you extracted the NSSM executable and run the following command to create a new Windows service for Node-RED:
nssm install NodeRED
NSSM will prompt you to provide the path to the Node-RED executable node-red.cmd. This file is located in the Node.js installation directory, under the npm global packages directory.
Now, add the path and NSSM will create a new service named NodeRED in Windows Services.
You can start it using either the Services Management Console (services.msc) or the command line:
net start NodeRED
Restart your Windows system and verify if Node-RED starts automatically in the background.
Conclusion
You’ve successfully installed Node-RED on your Windows machine. I hope you can now start creating flows using Node-RED for your Windows 7|10|11.
Written By: