Enabling NestJS CORS and Access Control Allow Origin (CORS)
Posted November 18, 2023

CORS allows your servers, such as Nest.js, to share data with clients. Learn how to enable CORS in NestJS. You’ll use CORS access control to allow the origin to enable NestJS CORS on REST APIs, GraphQL, and Web sockets.
So, if you’re having difficulties enabling CORS on Nest.js, this guide teaches you the step-by-step process of managing any CORS-related elements inside your Nest.js REST APIs, GraphQL, and WebSocket. You’ll learn the following:
- How to enable (allow all) CORS in Nest.js.
- How to manage Nest.js CORS access control allow origin.
- Use Nest.js CORS to enable and allow all origins.
- How to enable Nest.js GraphQL CORS.
- Enabling Nest.js WebSocket (Socket io) gateway CORS.
Dive in and take your NestJS CORS to the next level and add access control to allow origin so your server can exclusively communicate with your clients.
What is CORS and Why you Need it in NestJS
CORS (Cross-Origin Resource Sharing) is a security feature for web browsers. It allows the browser to detect and block web pages from communicating with another domain (server).
CORS helps you block authorized access and prevent malicious websites from accessing sensitive information you don’t want to share.
Here is an example:
# Same origin
http://localhost.com:3000/ <==> http://localhost.com:3000/

# Different origin
http://localhost.com:3000/ =X= https://exmaple.com:3001/
- Same origin:

- Different origin:

Because browsers aren’t allowed to access resources outside their domain, CORS policy will take full action to prevent different origins from accessing each other.
Digesting the CORS Error and Need for Access Control Allow Origin
Now that you understand how CORS works go ahead and create a basic Nest.js application as follows:
npm i -g @nestjs/cli
nest new my-app
Change the directory to the newly created directory:
cd my-app
Run the following command to start the server:
npm start
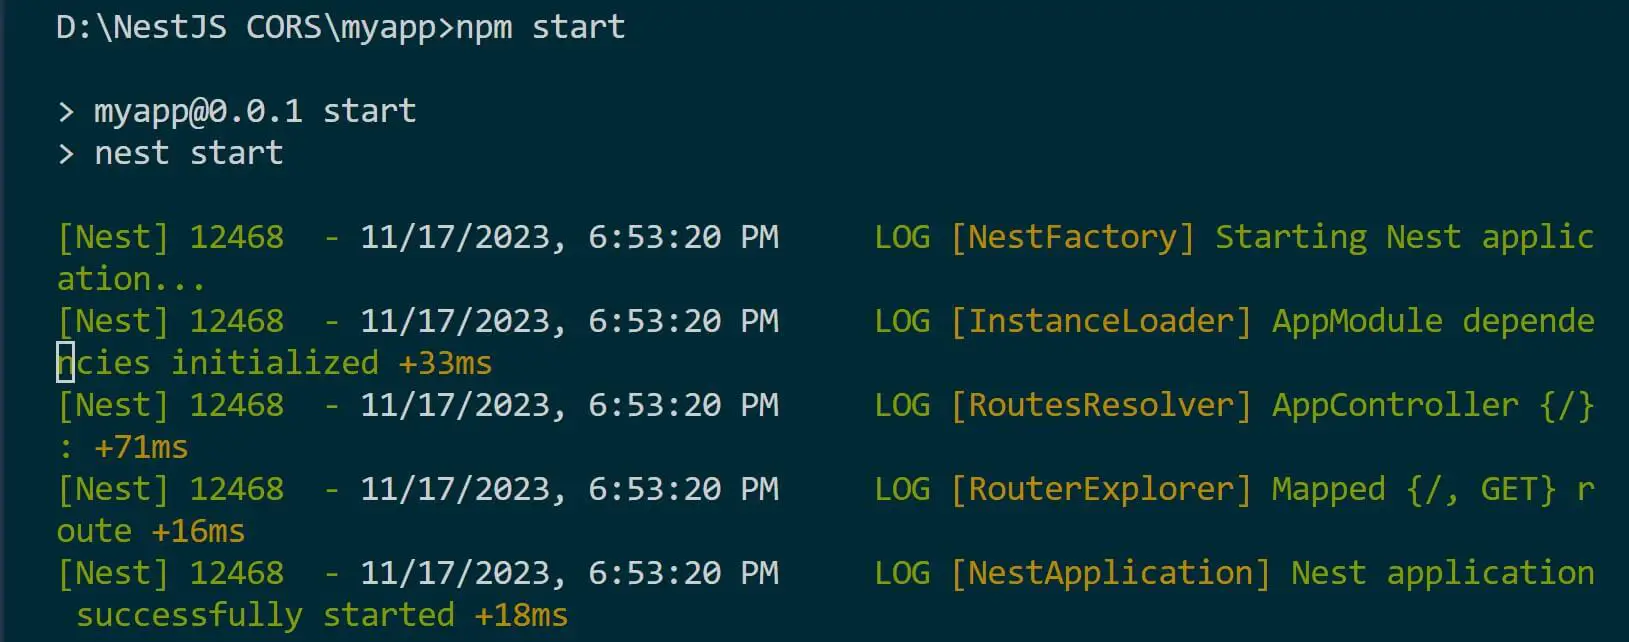
Go ahead and open your app at http://localhost:3000. Check the Network header as follows:
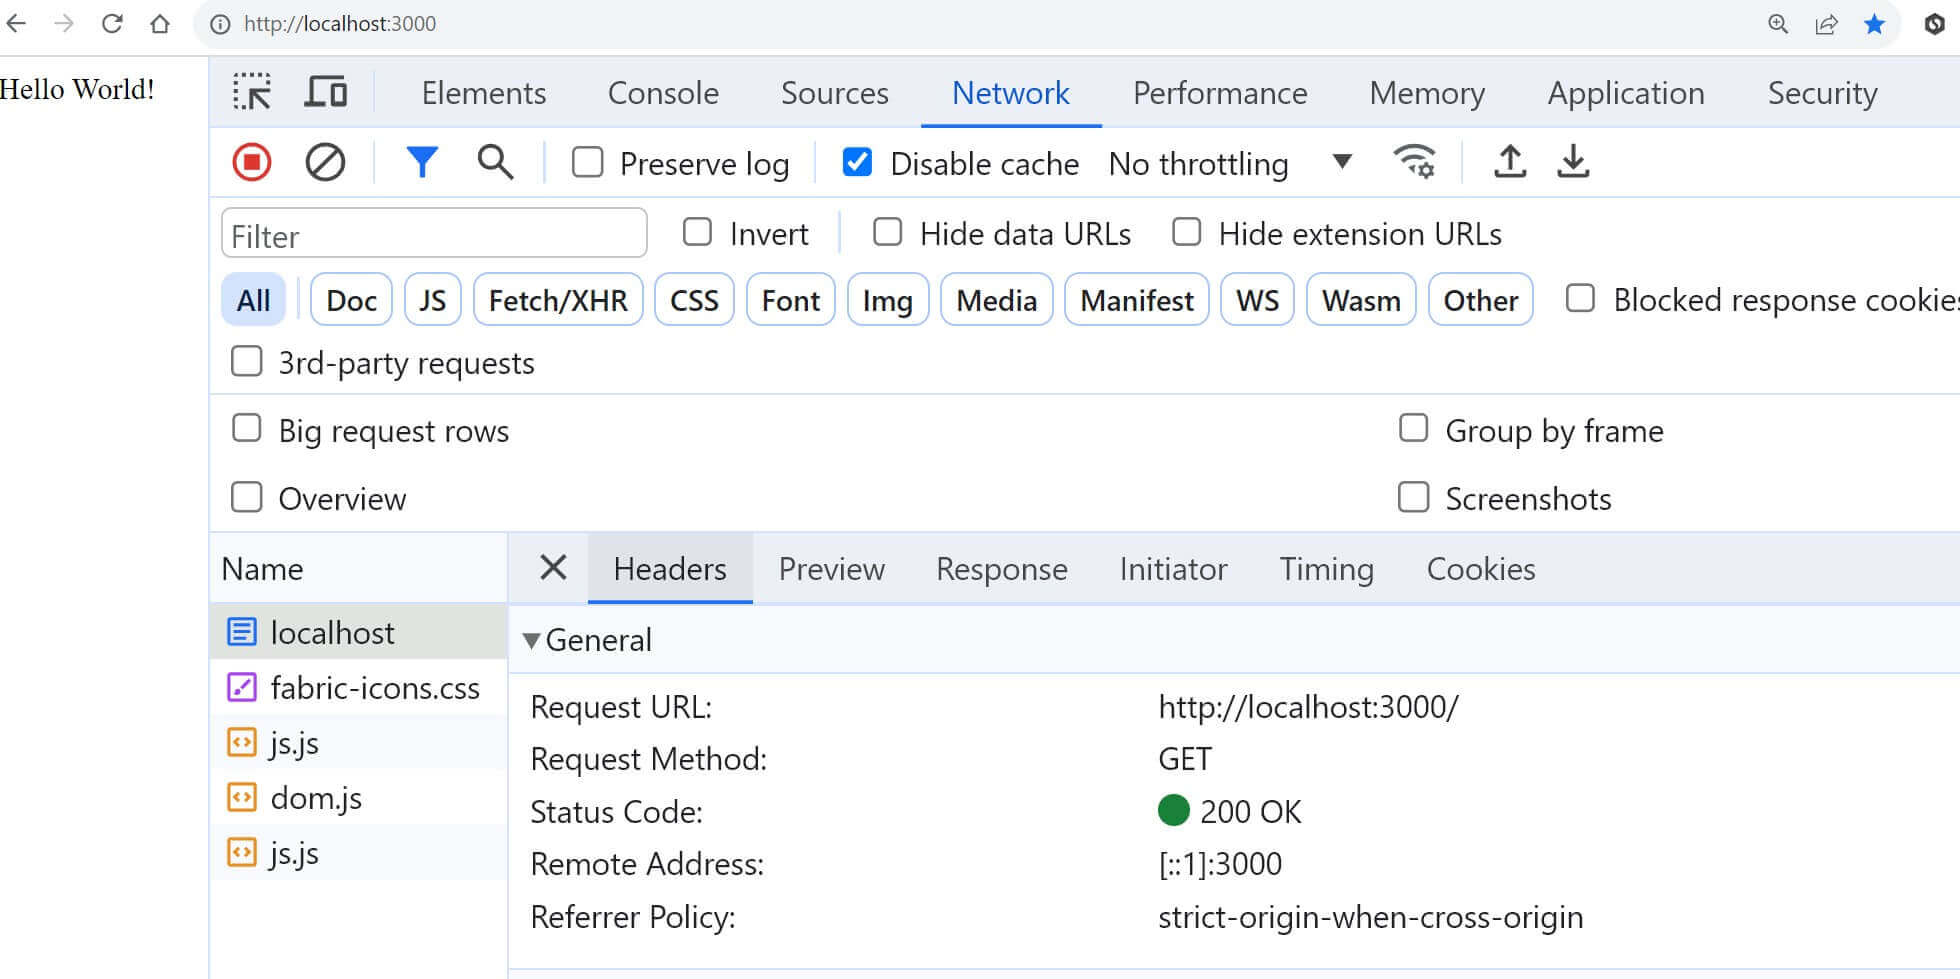
This will show you strict-origin-when-cross-origin as CORs Policy, and your app is working as expected to ensure Strick CORS access.
Now try opening a new domain (let’s say https://thriveread.com/ or any URL of your choice). Use Chrome Console to send a Fetch request to http://localhost:3000 as follows:
fetch("http://localhost:3000")
  .then((req) => req.text())
  .then(console.log);
In this case, I will get the following CORS error:
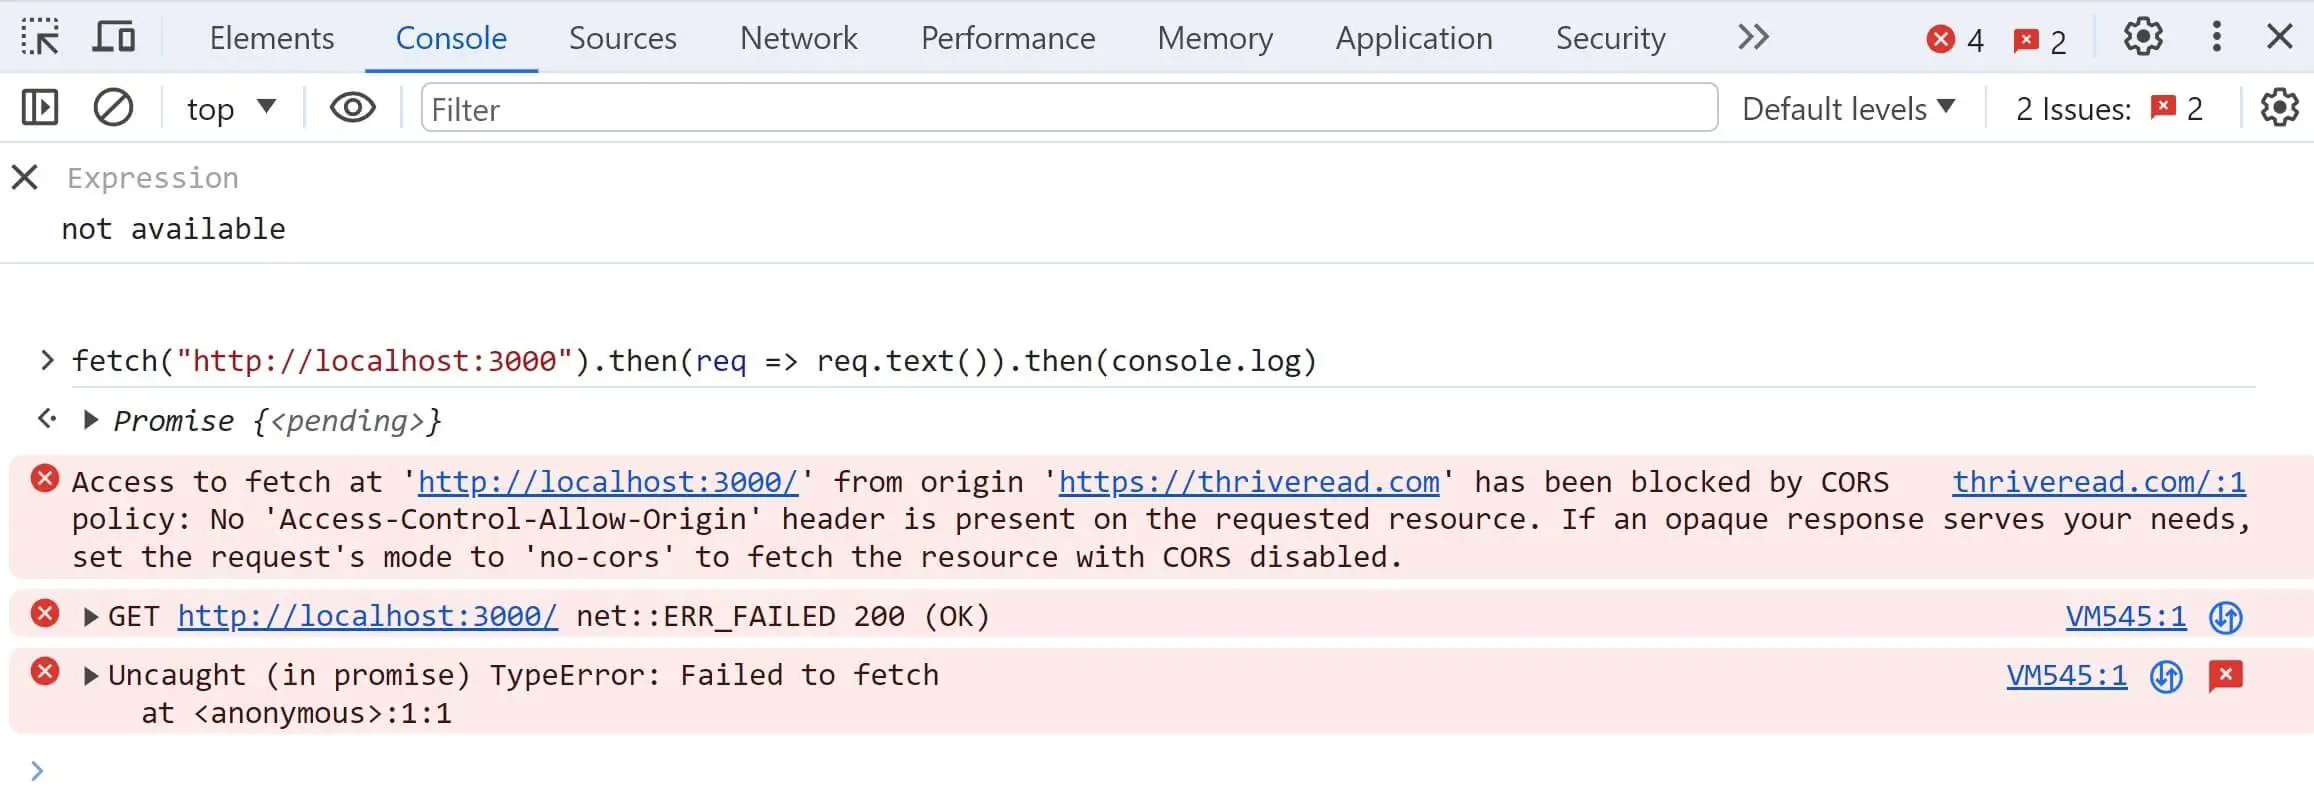
Here, https://thriveread.com acts as a different origin from http://localhost:3000/. CORS policy will block its access to any data on http://localhost:3000/ as the No ‘Access-Control-Allow-Origin’ header is on the requested resource.
This means http://localhost:3000/ doesn’t have any CORS header that allows different origins, such as https://thriveread.com to exchange data.
This is the same error you would get if a client tried to access your server. Troubleshooting the issue will be very hard if you do not know CORS.
Enabling CORS in Nest.js
Let’s use the Nest.js app and enable CORS. In your Nest.js application main.ts file, enable CORS by adding it to the application instance using the enableCors method as follows:
import { NestFactory } from "@nestjs/core";
import { AppModule } from "./app.module";

async function bootstrap() {
  const app = await NestFactory.create(AppModule);

  // Enable CORS
  app.enableCors();

  await app.listen(3000);
}
bootstrap();
Configure Specific CORS Options
The above example won’t work yet. You need to specify allowed origins, methods, and headers. These options are passed to the enableCors method:
// Example CORS configuration
app.enableCors({
  //Add your origins here
  origin: "https://thriveread.com/",
});
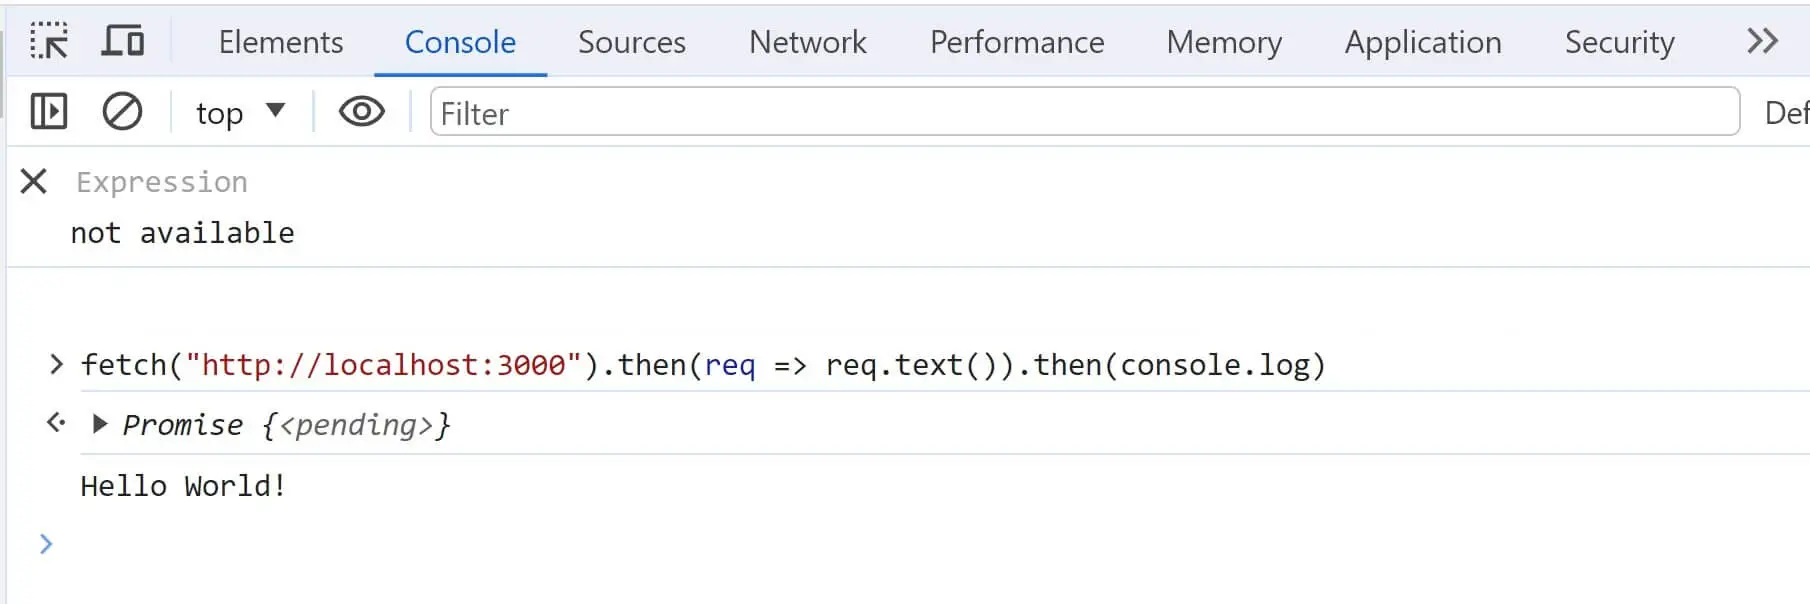
If you send a fetch request again, CORS will recognize your origin and allow it access to your server data:
fetch("http://localhost:3000")
  .then((req) => req.text())
  .then(console.log);
If you have multiple origins, add them using an array as follows:
app.enableCors({
  // add multiple origins here
  origin: [
    "https://thriveread.com/",
    "http://localhost:4000/",
    "http://yourclient.com",
  ],
});
Using CORS to Allow All NestJS Origins Access
Let’s say you want to expose your server so any client can communicate with it. In this case, you need to update the enableCors method and use true for all origins as follows:
app.enableCors({
  // true for all origins
  origin: true,
});
This way, you will have NestJS CORS to allow all origins. You can use origin: '*' as your CORS option and still allow requests from any origin.
app.enableCors({
  // true for all origins
  origin: '*',
});
Adding CORS to NestJS API Methods
You can also use CORS to manage which HTTP methods are exposed to your client as follows:
app.enableCors({
  origin: true,
  // CORS HTTP methods
  methods: ["GET", "POST", "PUT", "DELETE"],
});
Using NestJS CORS to Manage Authorization
When working with NestJS to create an Authorization API that will be exposed to a client, you must send the correct headers. Here is How CORS helps you do that:
app.enableCors({
  origin: true,
  methods: ['GET', 'POST', 'PUT', 'DELETE'],
  // allowed headers
  allowedHeaders: ['Content-Type', 'Origin', 'X-Requested-With', 'Accept' 'Authorization'],
  // headers exposed to the client
  exposedHeaders: ['Authorization'],
  credentials: true, // Enable credentials (cookies, authorization headers) cross-origin
});
Disabling CORS
Use false as the CORS property as follows:
app.enableCors({
  origin: false,
});
This will remove all Access-Control headers from the response.
Enabling CORS for NestJS GraphQL API
The above solutions work for REST APIs only. If you’re using GraphQL in your Nest.js app, you will need to enable CORS for GraphQL differently.
You need to add CORS configuration in the GraphQLModule.forRoot() as follows:
import { GraphQLModule } from '@nestjs/graphql';

@Module({
  imports: [
    // ... other imports
    GraphQLModule.forRoot({
      cors: {
        origin: true,
        credentials: true,
      },
    }),
  ],
})
export class AppModule {}
Other CORS options remain the same, for example:
- To enable a specific origin:
GraphQLModule.forRoot({
  cors: {
    origin: 'http://localhost:4000',
    credentials: true,
  },
}),
- To enable a multiple origin:
GraphQLModule.forRoot({
  cors: {
    origin: [
      "https://thriveread.com/",
      "http://localhost:4000/",
      "http://yourclient.com",
    ],
    credentials: true,
  },
}),
- To add allows headers:
GraphQLModule.forRoot({
  cors: {
    origin: 'http://localhost:4000',
    credentials: true,
    allowedHeaders: ['Content-Type', 'Authorization'],
  },
}),
Enabling Nest.js WebSocket (Socket.io) Gateway CORS
For enabling CORS with WebSocket (Socket.io) in Nest.js, configure the CORS options for the Socket.io instance in a different file as follows:
import { IoAdapter } from '@nestjs/platform-socket.io';
import * as socketio from 'socket.io';

export class CustomSocketIoAdapter extends IoAdapter {
  createIOServer(port: number, options?: socketio.ServerOptions): any {
    const server = super.createIOServer(port, options);

    server.origins('http://localhost:4000'); // Set origins here

    return server;
  }
}
Now use this custom adapter in your main.ts file as follows:
import { NestFactory } from '@nestjs/core';
import { AppModule } from './app.module';
import { CustomSocketIoAdapter } from './custom-socket-io-adapter';

async function bootstrap() {
  const app = await NestFactory.create(AppModule);

  app.useWebSocketAdapter(new CustomSocketIoAdapter(app));

  await app.listen(3000);
}
bootstrap();
Or configure it like this:
const app = await NestFactory.create(AppModule);
app.enableCors({
  origin: '*', // Allow requests from all origins,
  methods: 'GET,HEAD,PUT,PATCH,POST,DELETE',
  allowedHeaders: 'Content-Type,Authorization',
});

const httpAdapter = app.getHttpAdapter();
app.useWebSocketAdapter(new IoAdapter(httpAdapter, {
  cors: {
    origin: '*', // Allow requests from all origins
    methods: 'GET,HEAD,PUT,PATCH,POST,DELETE',
    allowedHeaders: 'Content-Type,Authorization',
  },
}));
Like other CORS examples, customize the options according to settings as needed.
The same will work if you configure CORS in the WebSocketGateway class as follows:
@WebSocketGateway()
export class YourGateway implements OnGatewayConnection, OnGatewayDisconnect {

  @WebSocketServer() server: Server;

  handleConnection(client: Socket) {
    // Enable CORS for WebSocket
    this.server.emit('headers', {
      'Access-Control-Allow-Origin': '*',
      'Access-Control-Allow-Credentials': 'true',
    });
  }
}
Conclusion
You learned how to enable CORS in Nest.js. You can now manage Nest.js CORS access control to allow origin and use Nest.js CORS to enable and allow all origins.
I hope you found this guide helpful!
Written By: